Last updated November 18, 2026



Free written scope consultation - allowances, timeline, and change-order rules on paper before a single trade is scheduled
Home Additions & ADU Troubleshooting: Common Problems and How to Fix Them
A duct routed through a load-bearing header is a code violation that disappears behind drywall in about three days. Once the board is up and the inspector has signed the wall, that duct is invisible, and fixing it means cutting open finished work at $80 to $150 per linear foot of drywall repair. We’ve watched this happen on additions in Plano more than once, and it’s almost always the same story: nobody looked at the framing before the mechanical rough-in went in. This guide maps the five handoff points where problems are still visible and cheap to fix, so you can catch them before they’re buried.
Quick Answer
Most expensive home addition and ADU problems are born at trade handoffs, not inside any single trade’s work: framing to mechanical rough-in, rough-in to insulation, insulation to drywall. The five inspection windows where you can still see and correct a mistake are after demo, after framing, after MEP rough-in, after insulation, and after drywall hang but before tape and texture. A homeowner who walks those five checkpoints catches the large majority of buried defects before they cost four figures to open back up.
Styles & brands we work with
- Kitchen remodeling
- Bathroom remodeling
- Home additions & ADU
- Roofing
- Windows & doors
- Driveway & pavers
- Fence
Table of Contents
- The Five Handoff Inspection Windows
- Framing Problems in Additions
- Moisture: The Most Common Post-Completion Problem
- Electrical Integration and the Panel Question
- Mechanical Rough-In: HVAC, Plumbing, and What Gets Buried
- The Change-Order Connection
- What Plano’s Climate and Soil Do to Additions
- Common Mistakes to Avoid
- When to Call a Professional
- Frequently Asked Questions
The Five Handoff Inspection Windows
An addition or ADU moves through trade handoffs in a fixed order, and each handoff closes off the previous trade’s work for good. Framing gets covered by rough-in. Rough-in gets covered by insulation. Insulation gets covered by drywall. Drywall gets covered by tape, texture, and paint. That’s five narrow windows when a problem is still visible without a saw.
Here’s the sequence we walk every client through before construction starts, because a homeowner who knows what to look for at each stop can catch 80% of costly errors before they’re behind a wall:
- After demolition and site prep. Confirm the footing depth and slab prep match the plans, and that the connection point between new and existing structure is exposed and inspectable.
- After framing. Verify header sizes at every new opening, count the king and jack studs beside each window and door, and look at how the new framing ties into the old house.
- After mechanical, electrical, and plumbing rough-in. Every wire, pipe, and duct should be visible in an open wall. This is your last chance to trace a duct or a drain line before it’s permanent.
- After insulation. Check that batts fill every cavity, that there are no gaps around boxes and penetrations, and that the vapor strategy matches the wall assembly.
- After drywall is hung but before tape and texture. Walk the walls. This is where a shifted box, a bowed stud, or a wet spot shows up cheaply, because a panel can come down in minutes rather than being cut out of finished work.
On a Plano addition, this fifth window is the one most homeowners skip, and it’s the one that saves the most. A hung panel is not finished work. A taped and textured wall is.
Framing Problems in Additions
Framing errors in additions cluster into three categories, and all three are inspectable before drywall. The first is header sizing. When a new opening is cut in a load-bearing wall, the header has to carry the load the wall carried, and the size depends on the span and the load above. An undersized header shows up as a sagging top plate or a door that sticks within a year. A correctly sized header doesn’t announce itself, which is why we tell clients to photograph every header at the framing walk and keep the photo with the plans: it’s the only evidence you’ll have once it’s covered.
The second is missing king and jack studs at new window and door openings. A king stud runs full height beside the opening. A jack stud sits inside it and carries the header. Skip either and the opening has no real support. At the framing walk, count studs beside every opening and compare to the drawing.
The third is where new framing meets existing framing. A new addition and an existing house settle at different rates, especially on North Texas clay, and a rigid connection between the two transfers that movement into the existing wall, showing up as cracks at the ceiling line or a door that stops closing. The fix isn’t a tighter connection; it’s a connection designed for movement, with slip clips or a control joint where the two structures meet. If your framer ties new to old with solid blocking and no allowance for settlement, ask why. On the Plano additions we’re involved with, and when we connect homeowners with the independent builders who do this work, that junction is the first thing we point at on the framing walk.
Moisture: The Most Common Post-Completion Problem
Water is the complaint we hear about most after an addition is finished, and the single most frequently skipped detail is flashing at the junction where the addition’s roof meets the existing exterior wall. That junction, whether it’s a low-slope tie-in or a gable running into the main house, is a drainage path. Without proper step flashing woven into the existing wall’s weather barrier, water runs behind the siding rather than off the roof, and it doesn’t show up as a leak until the wall cavity has been wet long enough to grow mold or rot a plate.
Here’s what to look at before that junction disappears under shingles and siding:
- Step flashing courses. Each course should be woven so the upper piece laps over the lower, and each should tuck under the existing weather barrier, not over the new siding.
- Kick-out flashing at the base. Where the roof meets a sidewall at the bottom, a kick-out diverts water away from the wall face rather than letting it run down the cladding.
- The weather barrier transition. The new and existing house wraps should overlap correctly and be taped at the seam.
- Roof-to-wall counterflashing on the existing roof side. This is the piece most often left off when a framer, not a roofer, does the tie-in.
If you’re choosing new windows for the addition, window performance matters here too. Brands like PGT and ES Windows are rated by water infiltration pressure, and a window rated for coastal wind-driven rain is overkill in Plano but a window with a poor water rating will leak at the sill in a hard spring storm. Ask for the water infiltration rating in the spec sheet, not just the U-factor. For the broader work this sits inside, our page on Home Additions & ADU in Plano covers the full construction scope.
Electrical Integration and the Panel Question
Adding heated square footage to a house means adding load to an electrical panel that was sized for the original house. The question that comes up on nearly every Plano addition is whether the existing panel can take a new circuit or two, or whether a subpanel or full service upgrade is required. The honest answer depends on the panel’s rating, its current load, and what the addition adds: a bedroom and a bathroom add different demand than a kitchenette in an ADU. An electrician does a load calculation against the panel’s capacity, and the result decides the path.
A subpanel is common when the service can carry more load but the existing panel doesn’t have room for new breakers or is too far from the addition. A full service upgrade is required when the existing service is undersized or the panel is a brand with known failure issues. Both are disclosed scope, not surprises, when the electrician does the load calc before the rough-in walk.
The one practice that is not acceptable is daisy-chaining circuits from the existing house into new square footage. Extending an existing circuit into an addition to avoid the panel question is a code violation in most cases, and it’s easy to miss at rough-in because it looks tidy: a wire leaves an existing receptacle, runs through the new wall, and feeds a new one. Under the National Electrical Code, bedrooms, bathrooms, and kitchens each carry their own circuit requirements and their own AFCI or GFCI protection. A bedroom in the new addition needs its own AFCI-protected circuit whether the room is wired through the existing panel or a subpanel.
Mechanical Rough-In: HVAC, Plumbing, and What Gets Buried
The duct through the load-bearing header is the classic example of a rough-in problem that a five-minute walk would have caught. The duct should have run under, over, or around the header, not through a cavity that’s supposed to carry structural load, and once insulation and drywall go up, the only way to find it is to open the wall. This is exactly the kind of thing the rough-in inspection window exists to prevent. Walk every wall with a flashlight and trace each duct, pipe, and wire from one termination to the other. If a duct disappears through framing, ask what it’s passing through.
Plumbing rough-in has its own visible markers. Check pipe slope on drain lines, confirm the vent stack runs to the roof or ties into an existing vent, and make sure every wet wall has the right cleanout. A drain line with too little slope will clog within a year and the fix is demolition. Under the International Plumbing Code, a horizontal drain runs between one-quarter and one-half inch of fall per foot of run. That’s a number you can measure with a level at rough-in and a number you can’t measure once the wall is closed.
HVAC is the third rough-in that’s easy to get wrong silently. An addition or ADU may need its own zone, a ducted mini-split, or a ductless unit, depending on size and how the space is used. A duct run that’s too long or too small for the room’s cubic footage will leave the room cold in winter, and the symptom doesn’t show up until the first cold snap, months after the wall was closed.
The Change-Order Connection
Most of the buried problems we’re asked to diagnose started as a scope change that was agreed verbally and never written down. A homeowner and a framer talk about moving a door. The framer does it. Nobody documents the new header size, the electrician roughs to the old location, and the problem surfaces at the first walk-through. A written change order closes that hole, and it contains four things:
- The specific scope change, described in craft terms, not adjectives. “Relocate the bedroom door 36 inches west and resize the header from 2×8 to 2×10,” not “adjust the door.”
- The price of the change, as a flat number with any credit for material not used.
- The effect on schedule, in days, because a change that adds a week is a fact the customer needs before signing.
- Signatures, including the date. An unsigned change is a verbal agreement, and a verbal agreement is the beginning of every story we hear about a project that finished over budget.
Under Clause 1 of the Haven Standard, the price is written before anyone starts, and no work proceeds on a change until the change order is signed. That discipline is why projects we’re on finish within a few percent of the agreed number. When you’re hiring for your own addition, ask every contractor how they handle changes. A contractor who says “we’ll figure it out as we go” is telling you where your budget will go.
What Plano’s Climate and Soil Do to Additions
Plano sits on the Blackland and Houston Black clay that underlies much of Collin County, and that soil expands and contracts significantly between wet springs and dry summers. The effect on an addition shows up two ways. First, footing depth and drainage around the new slab matter more than in stable soil, because a footing that shifts can crack the slab and crack the wall above it. Second, the new-to-existing structure junction has to allow for differential settlement, as noted above, and the Plano clay is what makes that so important. An addition in Willow Bend, where lots are larger and drainage is generally good, is a different footing conversation than an addition in a pocket with tight lots and poor grading.
The roof-to-wall flashing question is also a Plano issue. We get multi-inch rain events in spring and fall, sometimes in an hour, and a tie-in that leaks in a slow drizzle gets tested hard by a wall of water. Ask any addition contractor in Plano to show you their step-flashing detail at the existing wall, and to explain the kick-out. If they can’t answer in trade vocabulary, they haven’t done enough of these in our climate.
For the trades that touch the exterior of your house, we connect homeowners with independent local professionals through our pages on Rowan Construction Group Plano home, Fence Installation in Plano, and Driveway & Pavers in Plano, all of which are areas where Plano’s soil and grading are equally relevant to how the work ages.
Common Mistakes to Avoid
- Skipping the framing walk. A homeowner who never looks at the framed addition before rough-in has no evidence of header sizing or stud layout. The photograph from that walk is the only record you’ll have after the wall closes.
- Letting the framer do the roof tie-in without a roofer’s check. Step flashing is a roofing detail, not a carpentry one. When a framer runs the roof-to-wall connection without a roofer reviewing it, the flashing is often skipped entirely.
- Extending an existing circuit into the new bedroom. It’s tempting when the panel looks full and the budget is tight. It’s also a code violation that fails a rough-in inspection, and the correction means opening the wall.
- Agreeing to a scope change over the phone. On a Plano addition, moving a window or a door in the field is a $200 conversation, until it isn’t documented and the electrician and the framer draw from different plans. Then it’s a $2,000 one.
- Treating the ADU as a smaller version of the house. An ADU has its own plumbing, its own electrical panel or subpanel, and often its own HVAC zone. A 600-square-foot ADU carries the same integration questions as a 1,200-square-foot addition.
- Choosing windows on U-factor alone. In Plano, water infiltration rating matters more than U-factor for the spring storms, and it’s easy to specify a window that’s excellent on paper and leaks at the sill in a hard rain.
- Waiting for the drywall inspector to catch the problem. The drywall inspector checks the board, not the duct behind it. By the time the inspection passes, the duct is the inspector’s problem too, and it’s your wall.
When to Call a Professional
Call a licensed professional the moment a problem extends past what you can see: an HVAC duct or a drain line disappears into framing you can’t trace, a header you can’t verify against the plans, an electrical question about load or a panel change, or any water intrusion at the roof-to-wall junction. These aren’t DIY checkpoints. Cutting into a load-bearing wall, re-routing a duct, and changing a service panel are all work with real consequences, and the codes that govern them exist because people have been hurt or houses have been lost when the work went wrong. What you can do at every window is walk the work with a flashlight, photograph it, and ask questions in trade vocabulary. When a contractor can’t answer at the framing or rough-in walk, that’s the signal to bring in a second opinion.
Rowan Construction Group Plano connects homeowners with independent local professionals who perform addition and ADU work across seven trades, with a written price before any work starts, a signed change order before any change, and a documented photo record of every visit. Our technicians have up to 19 years of experience. Rowan Construction Group Plano offers free estimates in Plano. Call (844) 761-8346 to schedule one, and bring any competitor’s written estimate for a free second opinion reviewed line by line.
Frequently Asked Questions
Moisture at the roof-to-existing-wall junction is the most common post-completion problem on Plano additions, caused most often by skipped step flashing where the addition roof meets the main house. Water runs behind the siding rather than off the roof, and the leak typically shows up months later as ceiling staining or mold at the wall cavity. Ask any contractor to show you their step-flashing and kick-out detail before the roof tie-in is covered.
Opening finished drywall runs $80 to $150 per linear foot for the repair alone, before the underlying problem is fixed, and a small duct re-route behind a finished wall commonly lands in the low four figures once the wall is patched, textured, and repainted. That’s the reason the five handoff inspections matter: a problem caught at rough-in costs a fraction of the same problem caught after paint. Call (844) 761-8346 for a written estimate on any repair.
No, not in most cases. Extending an existing circuit to feed new bedroom, bathroom, or kitchen space is a code violation in most cases because those rooms carry their own circuit and protection requirements under the National Electrical Code. The right path is a load calculation and then either a dedicated new circuit, a subpanel, or a service upgrade, decided before the electrical rough-in.
An addition needs a full panel upgrade when the existing service can’t carry the added load or the panel is a brand with known failure issues. A subpanel is the right call when the service has capacity but the existing panel has no room for additional breakers or sits too far from the addition. An electrician’s load calculation is what decides, and it should happen before the rough-in walk, not after.
Yes, every change needs a signed written change order, regardless of size. A verbal agreement to move a door or a window leaves the framer, the electrician, and the plumber drawing from different plans, and that gap is where buried problems start. A proper change order states the scope, the flat price, the schedule effect in days, and carries signatures dated. Under Clause 1 of the Haven Standard, no work proceeds on a change until it’s signed.
Walk every wall and look for shifted electrical boxes, bowed studs, gaps at the floor and ceiling, and any soft or discolored spot that suggests moisture. A drywall panel that’s hung but not taped can come down in minutes; the same panel after texture and paint is a demolition job. This is the last of the five windows, and most homeowners skip it. Don’t.
The Bottom Line
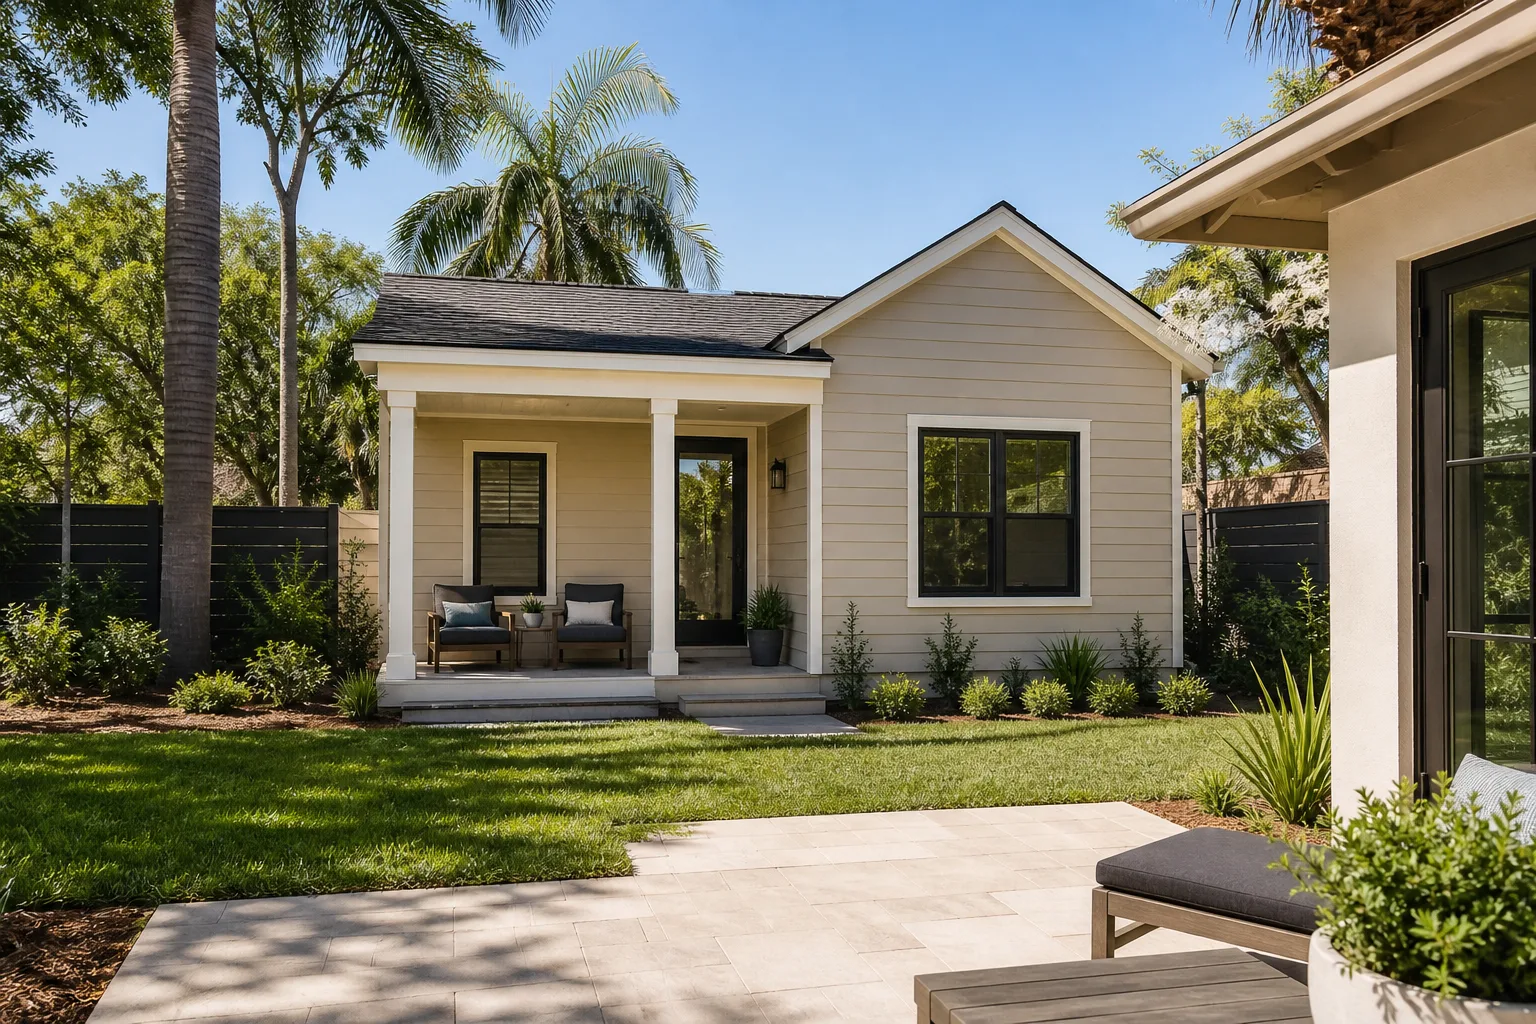
Home addition and ADU problems follow a predictable sequence tied to trade handoffs, and every handoff closes a window for good. The five inspection points are after demo, after framing, after mechanical and electrical and plumbing rough-in, after insulation, and after drywall hang but before tape. Walk each one with a flashlight, photograph the header sizes and the roof tie-in and the duct runs, and ask every contractor how they document a change before it’s approved. The problems that cost four figures after paint cost a conversation before drywall. For an addition or ADU in Plano, call (844) 761-8346 for a free estimate and a written price before any work starts.
Written by the team at Rowan Construction Group Plano.
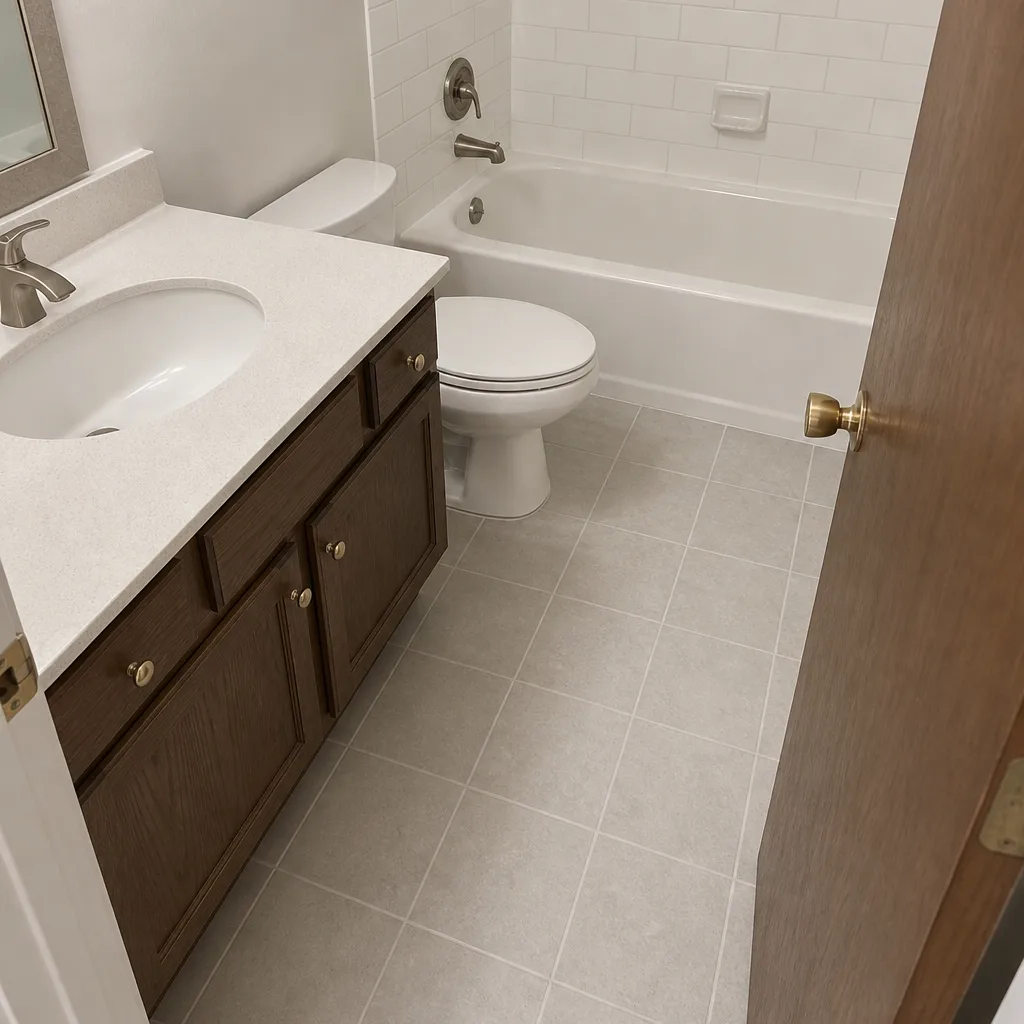
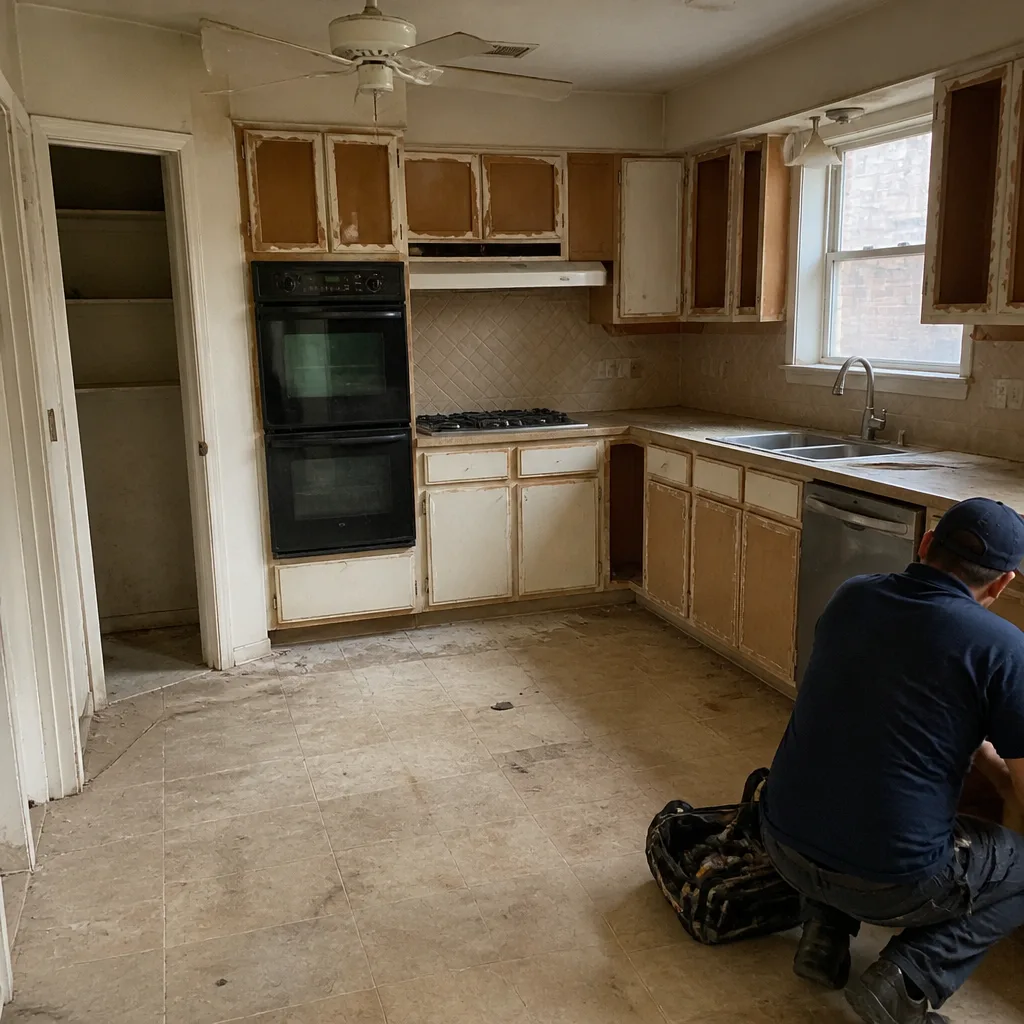
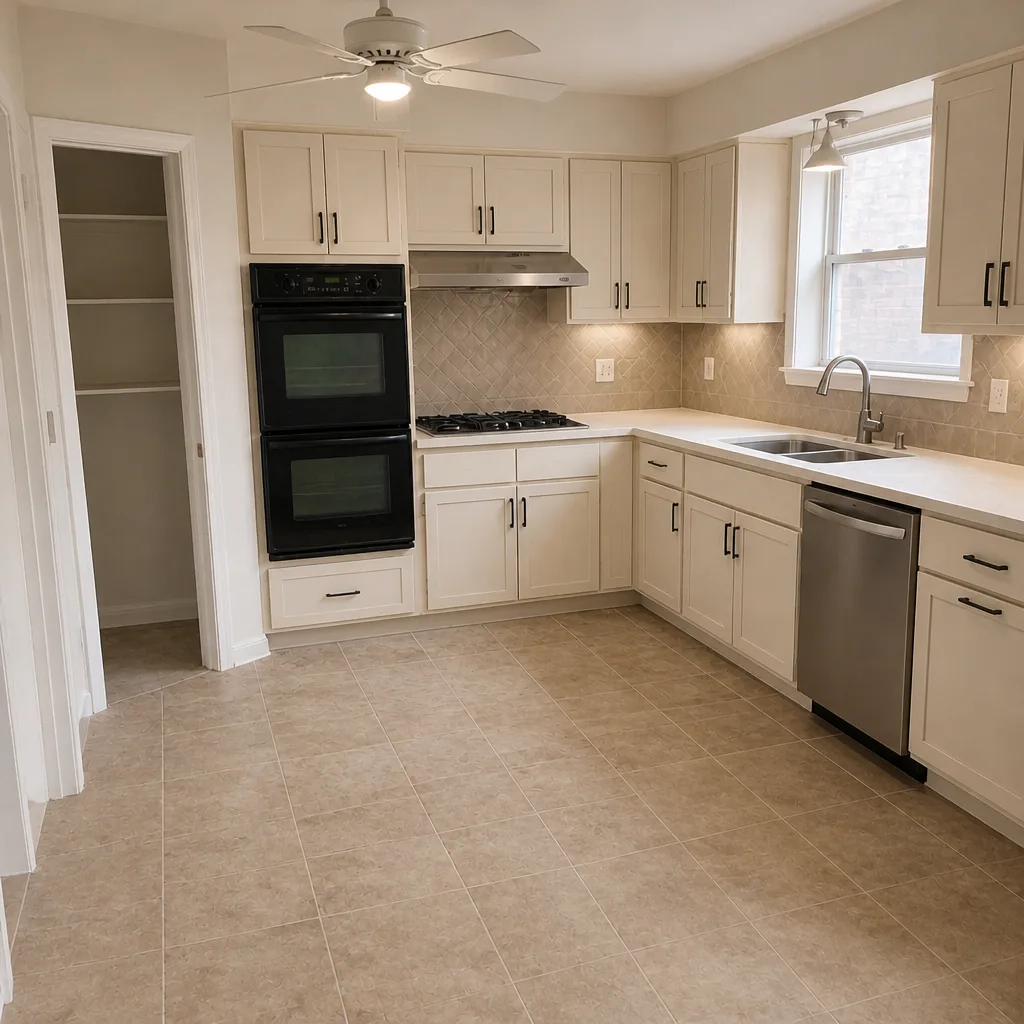
See the difference
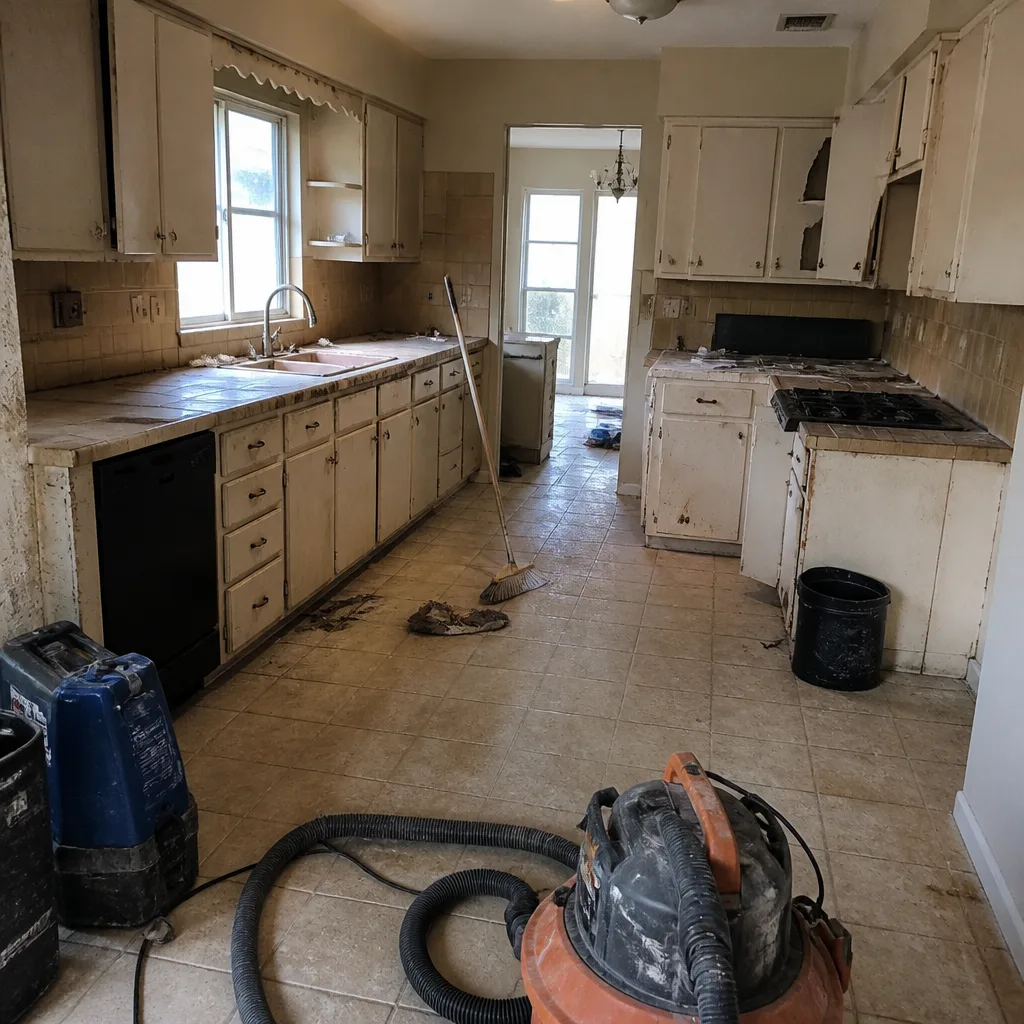 Before
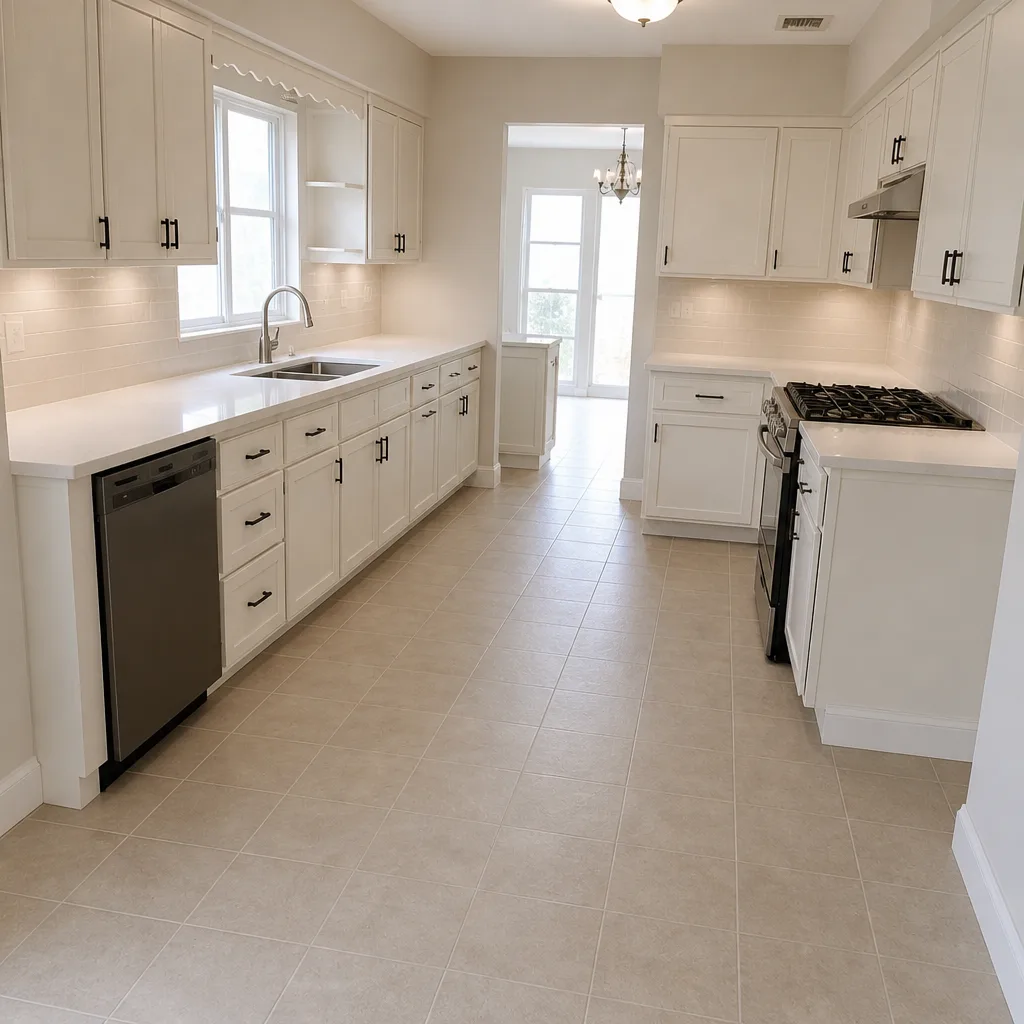 After
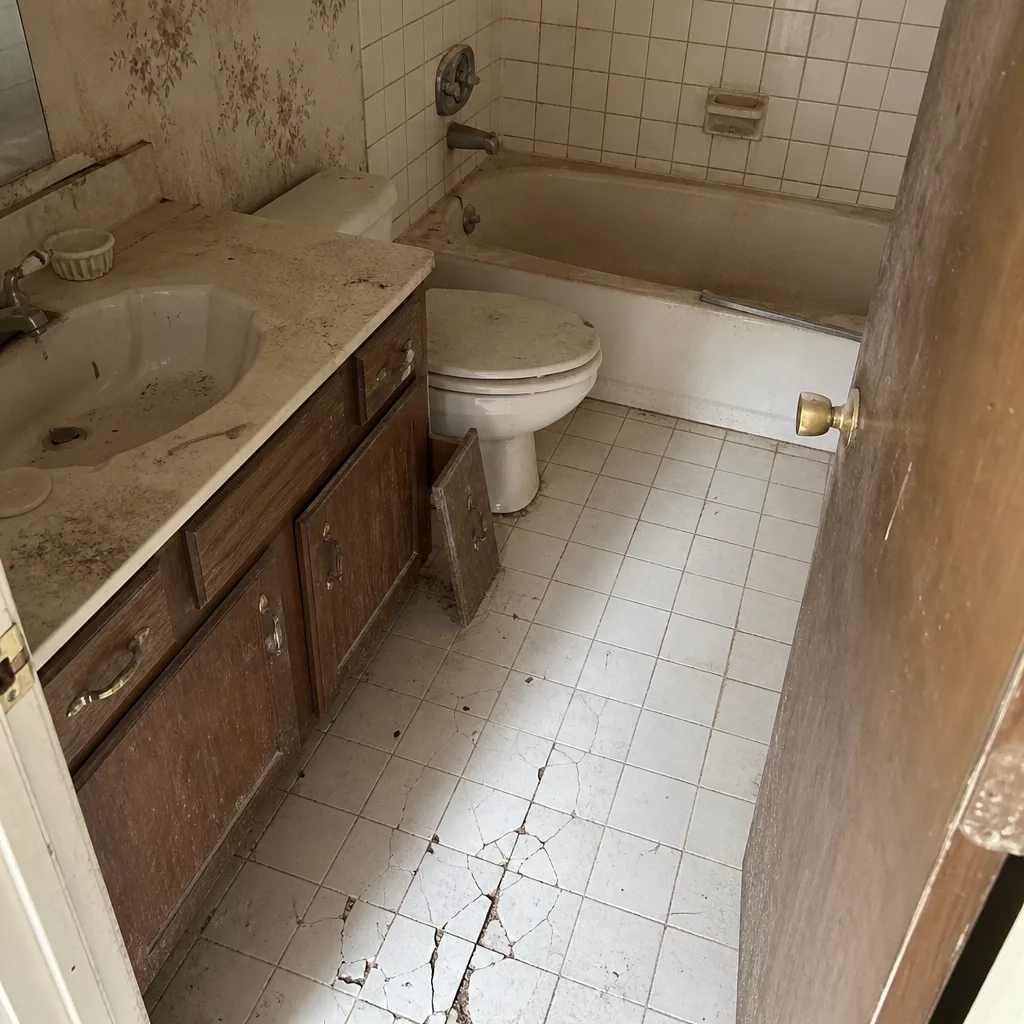 Before
 After
 Before
 After