Last updated November 18, 2026


Free written scope consultation - allowances, timeline, and change-order rules on paper before a single trade is scheduled
Driveway & Pavers Troubleshooting: Common Problems and How to Fix Them
A single rocking paver is not a surface problem. It is a base problem, and re-setting the paver without excavating 6 – 8 inches guarantees the same failure within two years. That one sentence explains most of what we see on paver driveways across Plano, from the older streets off Spring Creek Parkway to newer builds in Twin Creeks and Whiffletree. The stone looks loose, so the stone gets pulled and re-bedded, and by the next summer it rocks again in the same spot. This guide walks through the actual root causes behind the six paver failures we encounter most, the diagnostic tests you can run yourself in a morning, and how to read a contractor’s proposal so you know whether the fix is a $600 targeted repair or a $14,000 reinstall. Read it before anyone picks up a pry bar.
Quick Answer
Most paver problems in Plano come from one of four failures: a base that wasn’t compacted to depth, an edge restraint that has separated from the field, joint sand that has washed or degraded in Texas heat, or a drainage grade that sends water under the pavers instead of away from them. Surface fixes (re-sanding, re-setting a single stone) address symptoms and typically fail within two years. Targeted base repairs run $300 – $900 per zone; a full reinstall runs $12 – $22 per square foot. Diagnosing which you’re facing takes about 30 minutes with a rubber mallet and a hose.
Styles & brands we work with
- Kitchen remodeling
- Bathroom remodeling
- Home additions & ADU
- Roofing
- Windows & doors
- Driveway & pavers
- Fence
Table of Contents
- The tap test: mapping hollow base zones before they fail visibly
- Edge restraint failure vs. base failure: two problems that look identical
- Why polymeric sand fails in Plano heat and what joint sand actually holds
- Drainage and grade: the failure under every other failure
- What base repair vs. reinstall actually costs in Plano
- The documentation checklist before any repair starts
- Step-by-step: how a correct repair sequence actually runs
The Tap Test: Mapping Hollow Base Zones Before They Fail Visibly
Before a paver rocks, the base under it has usually been failing for a season. That gap between invisible failure and visible failure is your diagnostic window, and a rubber mallet is all you need to find it. Walk the driveway in a grid pattern, tapping each paver about every third one. A solid paver gives a dull, dead thud. A paver sitting over a void or a washed-out bedding layer returns a hollow, slightly resonant sound, closer to tapping a drum.
In our experience across Plano driveways, hollow zones show up in three predictable places:
- The apron where the driveway meets the street. Stormwater runs across the apron every time it rains, and bedding sand migrates toward the street.
- The path of tire travel, especially under the rear wheels. Load concentration over time compacts the sub-base unevenly.
- Within two feet of the garage slab. The slab doesn’t settle, but the driveway does, so the joint opens and water gets in.
Mark each hollow paver with chalk. When you’re done, photograph the grid from above with the marks visible. That photo is the first page of your documentation, and it tells a contractor exactly where the base repair zone lives without guesswork or exploratory demolition. If you find more than about 15 hollow pavers clustered in one area, you’re looking at a base-zone repair, not a stone-by-stone fix.
Edge Restraint Failure vs. Base Failure: Two Problems That Look Identical
Pavers spreading at the driveway’s outer edge and pavers that rock in the field can look like the same problem. They are not. The repair, the cost, and the durability of the fix are completely different, and knowing which one you have determines whether the proposal in front of you is honest.
Edge restraint failure looks like a row of pavers walking outward, wider gaps at the perimeter than in the center, and a visible lip or sag in the plastic or concrete edge restraint (also called edge restraint or edging) that holds the field in place. The pavers themselves are solid on top of a good base. The problem is that the perimeter lock has let go, so the field spreads under load.
Base failure looks like rocking stones in the middle of the field, uneven sections that collect water, and hollow sound on the tap test. The edge is holding fine. The sub-base underneath is compromised.
Here is the diagnostic that separates them in five minutes:
- Stand at the outer edge and push firmly with your foot against the perimeter row. Movement out means edge restraint failure. Movement down means base failure.
- Tap the perimeter row and the field separately. Hollow at the edge only points to edge failure. Hollow across the field points to base.
- Pour a cup of water on the field mid-way. If it pools in the middle of the driveway, the field has settled and the base is the problem.
The good news: edge restraint repair is usually a half-day job. It’s the least expensive paver repair we perform, and a fresh concrete edge restraint set against compacted soil gives a durable fix. Re-setting stones into a broken base, on the other hand, is money spent twice.
Why Polymeric Sand Fails in Plano Heat and What Joint Sand Actually Holds
Polymeric sand (the most named product here is Alliance Gator brand and its G2 line) is designed to harden in the joint and lock the pavers together. In a climate with 20-plus days above 100°F and a clay-heavy subsoil, that chemistry has a real problem: the polymer cures once, and when a hairline crack opens in the joint during a thermal cycle, water gets under the sand and the bond releases across the entire joint in a single summer.
In our experience on Plano driveways, polymeric sand in the standard spec fails at the perimeter and the apron first, and the failure runs inward. You can spot it because the sand cracks in a straight line and lifts in flakes rather than washing clean away.
What actually holds in Texas summers:
- ASTM C144 joint sand (non-polymeric) topped with a penetrating sealer designed for pavers. The sealer is the stabilizer. It lets the joint remain slightly flexible through thermal expansion instead of cracking.
- Clean, angular sand with a graded curve. Rounded sand drains away. Angular sand locks.
- Joints 1/8 to 3/16 inch wide. Wider joints hold more sand but crack more easily in the polymer. Narrower joints hold less sand and drain better.
If you’re re-sanding between repairs and someone quotes polymeric sand as the permanent solution, ask specifically whether the formula is rated for the local temperature cycles or whether the joint will be sealed after. The seal step is often where the durability lives. If the answer is vague, get a second written quote from a crew that names the product and the spec.
Drainage and Grade: The Failure Under Every Other Failure
Plano sits on a mix of black clay and limestone-derived soil, and clay expands when wet and shrinks when dry. A driveway that sheds water properly on a February evening can push water under its own edge by August, because the grading around it moved with the clay. Water under the base is what causes the base failures we’re diagnosing on the tap test, so grading deserves its own section.
The minimum slope for a paver driveway is typically 1.5% to 2% away from the garage and building, and toward a drain, street, or swale. Below 1%, water lingers. Above about 4% across the field, the pavers start to migrate downhill. The sweet spot in Plano is a gentle 2% with a clear destination.
What to check on your own driveway:
- Where does water exit? If the answer is “under the garage door,” your grading has failed. That water goes into the foundation.
- Are there ponding spots? After a rain, walk the driveway and note every puddle that’s still there six hours later.
- Does the driveway day-light to soil, a swale, or a storm drain? A driveway that just stops at grass and dumps water against the fence is a drainage failure even if the pavers are level.
- Is the downspout discharging onto the driveway? A downspout dumping a roof’s worth of water across the field will erode joint sand in weeks, regardless of the sand spec.
Fixing drainage sometimes means lifting and re-grading the base over the downhill section (a targeted repair), and sometimes means adding a channel drain at the apron. Both are cheaper than a full reinstall after the base has failed everywhere.
What Base Repair vs. Reinstall Actually Costs in Plano
The single most useful number in this guide is the gap between a targeted repair and a full reinstall. In the Plano market, a properly scoped targeted base repair runs $300 – $900 per zone, while a full re-installation runs $12 – $22 per square foot. A 600-square-foot driveway at the low end of the reinstall range is $7,200; at the high end, $13,200. That’s a big enough gap that a homeowner needs to know exactly which failure they’re facing before accepting a proposal.
Line-item ranges we typically see on Plano paver work:
- Targeted base repair (one zone, 30 – 100 square feet): $300 – $900, including stone reset and joint sand
- Edge restraint replacement (perimeter): $200 – $500, depending on linear feet
- Re-sanding and sealing, whole driveway: $0.50 – $1.50 per square foot
- Full reinstall, removed and reset with fresh base: $12 – $22 per square foot
- Drainage addition (channel drain, tie-in): $400 – $1,200 per run
These are ranges, not quotes, and specs move them. A base repair that includes excavation to the full 6 – 8 inches of compacted base and a re-compacted sub-grade sits at the top of the range. A base repair that lifts the stones and refreshes the bedding sand without excavating the sub-base sits at the bottom and will not last as long. If a proposal gives you a single lump-sum price with no line items, ask for a written breakdown before signing. Every job we quote delivers the flat written price and a written scope before work starts, and if a competitor’s estimate leaves you unsure, we’ll review it line by line at no charge as a free second opinion.
The Documentation Checklist Before Any Repair Starts
Documentation is how you catch scope creep on the invoice. Take the following before a crew arrives, keep it on your phone, and compare it to the photo record you get after the work.
- Overhead photo of the whole driveway with hollow pavers chalk-marked (from the tap test).
- Close-up photos of every failed joint with a tape measure in the frame showing joint width and crack length.
- Photos of the edge restraint at all four sides, showing any separation from the field.
- A measurement of the affected area (length × width in feet) so you can check the square footage on the invoice.
- A photo of the drainage path after a rain, showing ponding spots and where water leaves the driveway.
- A photo of the base during demolition once work starts, showing depth and condition. Any reputable crew photographs this as part of the record.
Two items on that list catch most inflated invoices. First, if the invoice bills for 200 square feet of repair and your pre-work photos show a failed area the length of a parked car, the number is wrong. Second, if a proposal to reset stones shows no excavated base photo after the work, the spec was not followed. Every Rowan Construction Group job includes a documented photo record on every visit as standard, not an upgrade, because it’s the same data the customer needs to compare the invoice to the work. Under Clause 1 of the Haven Standard, the price is written before anyone starts, and no work proceeds on a change until the change order is signed.
Step-by-Step: How a Correct Repair Sequence Actually Runs
Whether you’re doing a single zone or the whole driveway, a proper repair runs in the same order. Skipping steps is what produces the same failure in two years.
- Map the failure zones first using the tap test, edge test, and drainage check. Don’t pick up a pry bar until this is done.
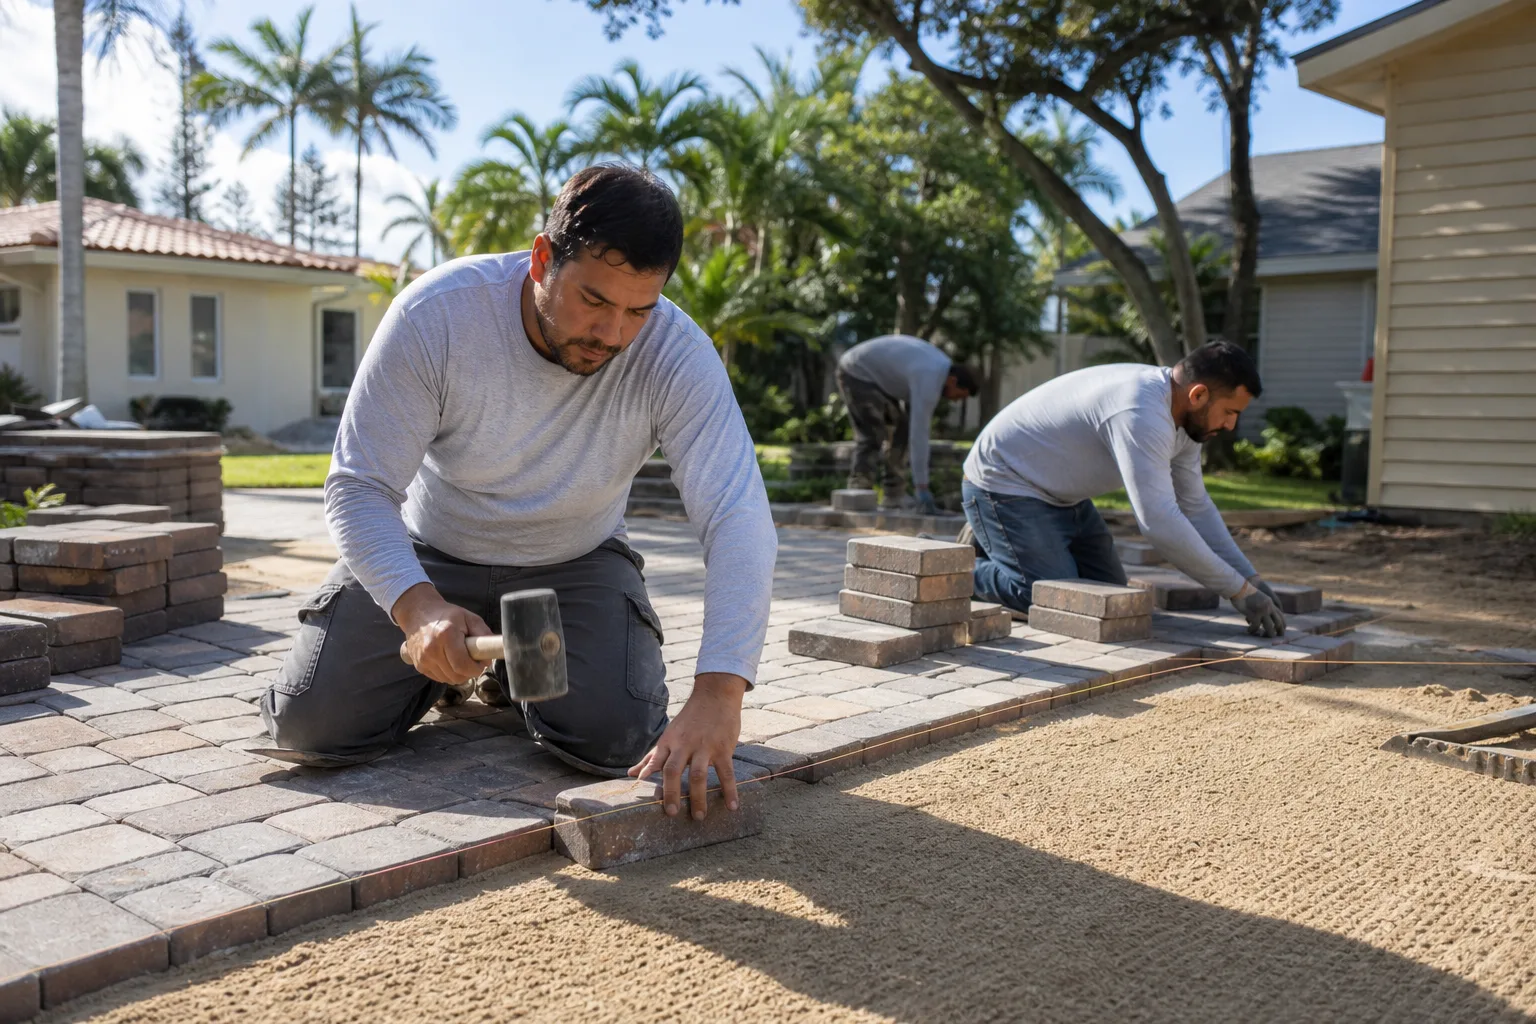
- Remove the affected pavers with a paver puller or a wide flat bar, stacking them in the order they came up so they can be reset in the same orientation.
- Excavate the base to the full 6 – 8 inches over the affected zone. Half-depth excavation is the most common reason a repair fails a second time.
- Re-establish the sub-grade and compact in 2-inch lifts with a plate compactor. This is where the fix lives or dies.
- Re-lay 1 inch of bedding sand, screeded level, then reset the pavers to grade.
- Install or replace the edge restraint with a concrete edge set against compacted soil, not against the field.
- Fill joints with ASTM C144 sand, compact again, and top off the joints.
- Seal the joint sand with a paver-rated penetrating sealer after a curing cycle.
Steps 3 through 5 are the ones to watch in any proposal. If the scope language says “reset pavers on existing base,” that’s a cosmetic fix with a two-year shelf life. On any paver or concrete work, ask for the base-depth spec in writing.
Common Mistakes to Avoid
- Re-setting a single rocking paver over the existing base. It costs the least and fails the soonest, because the void that let it rock is still there. The fix is the base, not the stone.
- Topping off joint sand with polymeric without addressing the crack pattern. In Plano heat, a cracked polymeric joint that gets refilled the same way fails again by the next August.
- Confusing edge restraint failure with base failure. A perimeter walk-out repaired as a base failure is a $5,000 invoice for a $400 problem.
- Ignoring the downspout discharge. A downspout dumping onto the driveway erodes joint sand faster than any other cause, and fixing the pavers without moving the water is money spent downstream of the actual problem.
- Accepting a lump-sum proposal with no line items. You can’t compare a fair quote to an inflated one when neither states square footage, base depth, or sand spec.
- Skipping the pre-work photo record. Without it, you have no way to confirm that the failed zone on the invoice matches the failed zone on the driveway.
- Letting a repair scope grow mid-job without a signed change order. If the base turns out to be worse than expected (and it sometimes does), a written change order protects you and locks the number before the crew proceeds.
See the difference
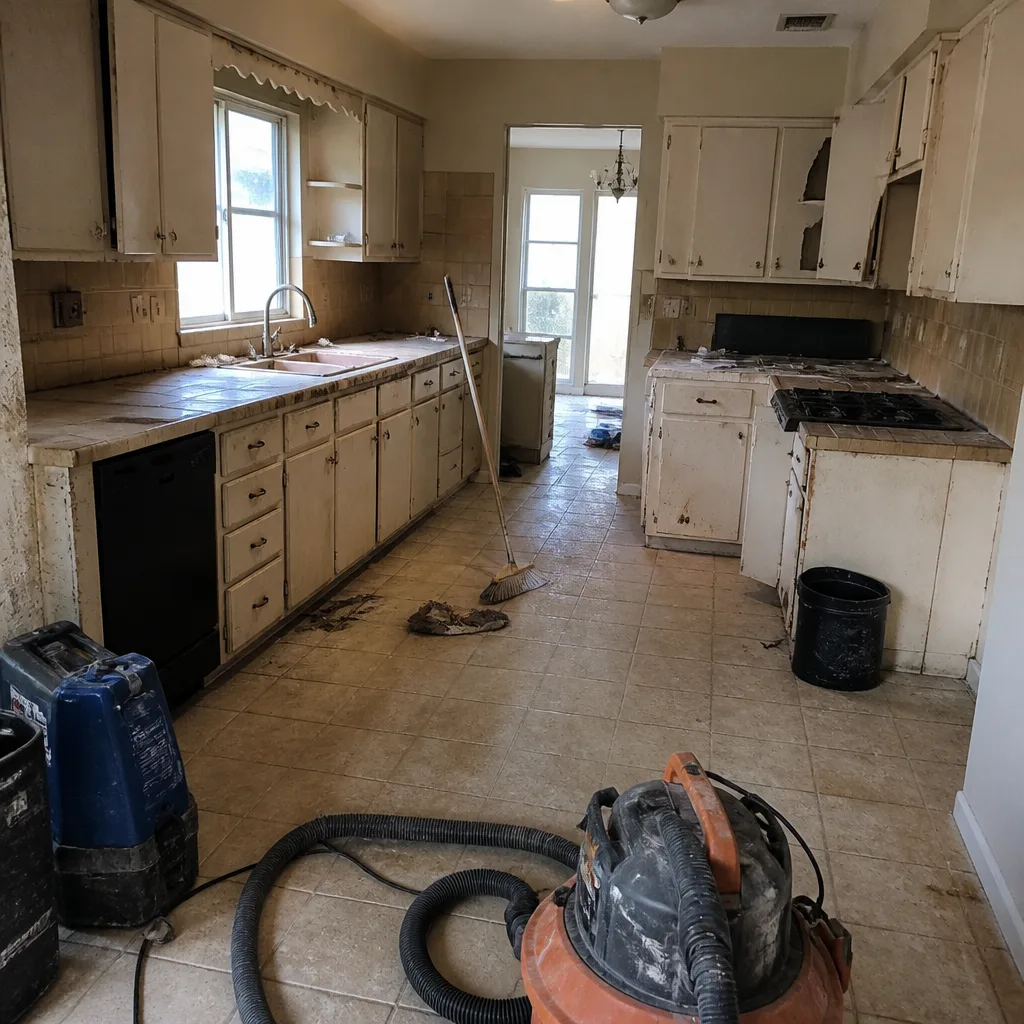 Before
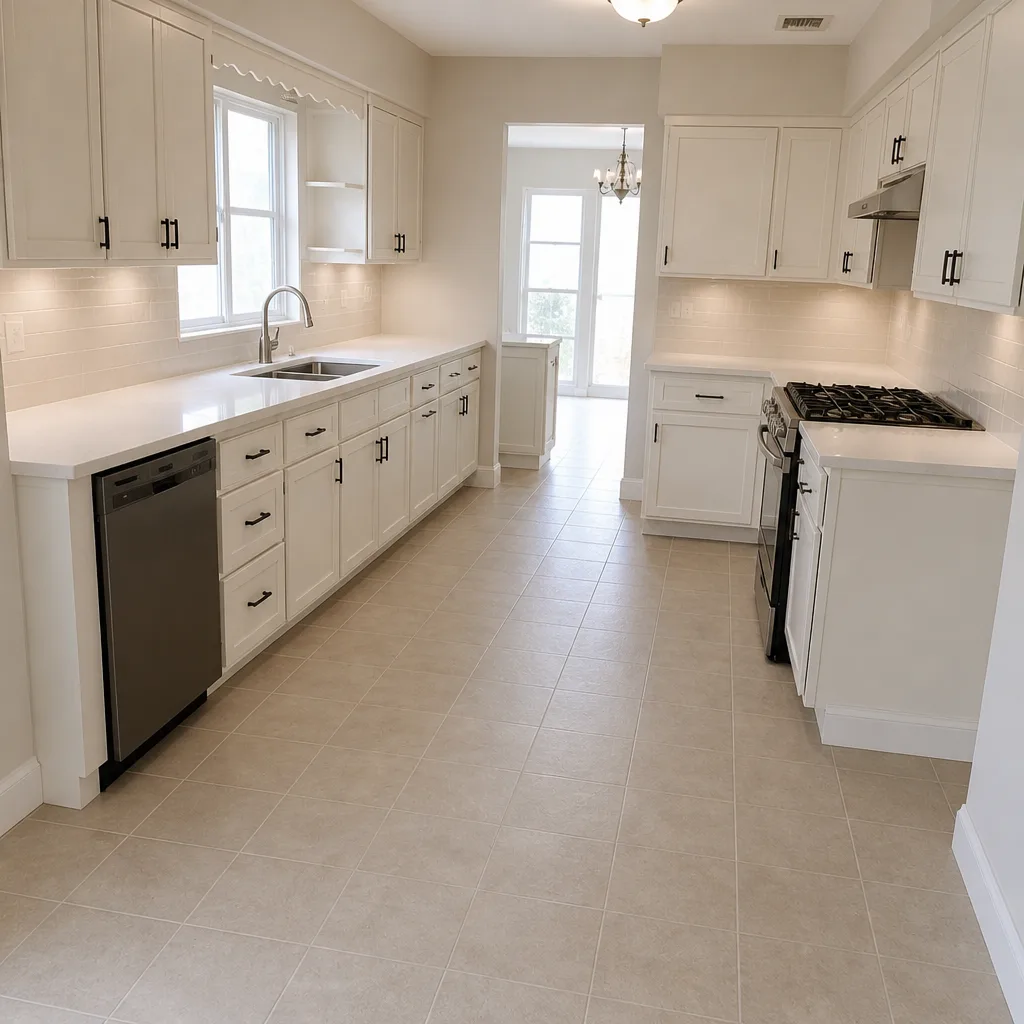 After
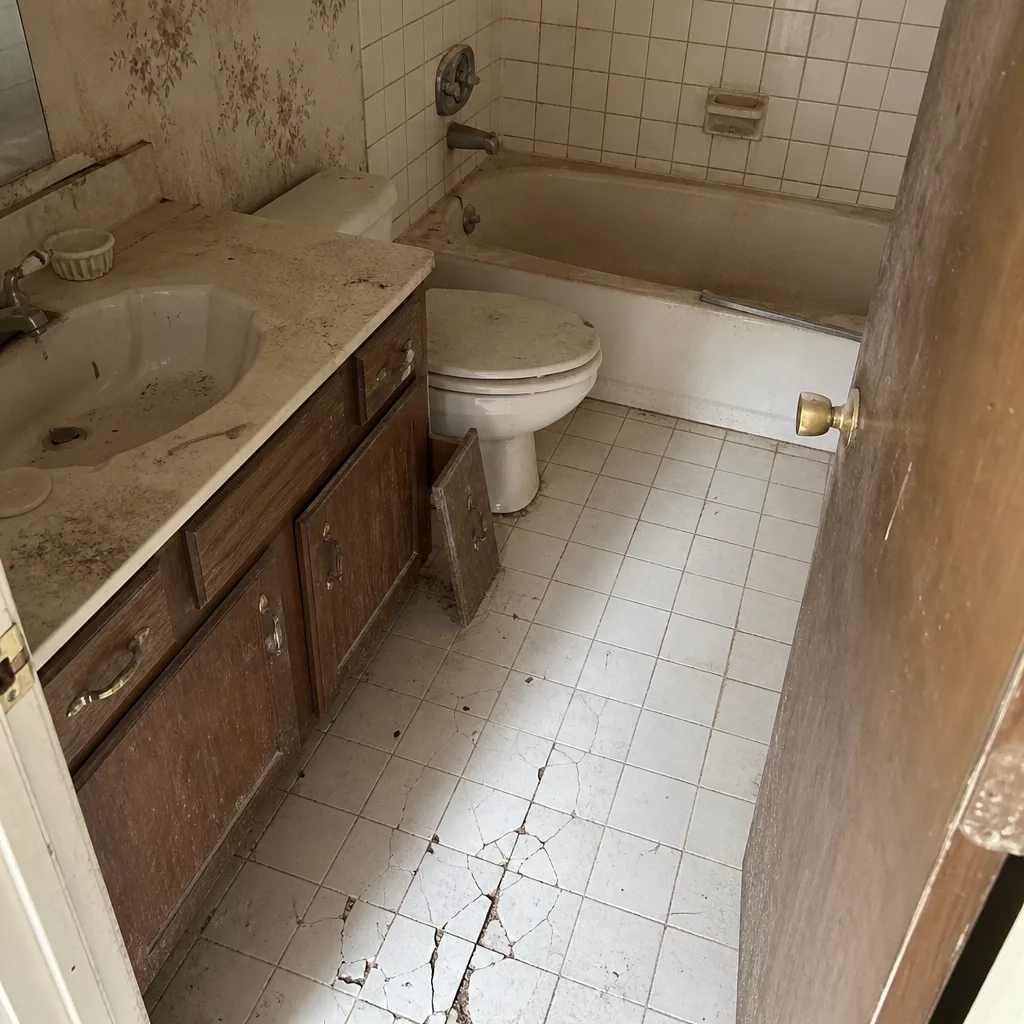 Before
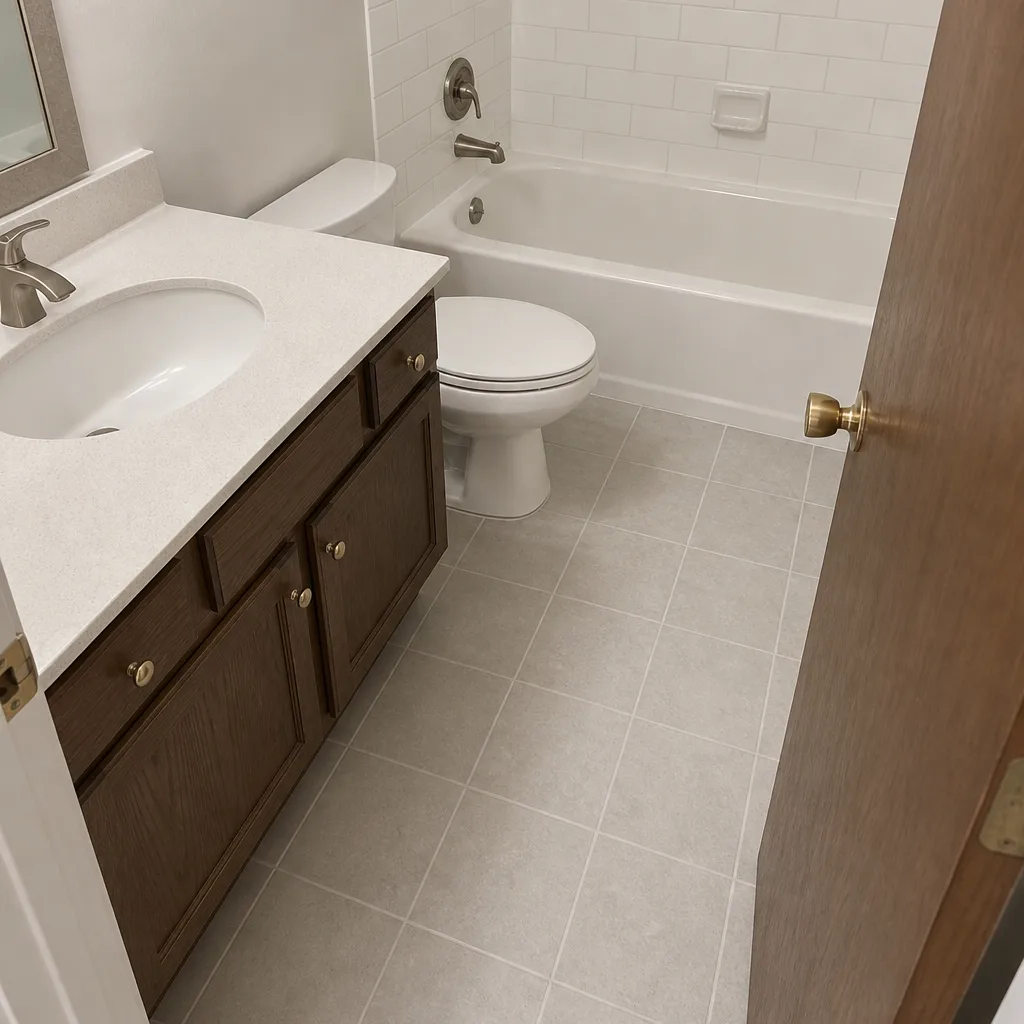 After
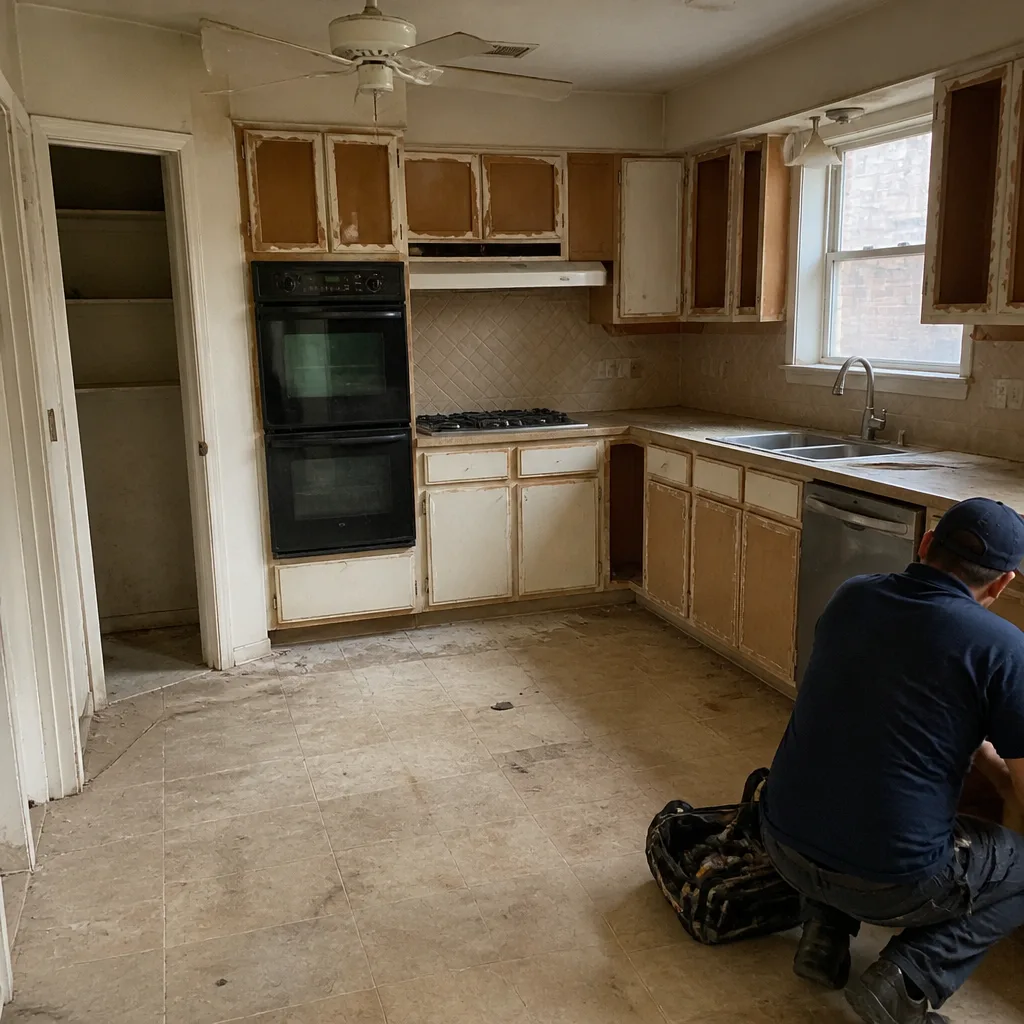 Before
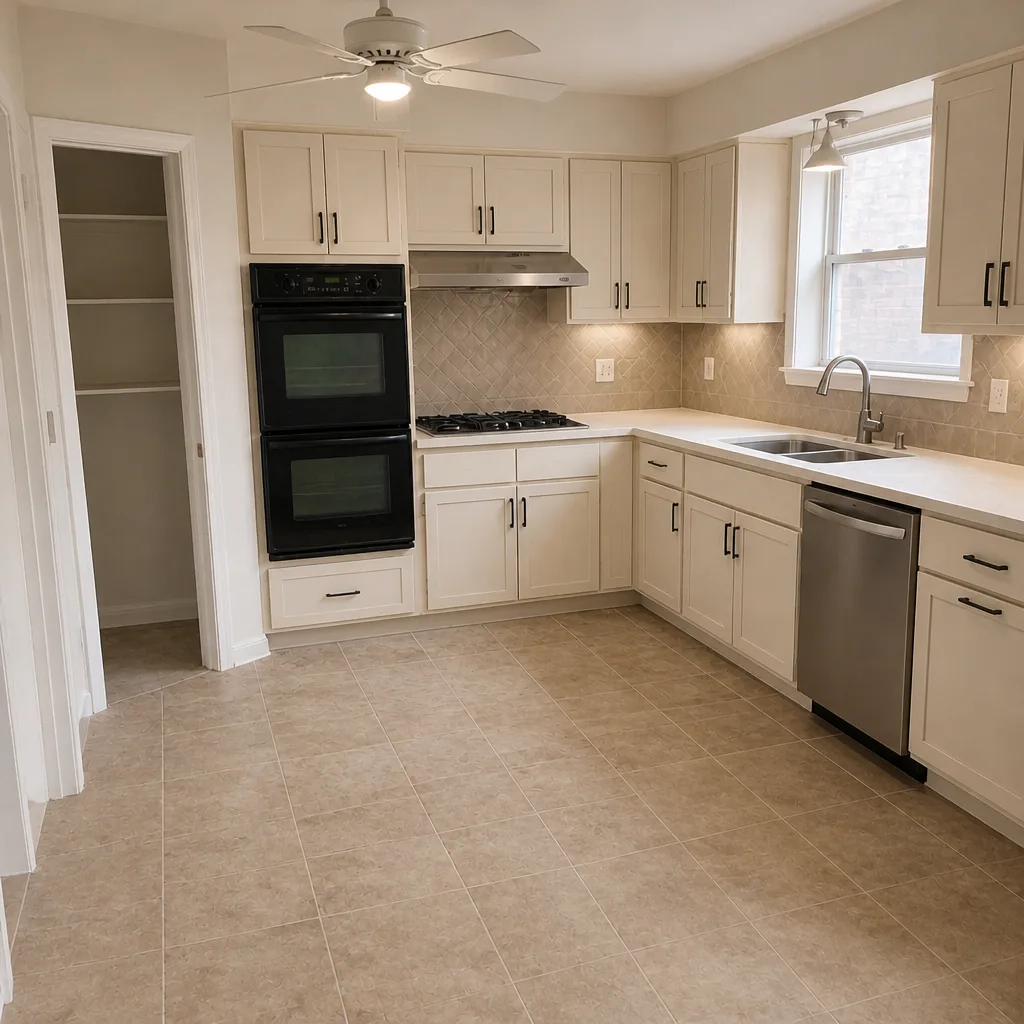 After
When to Call a Professional
Call a professional when the failure zone is larger than about 30 square feet, when the tap test returns hollow sound across a connected area rather than isolated pavers, when drainage needs a channel drain or re-grade, or when the driveway day-lights to the garage slab and water is getting in. Base excavation and compaction isn’t a homeowner task if the result needs to last more than a season, and re-grading a driveway that sits against the foundation is a job for someone who can read the grade and confirm it. Rowan Construction Group Plano offers free estimates in Plano, with a written flat price and written scope before work begins, and a 365-Day Done Right Promise if it isn’t done right. Call (844) 761-8346 to schedule yours. If you’ve already got a proposal in hand, bring it and we’ll review it line by line at no charge. Our technicians have up to 19 years of experience, and every crew member is background-checked and uniformed before arriving.
Frequently Asked Questions
A targeted base repair in Plano runs $300 – $900 per zone, edge restraint replacement runs $200 – $500 depending on perimeter length, and re-sanding with sealer runs $0.50 – $1.50 per square foot. A full reinstall runs $12 – $22 per square foot. Call (844) 761-8346 for an exact quote on your driveway, since the range depends on how deep the base failure goes. Estimates are free and come with a written scope.
Because the paver was re-set over a base that was never excavated and re-compacted. The bedding sand underneath a rocking paver is usually migrating into a void below, and without a full 6 – 8 inch excavation and compaction of the sub-grade, the same void returns within one or two seasons. The repair has to reach the base. Call (844) 761-8346 for a written estimate that specifies base depth.
It works in the right spec and fails in the wrong one. In Plano heat, standard polymeric formulas crack in the joint during thermal cycles and release across the whole joint. A joint filled with ASTM C144 angular sand and sealed with a paver-rated penetrating sealer holds better, because the joint stays slightly flexible instead of cracking. Ask any contractor for the exact sand and sealer spec before the work starts.
Map the hollow zones first with a rubber mallet. If hollow pavers cluster in fewer than about 15 stones in one connected zone, and the rest of the field taps solid, a targeted base repair is usually the right call. If hollow sound runs across more than a third of the driveway, or the field has a visible sag, a full reinstall is usually cheaper over a ten-year window. The cost difference is $300 – $900 for a repair zone versus $12 – $22 per square foot for a reinstall.
Most paver driveway repairs do not require a permit, but a full reinstall, a drainage change that ties into the storm system, or work inside a right-of-way or easement may. Rowan pulls permits and passes inspections when the scope requires it, and the written scope states in advance whether a permit is being pulled. Call (844) 761-8346 with the address and we’ll confirm what your scope needs.
Photograph the chalk-marked hollow pavers from above, close-ups of each failed joint with a tape measure in the frame, the edge restraint at all four sides, and the drainage path after a rain. Then measure the affected area in square feet so you can compare it to the invoice. Rowan includes a documented photo record on every visit as a standard deliverable, and the pre-work photos you take are the ones that catch scope creep.
The Bottom Line
Every common paver problem traces back to a base, edge, drainage, or joint-sand failure, and each one has a specific diagnostic test you can run before you call anyone. Tap the field for hollow zones, push the perimeter for edge failure, pour water for drainage, and look at the joints for sand spec. A targeted repair zone runs $300 – $900; a full reinstall runs $12 – $22 per square foot; the difference between them is a diagnosis you can make with a mallet and a morning. When the repair zone is larger than a patched area or the drainage needs re-grading, call in a pro. If you’re evaluating a proposal, ask for base depth, sand spec, and a line-item breakdown in writing. If you’d rather skip the detective work, we’ll do it for you.
Rowan Construction Group Plano handles driveway and paver work across Plano with a written flat price before any work begins, a signed change order on every change, and background-checked uniformed crews. Our related trades cover the rest of the property: Driveway & Pavers in Plano, Fence Installation in Plano, and Home Additions & ADU in Plano, all managed under the same Haven Standard. If the driveway is the first of several projects on your list, start with the Rowan Construction Group Plano home page to see how the process runs across trades. Call (844) 761-8346 for your free estimate. Written prices, no-hassle upfront, and a 365-Day Done Right Promise on the finished work.
Written by the team at Rowan Construction Group Plano.