Last updated November 18, 2026


Free written scope consultation - allowances, timeline, and change-order rules on paper before a single trade is scheduled
Fence Installation Troubleshooting: Common Problems and How to Fix Them
Here is what our technicians have watched play out on hundreds of fence repairs across Plano: a homeowner pays to reset a single cedar post, and eighteen months later, the whole span is leaning again. The post was never the problem. The depth was. A 4×4 post set 24 inches into North Texas clay will heave in a wet winter, and once it lifts out of position, the rail pull accumulates and the fence leans in stages. For a 6-foot fence, the correct depth is 36 to 42 inches, and most failed fence posts we examine in Plano were simply under-dug. This guide walks through that diagnosis step by step, from the two-symptom test to gate sag to documentation for an insurance claim.
Quick Answer
Fence post leaning repair in Plano costs $200 to $600 per post when the fix is done correctly, which means resetting the post at a depth of 36 to 42 inches rather than patching the concrete collar. The majority of fence problems in Plano – leaning posts, warped boards, sagging gates – share two root causes: insufficient post depth for the soil and moisture trapped against wood by a solid concrete collar. Distinguishing post failure from rail failure before you spend a dollar is the single most important step.
Styles & brands we work with
- Kitchen remodeling
- Bathroom remodeling
- Home additions & ADU
- Roofing
- Windows & doors
- Driveway & pavers
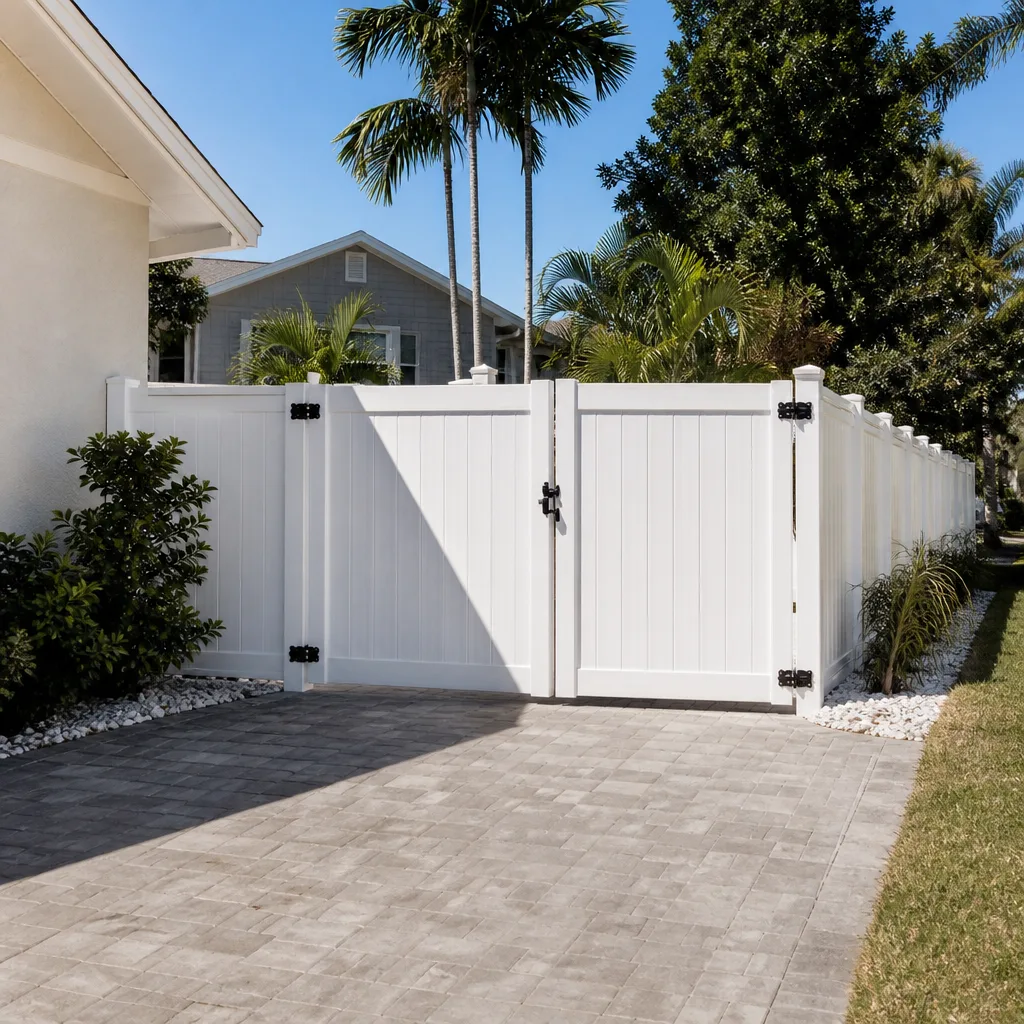
- Fence
Table of Contents
- The Two-Symptom Test: Post Failure vs. Rail Failure
- Why 24 Inches Fails in Plano Clay Soil
- Why Concrete Collars Rot Wood (and the Gravel Alternative That Doesn’t)
- Board Warping in Plano Heat: Cosmetic or Structural?
- Gate Sag Diagnosis: Three Mechanical Causes, Three Repair Costs
- How to Document Fence Damage for an Insurance Claim
- Installation Mistakes That Cause Repairs Later
- Drainage, Slope, and Post Line in North Texas
The Two-Symptom Test: Post Failure vs. Rail Failure
Before a single board comes down, determine which component is actually failing. Walk to the post that anchors the leaning span and push it firmly at chest height. If the post itself shifts, you have post failure. If the post holds firm and the rails flex under pressure, the rail or the fasteners have failed. The difference is not academic: post failure repairs run $200 to $600 per post when the post must come out, while rail or section repairs land closer to $45 to $90 per section.
Here is the test in numbered form:
- Push the anchor post at chest height. Any movement means the post has lost its soil grip.
- If the post is firm, walk the span and press each rail near the post. A rail that moves independently is a fastener or rail failure, not a post failure.
- Look at the post at ground level. A visible gap between soil and wood signals heave; a mushrooming wobble at the base signals rot.
- Pull a board and inspect the back of the rail. Bent nails, split cedar, or missing fasteners confirm rail failure.
- Check the span between posts for a change in height. A mid-span sag on one section usually points to rail failure, while a uniform lean across multiple sections hints at a post that has moved.
In Plano, we see a lot of the second kind of error: a homeowner replaces six boards when the real problem is a post eight inches off plumb. The boards are the symptom, not the cause. Getting this diagnosis right the first time is where a written scope earns its keep – if the repair scope doesn’t state which component failed, ask why.
Why 24 Inches Fails in Plano Clay Soil
Plano sits on expansive clay soil that swells when wet and shrinks when dry. A 6-foot fence is a sail; the taller the fence, the more wind load it carries, and the clay is the gripper. A post set 24 inches deep has about half the grip a 42-inch depth provides, and the margin for error evaporates in a season with heavy rain followed by a dry summer.
Under 6-foot panels, the minimum post depth we recommend is 36 to 42 inches, with 42 inches preferred on the clay-heavy lots common in Plano subdivisions. On 8-foot panels, the depth range shifts up to 42 to 48 inches. That’s the depth specification you should see on any written scope for Fence Installation in Plano. If your scope only says “set posts in concrete,” it does not specify depth, and short depth is what most failed fences have in common.
The other factor is the concrete itself. A short, wide concrete footer acts like a shallow footing on a swell-shrink soil; it can rotate under wind. A deeper, narrower hole in the clay – for example, an 8- to 10-inch auger hole to the depth above – lets the soil itself provide lateral support, with the concrete serving as the anchor, not the structure. In our experience, the fences that stay straight in Plano are the ones where the post hole was bored, not dug with a shovel, and the depth was measured on each corner post.
Why Concrete Collars Rot Wood (and the Gravel Alternative That Doesn’t)
A concrete collar is a ring of concrete poured around the post at the soil line. It feels durable, but it does nothing to seal the wood; it simply creates a hard boundary that traps moisture against the post. Fungi need moisture to establish, and a concrete collar holds moisture in the same way a concrete patio slab does. In our experience, cedar posts in Plano that fail at the soil line are almost always in a poured collar.
The gravel drainage option exists for that reason. Here is what a reasonable repair scope looks like:
- Post hole bored 10 to 12 inches in diameter to a depth of 36 to 42 inches
- Concrete footer set 8 to 10 inches thick at the bottom of the hole only, not the full depth
- Aggregate gravel (3/4-inch crushed stone) filled 6 to 8 inches around the post above the footer, graded to shed water
- Cap the top of the ground with soil and slight slope so water drains away from the post line
How long it takes: when we reset a single post under this method, the labor is typically 90 minutes to 3 hours depending on access, and we let the concrete cure 24 to 48 hours before re-hanging rails, which matters for the integrity of the repair. This is the method that shows up on our written scope for Plano homeowners, and it’s the one to look for when comparing bids from different contractors. Patching a failing collar with more concrete is a short-term answer. The gravel method is the durable one.
Board Warping in Plano Heat: Cosmetic or Structural?
Warped boards are the most common fence call we get in Plano, and the heat drives it. Cedar is stable, but it still moves; summer afternoons above 100 degrees expand and contract the board along the grain. The diagnosis rests on one question: is the board warping while the rails stay flat? If yes, you’re looking at a cosmetic board-only replacement, typically $8 to $15 per board installed. If the rails themselves are bowing and the boards are following the rails, the fix is structural: $45 to $90 per section.
Two details separate the two categories. First, check at eye level along the top edge of the fence. A few cupped boards are a cosmetic problem. A long wave across multiple sections follows the rail. Second, pull one board at a spot where the fence looks straight, and look at the nail pattern. Blown nails or split cedar at the fasteners mean the section has failed at the rail, even if the boards look okay from the street. When we patch a Plano fence, we check for that pattern before quoting, and the scope states whether it’s a board repair or a section rebuild so there is no surprise when the crew arrives.
Gate Sag Diagnosis: Three Mechanical Causes, Three Repair Costs
A sagging gate is a mechanical problem, not an aesthetic one. Three causes account for nearly all of them, and each has its own repair. Diagnose the cause before looking at any price.
- Hinge failure. Hinges pull out of the post or bend under load. Repair: reseat or replace hinges, typically $50 to $150 including labor and hardware, with hardware brand and gauge named in the scope. Treated pine gates get heavier when wet, so inspect the hinges after a rain.
- Post lean. The hinge post has pulled in the soil, and the gate hangs off a post that has moved. Repair: reset the hinge post using the depth and gravel method above, $200 to $600 depending on access and whether the concrete collar needs removal. This is the most common cause we see in Plano after a wet spring.
- Missing diagonal brace. The gate was built without a brace from the bottom hinge corner to the top latch corner. The gate sags under its own weight. Repair: install a diagonal brace or a metal gate kit, typically $60 to $180 including labor.
Here is how to tell which cause applies: open the gate halfway and let go. If it swings back toward closed or settles low, watch the hinge post at ground level. A post that moves with the swing is the cause. If the post stays put and the gate frame racks, it’s a brace or hinge issue. Fixing a hinge when the post is the problem is a common mistake and an expensive one, because the gate keeps pulling on the same weak post.
How to Document Fence Damage for an Insurance Claim
Wind, hail, and fallen limbs can turn a fence repair into an insurance claim, and the quality of your documentation decides whether it’s approved. The claim file should contain four things, and a contractor’s written assessment should address each one in writing.
- Measurements. Linear feet of damaged fence, post spacing, panel height, and the number of posts affected. Insurers price by the section, so the linear footage needs to match the actual line.
- Photographs. Wide shots of the fence line, close-ups of the damaged span, and at least one photo with a tape measure in frame showing post depth or damage extent. Date-stamp everything.
- Material identification. Cedar vs. treated pine, board width, cap rail, and gate hardware. A claim for cedar at treated pine prices gets shorted; get the material name into the file.
- A written assessment. The contractor’s letter should state what was found, what failed, and the cause, in plain language – for example, “post displaced by wind load, soil displaced at depth 24 inches, recommend reset to 42 inches.” It should also state that it is an opinion based on inspection, which is what adjusters look for.
The insurer will typically ask whether the damage is wind or wear. That distinction matters. In Plano, a fence near its service life that blows down in a storm is often a wear-and-tear claim, not a wind claim, and the adjuster will say so. The contractor’s assessment should describe the condition it found rather than only the damage it sees. A photo record from the contractor on each inspection helps here, and it’s the standard practice on our jobs. If a claim is denied, the file still documents the repair for a Rowan Construction Group Plano home project scope.
Installation Mistakes That Cause Repairs Later
Most of the repairs in this guide were preventable at installation. The list below is where we see Plano fences go wrong, and it’s worth checking any bid against it.
- Posts set at 24 inches instead of 36 to 42 inches. The short footer loses grip on clay within a few wet seasons, and the fence leans in stages.
- Concrete poured the full depth of the hole. This is the collar effect, and it accelerates rot at the soil line, turning a 20-year post into an 8-year post.
- No slope or drainage allowance at the base. Water pools against the post line, and pooled water is the invitation for rot and termites.
- Rails nailed rather than screwed. Nails pull out under the seasonal expansion and contraction that Plano heat drives, and blown nails are the second most common repair call after leaning posts.
- Gates built without a diagonal brace. The gate sags under its own weight from day one, and the fix costs more than building it right.
- No written depth or material specification. If the bid doesn’t name the depth, the species, and the fastener, the crew on the ground has no standard to meet.
- Boards butted tight with no gap. Boards need an expansion gap, and tight butting causes buckling that shows up in the first hot summer.
For larger projects, the same discipline applies whether the scope is a fenced yard, a Home Additions & ADU in Plano build, or a driveway that ties into the fence line. A written scope is what makes all of it checkable. The brand names in our own quotes are evidence too: when we specify hardscape or exterior materials, the quote names the product line, the way a KraftMaid cabinet quote names the cabinet line. The point is that you can check the number and the product, not just the total.
Drainage, Slope, and Post Line in North Texas
Plano lots drain toward the street, and a fence line often sits near the low side of the yard. When a post sits in a low spot, the soil stays wet longer, and the rot clock runs faster. Before any fence installation in Plano, check the grade at the post line and plan for water to move away from the fence. A 2 to 3 percent slope away from the post is usually enough, and where the grade can’t be changed, a French drain or a shallow swale along the fence line is the alternative.
Combine that with the clay: in a wet winter, the clay swells, and in summer, it shrinks. The post has to move with it, or the collar has to give. Bored holes and gravel collars are what let the post move slightly without losing grip. A solid concrete collar does the opposite: it holds the post rigid at the top while the soil moves below, which is how you get a cracked collar and a leaning post in the same repair. The Driveway & Pavers in Plano work we do shares this concern, because the paver base and the fence base both fail when drainage is ignored. If you’re planning a fence along a driveway or patio edge, get the grade plan into the written scope before anyone digs.
Common Mistakes to Avoid
- Replacing boards before checking the post. A new board on a loose post will warp within a season. Push the post first, then price the repair.
- Patching a cracked concrete collar with more concrete. This traps more moisture against the post and speeds the rot. Remove the old collar and re-set with gravel.
- Setting a post only 24 inches deep. That’s the wrong depth in clay, and it’s what most leaning posts in Plano have in common.
- Nailing the rails on a repair. Nails pull out in the heat; screws don’t. The extra labor is small, and the repair will last.
- Ignoring a gate hinge until the gate falls. A loose hinge pulls out of the post over time, and the cost of the repair rises with each week you wait.
- Not writing down the depth and the material. A scope that doesn’t state the depth, the species, and the fasteners gives the crew no standard. Ask for it in writing.
- Missing the insurance deadline. Most policies ask you to report a loss promptly, so document the damage and submit the file before the repair. Photos are harder to take after the crew has removed the damaged boards.
See the difference
 Before
 After
 Before
 After
 Before
 After
When to Call a Professional
Some fence repairs are manageable for a careful homeowner with time and the right tools. Post replacement is not one of them. Digging a 42-inch hole in Plano clay requires the soil to be moved, the old concrete collar to be broken out, and the new post to be set at the correct depth with the right gravel collar. Making a mistake here is not just an inconvenience; it’s a risk of injury from the concrete and the loosened post, and it’s the difference between a repair that lasts and one that leans in two seasons.
Call a professional when the post moves at chest height, when the failure is on a gate hinge post, or when you’re filing an insurance claim and need a written assessment. We work with hauls, augers, and the paperwork the adjuster needs, and we put the scope in writing before any board comes down. Rowan Construction Group Plano offers free estimates in Plano – call (844) 761-8346. Bring a competitor’s quote and we’ll review it line by line at no charge under our Free Second Opinion offer, so the number you decide on is one you can check. You can also start with our Fence Installation in Plano page to see the specs we write into every scope.
Frequently Asked Questions
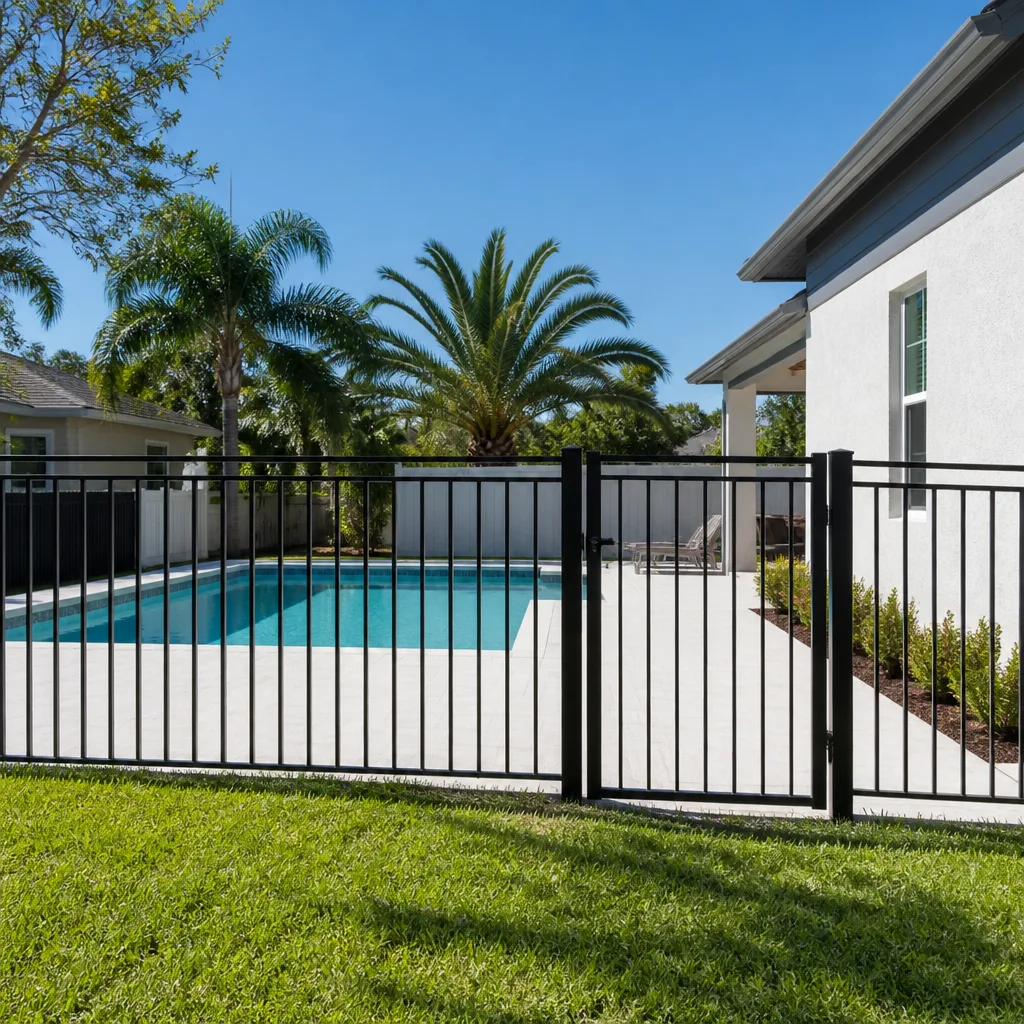
Fence post leaning repair in Plano typically costs $200 to $600 per post, with the price depending on access, whether the old concrete collar needs to be removed, and whether the repair is on a corner post or a gate hinge post. The depth of the post is the main driver of the number. Call (844) 761-8346 for an exact quote – estimates are free.
Removing and re-setting a post in Plano clay is not a do-it-yourself repair. Digging a 36- to 42-inch hole, breaking out the old concrete collar, and setting the gravel drainage are hard to do safely by hand, and an undersized repair will fail again within a couple of seasons. We recommend a trained professional for post work. Estimates are free at (844) 761-8346.
For a 6-foot fence in Plano, set the post 36 to 42 inches deep, with 42 inches preferred on clay-heavy lots. For an 8-foot fence, use 42 to 48 inches. A post set only 24 inches deep will heave in a wet winter, which is why so many leaning fences in Plano start with a post dug too shallow.
Use concrete only as a footer at the bottom of the hole, with gravel packed around the post above it. A full concrete collar traps moisture against the wood, and that moisture speeds rot at the soil line. The gravel alternative costs about the same in materials, takes roughly 90 minutes to 3 hours in labor for a single post, and lasts longer in North Texas heat and rain.
Repair and like-for-like replacement of an existing fence usually don’t require a permit, but a new fence or a change in height or location may. Rules can vary by parcel and HOA, so confirm before any installation. A contractor who writes the scope should also tell you whether a permit applies – call (844) 761-8346 to ask about your address.
The written assessment should state the linear footage damaged, the material and species, the failure cause in plain language, and the recommended repair, and it should include dated photos with a tape measure in frame. Ask for it in writing before the crew starts. An assessment built this way is what an adjuster can act on.
The Bottom Line
A leaning post, a warped board, and a sagging gate all trace back to the same two questions: was the post set deep enough, and was the base built to drain. In Plano’s clay soil and summer heat, the answer to those questions decides whether a repair lasts or fails again. Use the two-symptom test before you spend a dollar. Price post failure separately from rail failure, because the gap is $200 to $600 versus $45 to $90 per section. And get the depth, the species, and the fix in a written scope before the crew arrives. That is the process behind every quote we write.
Call Rowan Construction Group Plano at (844) 761-8346 to schedule a free estimate. We quote a flat written price with a written scope and a written warranty before work starts, back it with the 365-Day Done Right Promise, and supply a documented photo record on every visit. That is the standard we build to, on every repair and every new fence line.
Written by the team at Rowan Construction Group Plano.