Last updated November 18, 2026
Free written scope consultation - allowances, timeline, and change-order rules on paper before a single trade is scheduled
DIY vs Professional Driveway & Pavers: What’s Safe to Do Yourself
The most expensive mistake in a DIY paver driveway usually isn’t the pavers. It’s the $180 plate compactor a homeowner decides to skip. Hand-tamping a 400-square-foot base feels productive and costs nothing upfront, but it will not reach the 95% Proctor density the base material requires, and a base that loose will shift within a season or two. This guide breaks down the paver job by equipment, not skill, so you can see exactly which tasks pay off when you do them yourself and which ones quietly void a manufacturer warranty. It’s written from Plano, where expansive clay soil makes the compaction question more urgent than it is almost anywhere else.
Quick Answer
Pattern layout, cutting pavers on straight runs with a rented masonry saw, and re-sanding joints are safe DIY tasks for a patient homeowner with a level eye. Everything that depends on equipment you’d have to rent or buy, meaning base compaction and edge-restraint anchoring, is where a professional is worth the money. Both of those tasks also happen to be the ones that void the manufacturer warranty on Belgard and Techo-Bloc products if they aren’t done to spec, so a failed DIY base in Plano costs more to remedy than hiring the base work out in the first place.
Styles & brands we work with
- Kitchen remodeling
- Bathroom remodeling
- Home additions & ADU
- Roofing
- Windows & doors
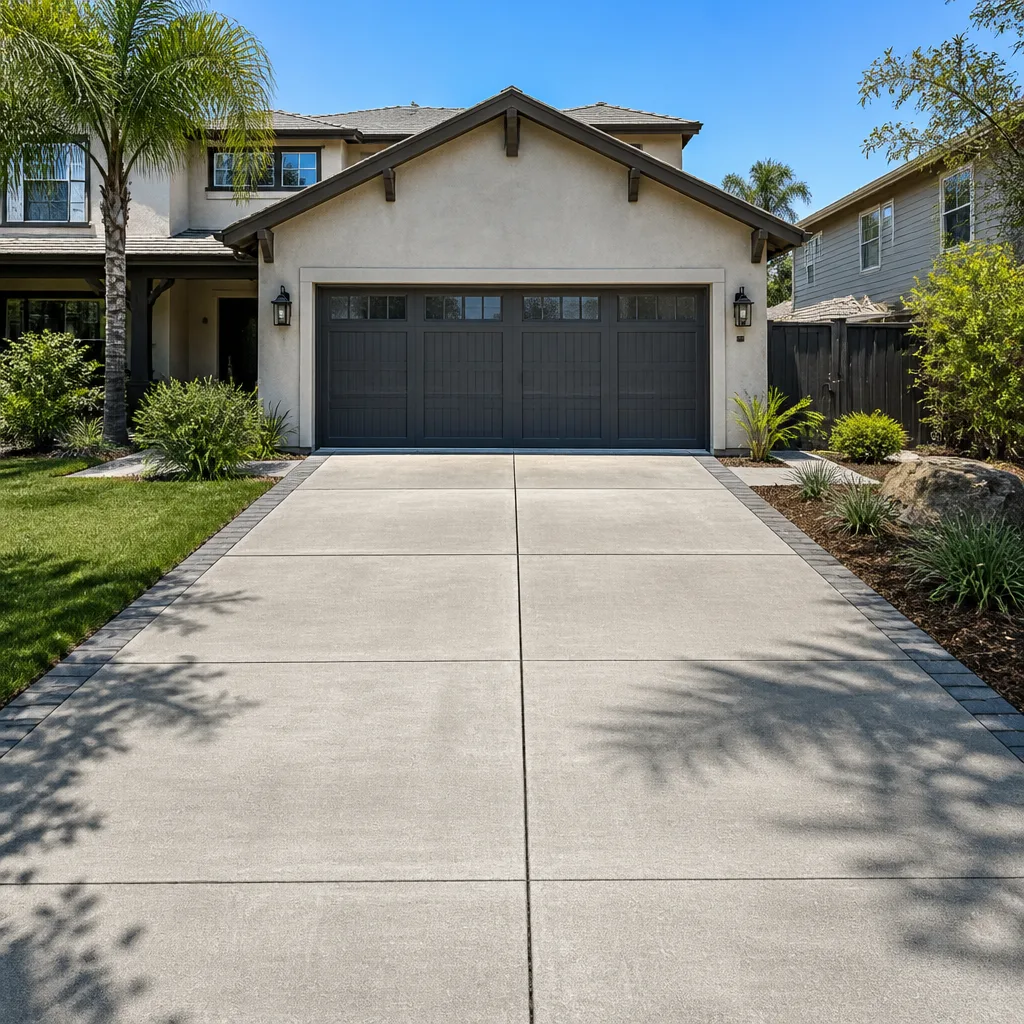
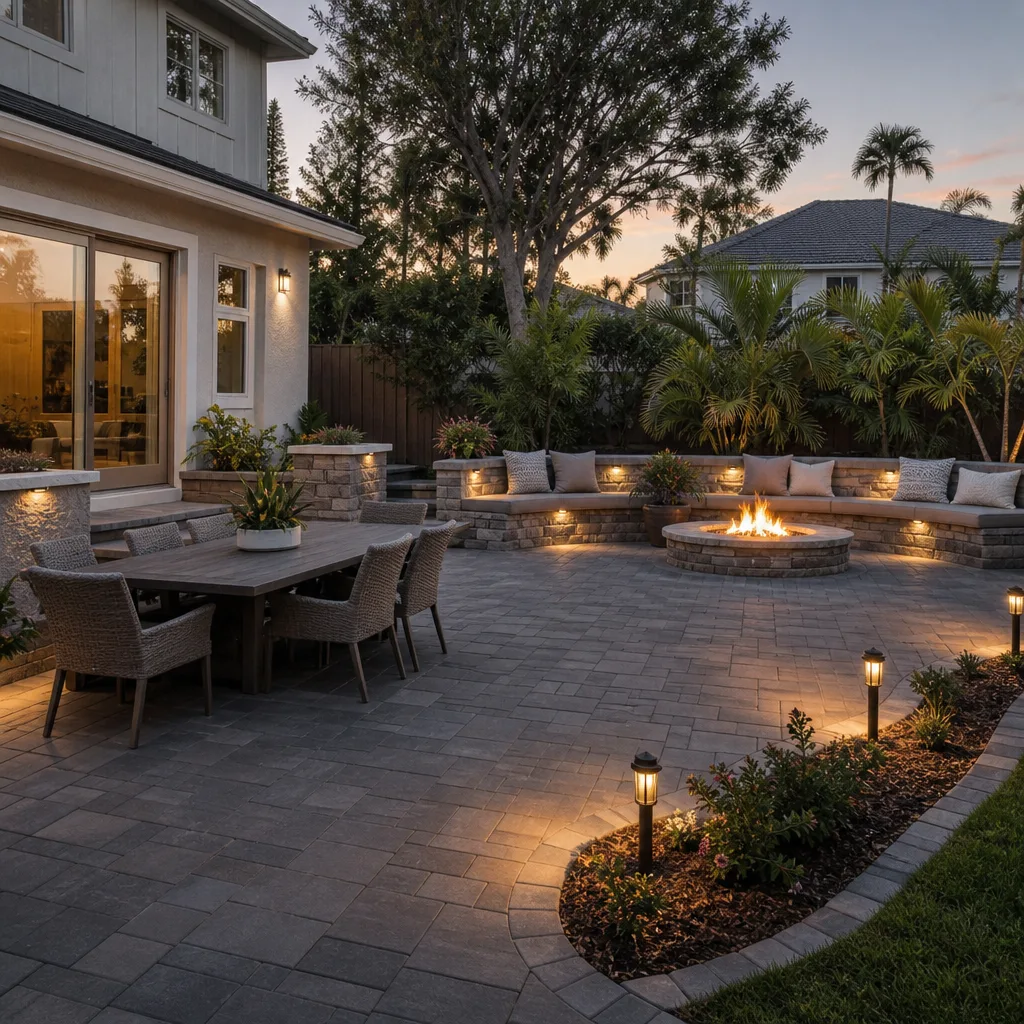
- Driveway & pavers
- Fence
Table of Contents
- The equipment list, with rental prices
- The three tasks where DIY is genuinely viable
- The two tasks that void a manufacturer warranty
- How to verify a contractor’s compaction work
- What a Plano permit inspection actually tests
- The real cost math: rent, buy, or hire
- Common mistakes to avoid
- Frequently asked questions
The equipment list that decides your DIY cost
Before you price a single paver, price the tools the job actually requires. Paver driveways are built with heavy equipment for a reason, and renting that equipment is not a rounding error in the DIY budget. Here’s the standard kit for a residential driveway in Plano, with the going rental price for a one-day job:
- Plate compactor: roughly $180 per day. Used twice, once for the sub-base and once after the sand bedding goes down, so budget $360.
- Laser level or rotary laser: roughly $60 per day. A string line works on a small patio, not on a 400-square-foot driveway with fall toward the street.
- Masonry saw (wet saw): roughly $120 per day. Blade wear and water supply are on you, and a dull blade chips the face of the paver.
- Hand tamper: $40 to buy. Fine for the border row, useless for the field of a driveway.
- Wheelbarrow, landscape rake, level, rubber mallet, 4-foot spirit level: $150 to $250 depending on what you already own.
Add the truck and trailer to move the base material, and a homeowner who rents everything for two days is already in for $600 to $700 before a single paver arrives. That number is the honest starting line for the DIY-versus-hire comparison. If you’re still weighing which driveway option makes sense for your property, our page on Driveway & Pavers in Plano lays out the material choices.
The three tasks where DIY is genuinely viable
We’re not going to tell you that a homeowner can’t do a meaningful part of a paver driveway. You can, and here’s where the effort pays off without putting the finished surface at risk. Each of these three tasks comes with a skill prerequisite, so be honest with yourself about whether you meet it.
- Pattern layout. Running bond, herringbone, and basketweave are geometry problems, not strength problems. If you can snap a chalk line on a 90-degree corner from the house and keep a 1/8-inch joint consistently, you can lay out the pattern. Plan it on paper first with the actual paver dimensions, then dry-lay a course to check the cut at the edges before the base is even down.
- Paver cutting on straight runs. Straight cuts with a rented wet saw are manageable for a careful homeowner. Curves, radius cuts, and notched cuts around a cleanout need a hand with a wet saw and a diamond blade, and a homeowner learning on the fly will burn through blades and break pavers. Practice on the cut-offs first.
- Re-sanding the joints after installation. Sweeping polymeric sand into the joints and misting it to activate is something you can do yourself, and it’s the task most likely to need a re-do a couple of years down the line after the surface settles. Re-sanding is maintenance, not installation, and staying on top of it extends the life of any driveway. Our guide to Fence Installation in Plano covers a similar maintenance rhythm for a fence line.
If a project under your purview grows past the driveway, the same principle holds. Planning is the low-risk part. Our team handles whole-home work like Home Additions & ADU in Plano under the same written-scope discipline as a paver driveway.
The two tasks that void a manufacturer warranty
Here’s where the DIY math turns. Two parts of a paver installation are covered by the product manufacturer’s warranty only if the installation meets the published spec. Get them wrong and the warranty on your Belgard or Techo-Bloc pavers is gone, which means the first time a paver cracks or settles, you’re paying for the replacement yourself.
Edge-restraint anchoring. The edge restraint is the aluminum or plastic channel that holds the field of pavers in place against lateral pressure. It’s anchored into the base with spikes driven to a set depth and spacing, and the spikes have to reach sound material below. Miss the depth or the spacing and the edge restraint lifts, the field spreads, and the joints open. Every time.
Base compaction verification. The base is the layer of crushed stone between the dirt and the sand bedding. It has to reach 95% Proctor density, which is the standard measure of how tightly compacted a material is relative to its maximum laboratory density. A plate compactor run in lifts of the right thickness, with moisture content checked between passes, is how you get there. A hand tamper does not. Neither does a plate compactor run once over a 6-inch base instead of in two 3-inch lifts.
The manufacturer’s warranty language on both is standard trade fare, and we’ve read it on every brand we install. If the base wasn’t verified and the edge wasn’t anchored to spec, the warranty doesn’t apply. If you’re renovating a bathroom at the same time and shopping stone, the same principle holds for Silestone and Caesarstone surfaces: the fabrication and installation specs are part of the warranty, not an afterthought. Kohler and Moen fixtures work the same way.
How to verify a contractor’s compaction work (without owning a nuclear gauge)
A nuclear density gauge is the tool a soil technician uses to measure compaction in the field, and it costs several thousand dollars, so no homeowner is going to buy one. You don’t need to. You need to know what to look for on the site and what documentation to ask for at the end. Here’s the checklist we’d hand a neighbor.
- Watch the base go down in lifts. A competent crew spreads the crushed stone in 2- to 3-inch layers and compacts each one before the next. If the truck dumps a foot of base and the compact runs over the whole thing once, the bottom of that base is loose and the top is dense, and the two layers will separate. Ask the crew how many lifts, before they start.
- Check the moisture. Base material compacts to spec at the right moisture content, roughly a squeeze test: grab a handful, and it should hold together in a ball without running water. A dry pile of crushed stone won’t reach density no matter how many passes you make.
- Ask for the plate run count. The good crews run the plate compactor in multiple passes per lift, overlapping the previous path by half the plate width. You’re not auditing the count, you’re confirming the crew has a number in mind. A crew that says “as much as it needs” hasn’t thought about it.
- Look at the photo record. Our own crews document every visit with photos, including the base in lifts and the edge restraint before the pavers went over it. Ask any contractor to include that photo record with the final invoice. A contractor who does good base work has no reason not to photograph it.
- Check the edge restraint by hand, before the sand goes in. Press down on the top of the aluminum channel along its length. It shouldn’t wiggle. If it does, the spikes are too shallow or too far apart.
Any contractor who balks at the photo request is telling you something. Our written-scope pricing means the scope of work, including the compaction lifts, is on paper before the crew shows up. You can compare a written quote against a competitor’s quote line by line with our free second opinion, and we’ll tell you if the compaction step is missing from theirs. That happens more than you’d expect.
What a Plano permit inspection actually tests
Plano requires a permit for a driveway replacement that changes the footprint or alters the connection to the public right-of-way, and the inspection that follows tests a specific set of things. It does not test whether your base hit 95% density. Understanding what the inspector checks and what they don’t is the difference between a clean sign-off and a failed inspection that costs more to fix than the original work.
The inspector generally checks three things: the driveway’s grade and drainage, meaning water has to fall away from the house and toward the street or a drainage path without ponding; the setback and footprint from the property line and the right-of-way; and the connection at the curb or apron, where the driveway meets the public street. In Plano, the expansive clay soil is what makes the drainage check matter. Clay swells when wet and shrinks when dry, and a driveway that ponded water along its edge will crack and heave within a few summers. The inspection process is built to catch the water problem, not the compaction problem.
Here’s where a failed DIY inspection costs more than it saved. If the grade is wrong, the driveway has to be lifted, the base re-graded, and the surface re-set. You’ve paid for the pavers twice, and you’ve paid for the base work twice. If the base was also under-compacted, the second failure comes a season later, and the homeowner often blames the pavers rather than the base. In our experience, the base fix is the expensive one, and it’s the one a homeowner cannot see going wrong until the joints open.
If your project touches the fence line at the same time, the same permit-and-inspection logic applies to the fence. You can read more on that in our Fence Installation in Plano guide.
The real cost math: rent, buy, or hire the base
The DYI-versus-hire question comes down to three numbers, not one. Here’s the comparison for a 400-square-foot paver driveway with a 6-inch base, using the rental prices above and Plano market rates for base work.
- Full DIY (rent everything, do the base and the install yourself): $600 to $700 in rentals and consumables, plus $400 to $600 in base material and poly sand, plus the pavers themselves at $3 to $8 per square foot for the concrete and clay lines. Total for a homeowner with weekends to spare: roughly $2,500 to $4,500 on materials and rentals.
- Hybrid (hire the base compaction and edge restraint, lay the field yourself): a pro crew handles the base and edge, you set the pavers and cut the straight runs, you re-sand. The savings compared to a full install are real, and the warranty-relevant work is done to spec.
- Full professional install: the base, edge, layout, cut, and sand are all under a written scope and a workmanship warranty. A flat written price covers the whole job, and any change has to be signed off before work proceeds.
The hybrid path is where we see the most frustrated homeowners, because getting a contractor to do the base and edge without the rest is a scheduling problem, not a pricing one. Many crews won’t take a job that someone else is going to finish. The practical version of the hybrid is the full install with the homeowner keeping the re-sanding and maintenance, which is the DIY task that already made our safe list.
One more cost a homeowner shopping a quote often misses: the contractor’s material sourcing. Rowan buys from 50-plus vetted brands across the seven trades, including Belgard and Techo-Bloc pavers, and the relationship with the supplier is what keeps the written quote honest rather than padded. If you bring a competitor’s quote to us, our free second opinion reviews it line by line and tells you whether the base and edge work is even on it. It’s a line-by-line review at no charge, and it’s the moment most homeowners discover the compaction step was never in the quote. Rowan’s home page at Rowan Construction Group Plano home shows the full scope of the trades.
Common Mistakes to Avoid
- Skipping the plate compactor to save $180. The base will shift and the joints will open within a season or two, and the fix costs several times what the rental would have. The compaction step is not optional, and 95% Proctor density is not achievable by hand on a driveway scale.
- Compacting a thick base in one lift. A 6-inch base has to be compacted in 2- to 3-inch layers, and the bottom of a single-lift base stays loose. Ask a crew how many lifts they’ll run before you sign a contract.
- Picking pavers by color before checking the base. The pavers are the visible part, and the base is the function of the driveway. A homeowner in Plano reading three-star reviews will find plenty of complaints from jobs where the pavers looked great for one summer and then settled at the edge.
- Using a hand tamper on the field of a driveway. A hand tamper works for the border row and around a cleanout. It does not compact the field, no matter how many hours you put in. This is the single most common DIY error we see on a base that failed.
- Setting the edge restraint too shallow. The spikes have to reach sound material, and if they don’t, the edge lifts and the field spreads. This voids the warranty as surely as a bad base, and it’s a two-inch error you can check with a tape measure.
- Ignoring the drainage grade toward the street. Plano’s clay soil will pond water along a driveway edge with no fall, and ponding water means heaving and cracking over a few summers. The permit inspection is designed to catch this, and a re-grade means lifting the pavers and starting over.
- Re-sanding with the wrong product. Polymeric sand has to be swept into the joints, misted to activate, and left alone to cure. Regular play sand washes out in a couple of rainstorms, and then the joints are open and the pavers start to rock.
See the difference
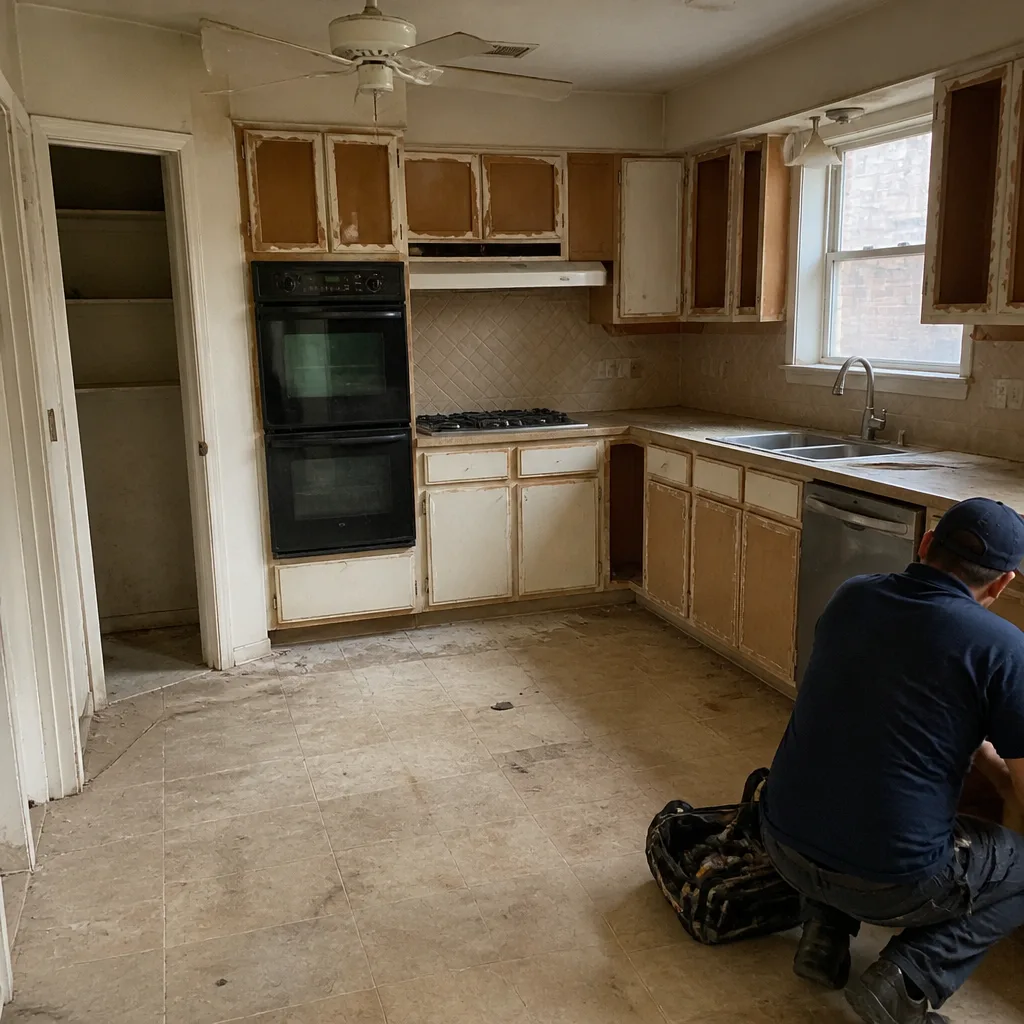
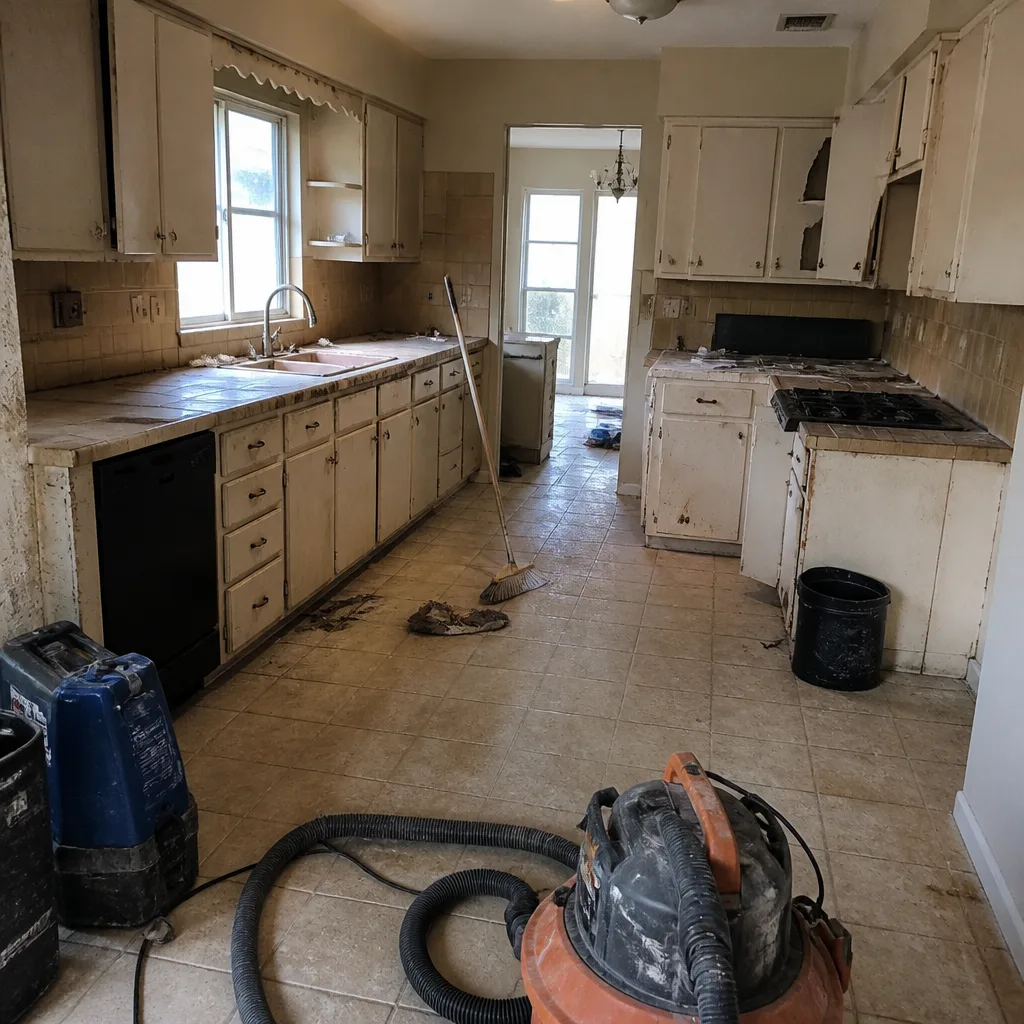 Before
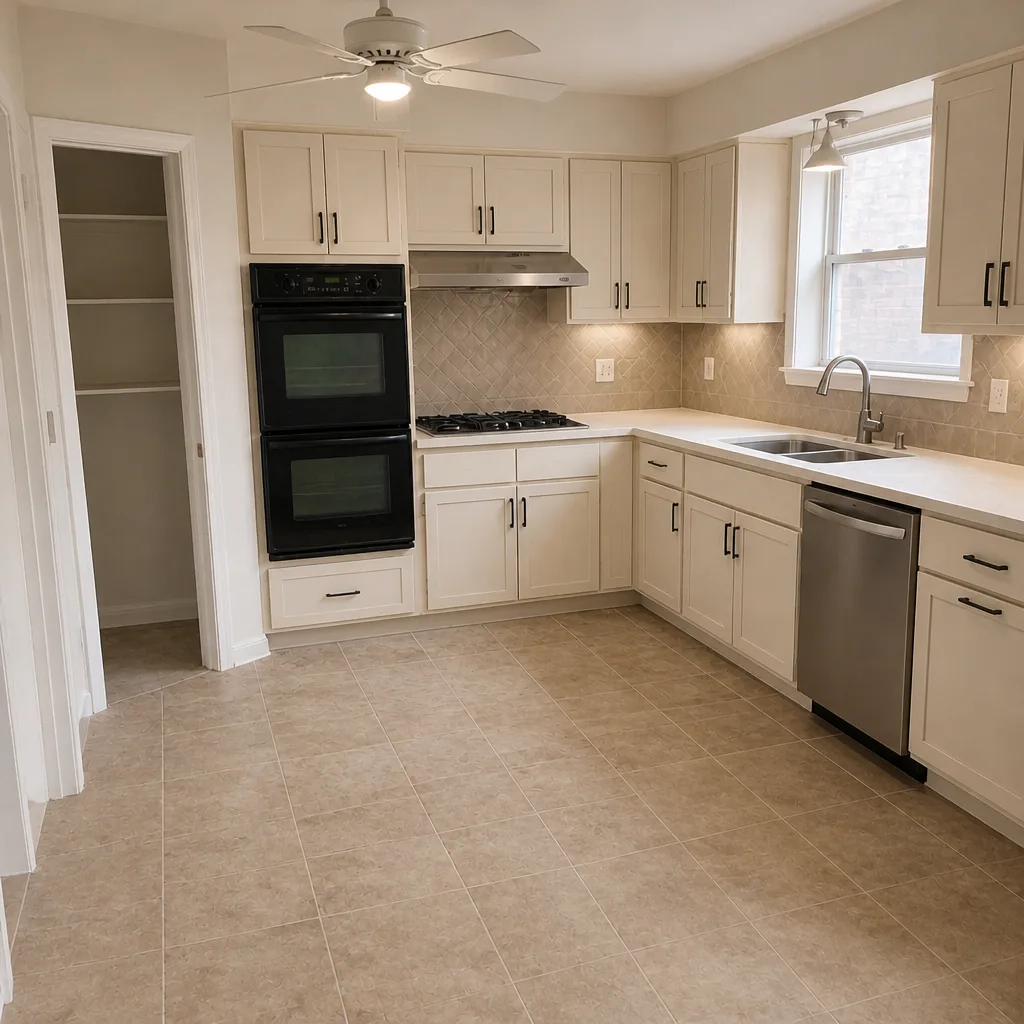
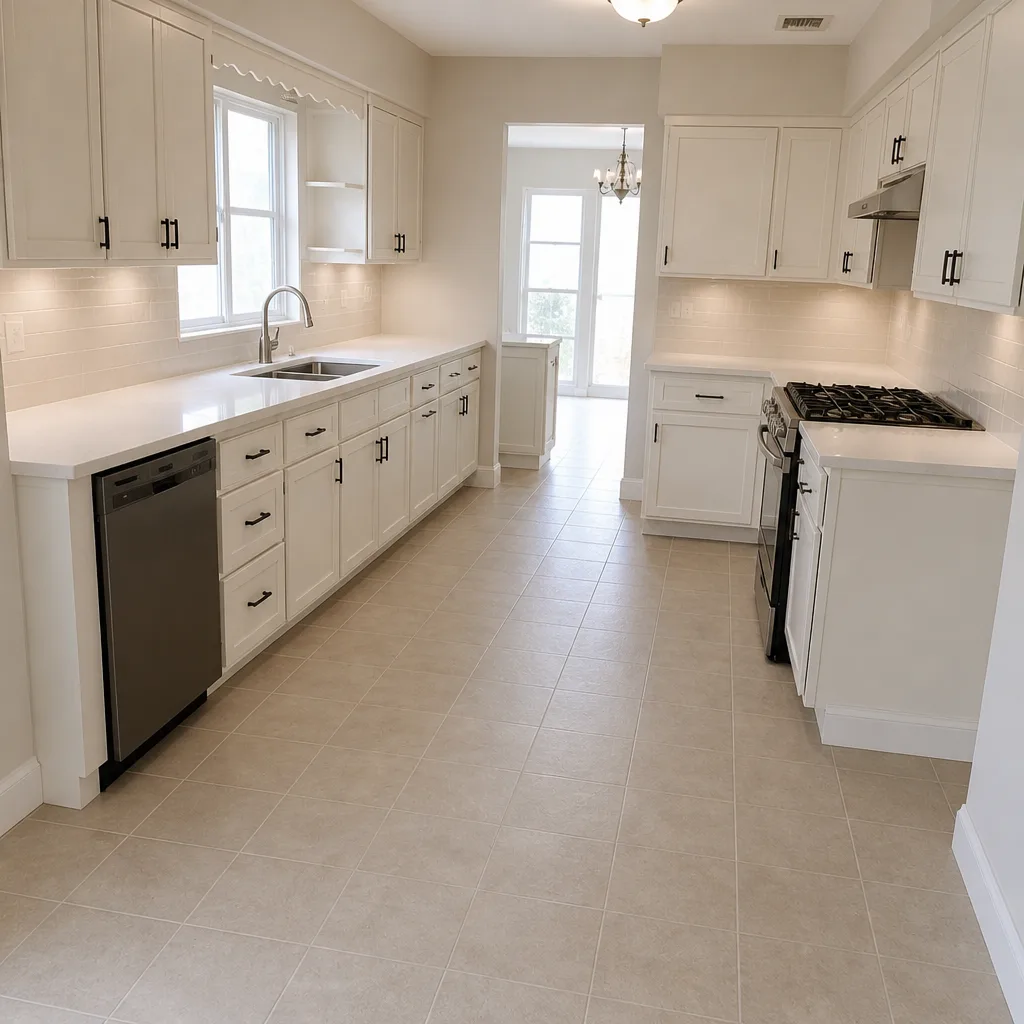 After
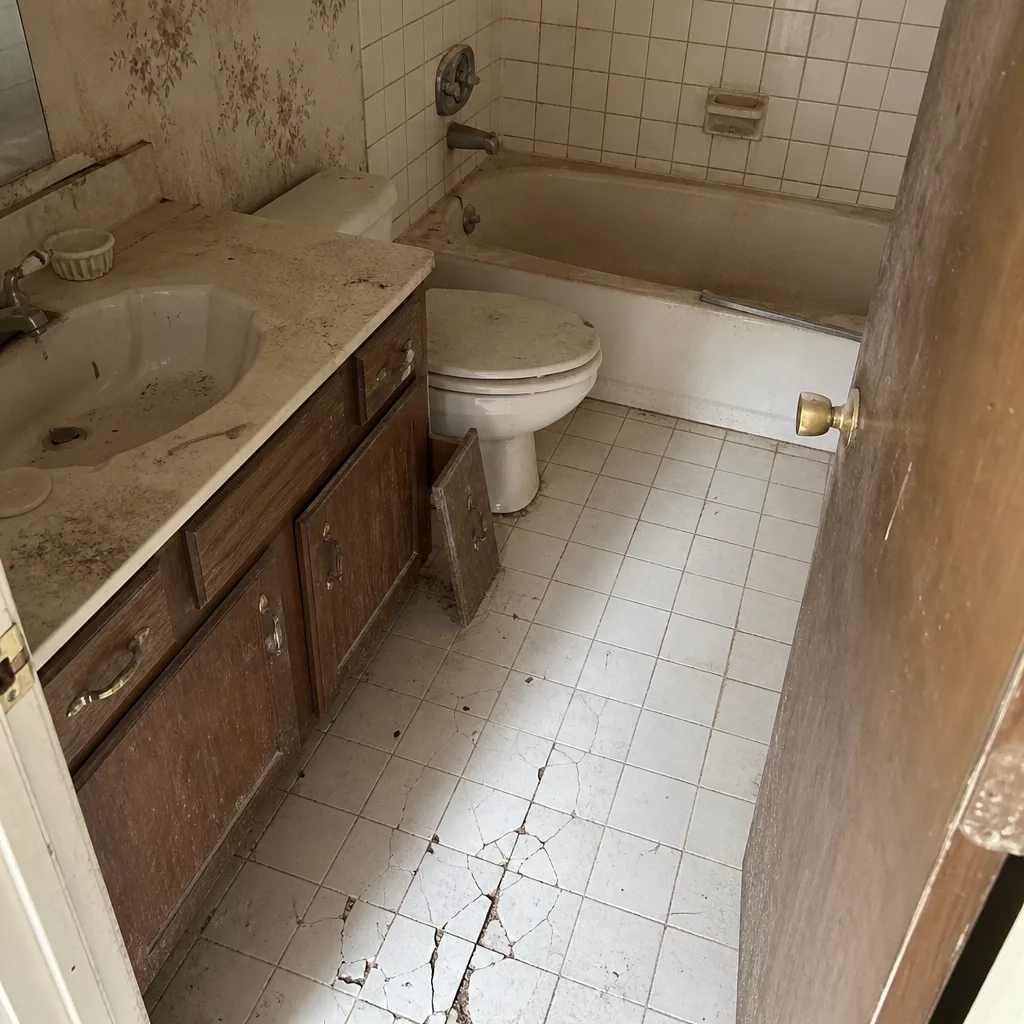 Before
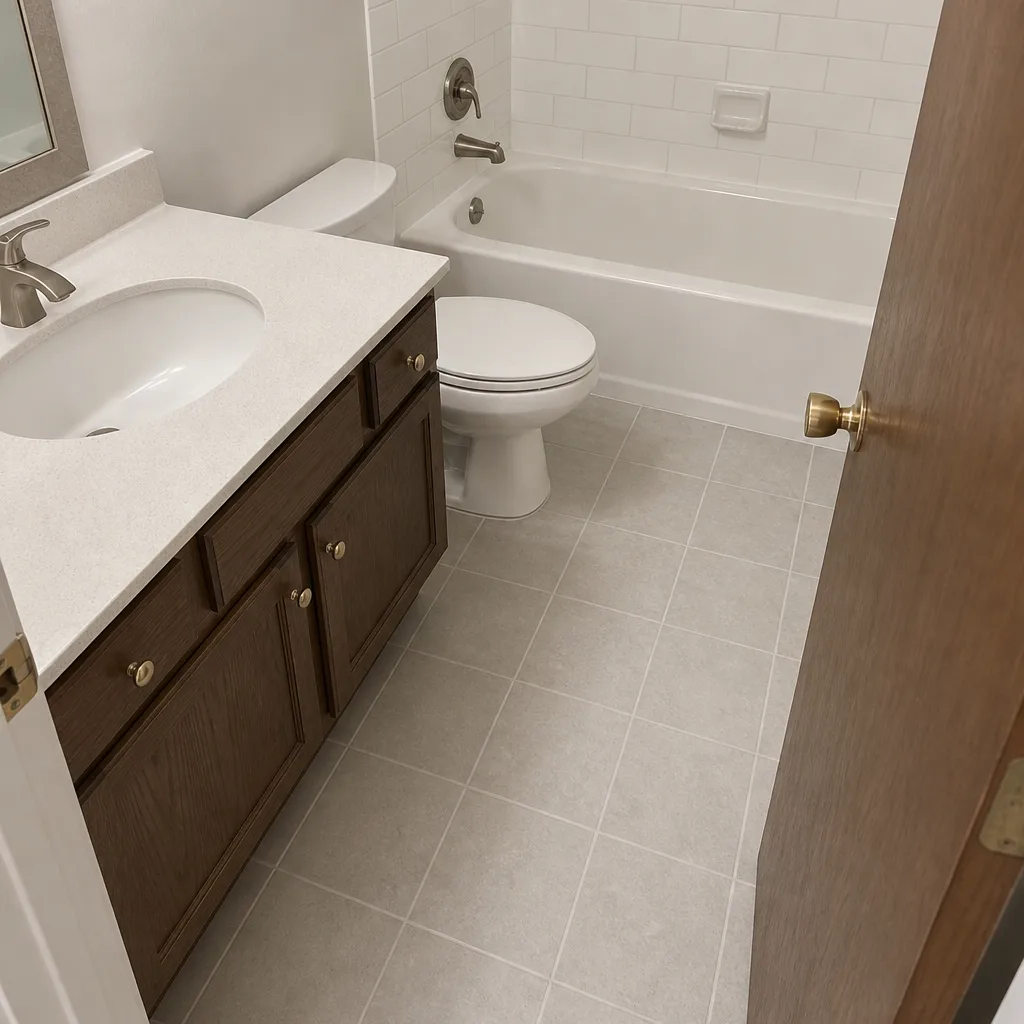 After
 Before
 After
When to Call a Professional
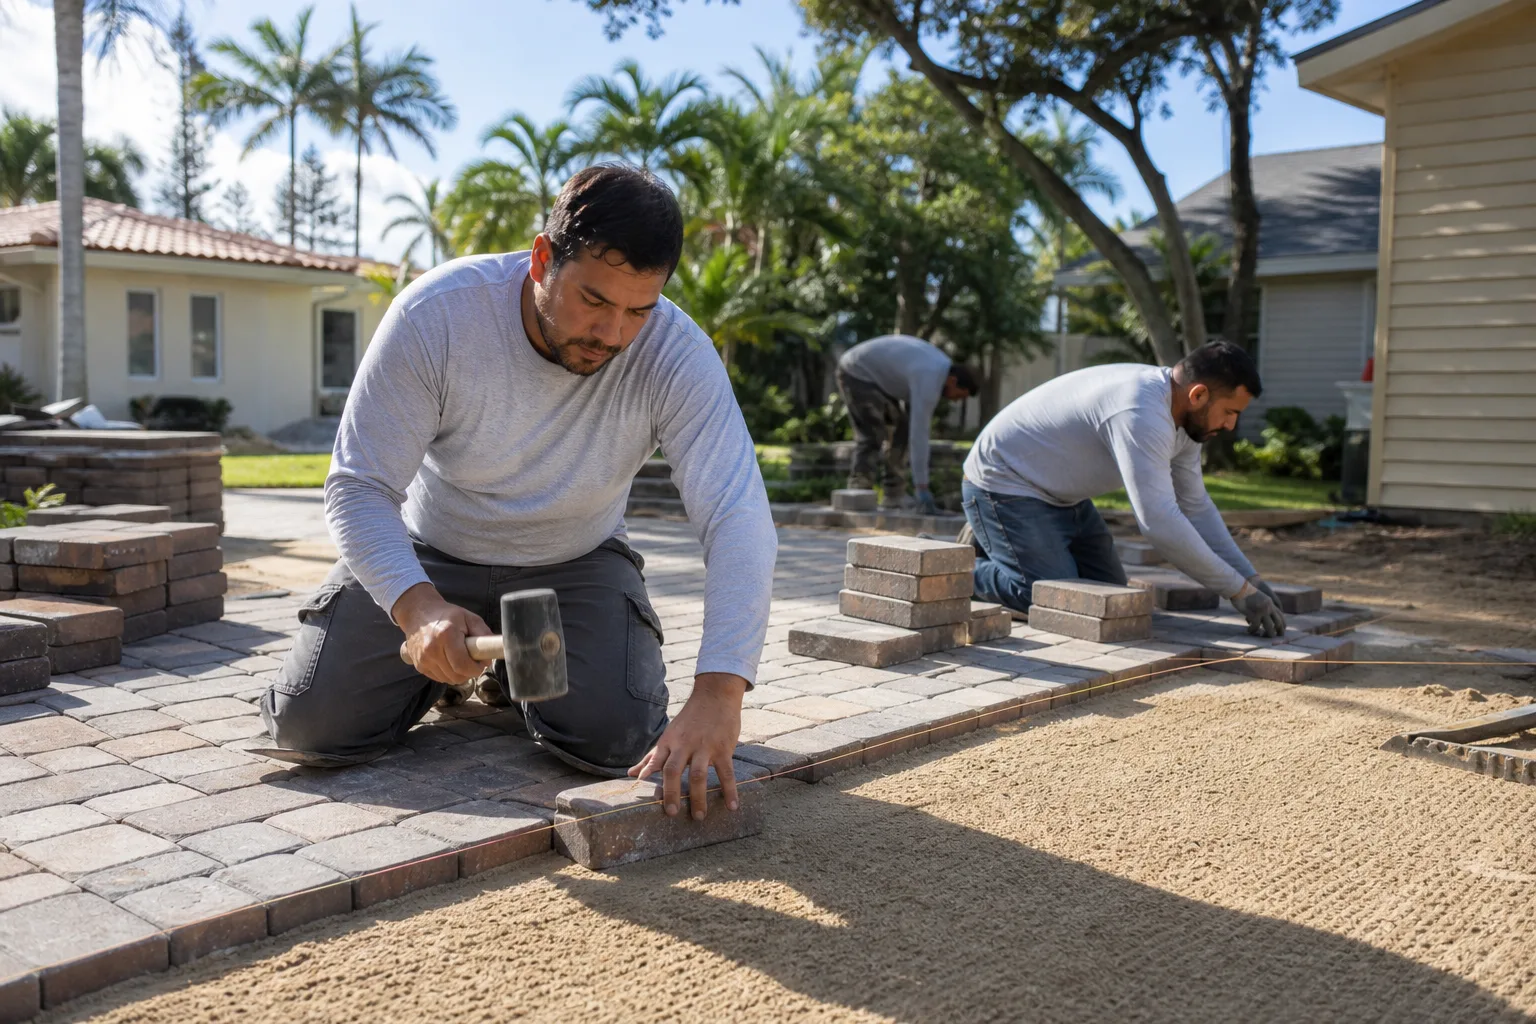
Call a professional when your project involves a base over 4 inches deep, any grade change toward the street, or an edge restraint along a curved driveway. Those are the three scenarios where the equipment and the warranty requirement make DIY the expensive path. In our experience across Plano, the driveway jobs that end in a re-do are almost always the ones where the base and the edge were done without a plate compactor and a spike depth check. The good news is that those are also the jobs a free second opinion will catch before work starts. Rowan Construction Group Plano offers free estimates in Plano, and our written quote shows the base, the edge restraint, and the compaction lifts line by line, so you can check our number against any other quote. Call (844) 761-8346 to schedule yours. Our technicians have up to 19 years of experience, and every crew is background-checked.
Frequently Asked Questions
DIY is cheaper on paper only if you rent the equipment the job requires and can afford the time to build the base in layers. A homeowner renting a plate compactor, laser level, masonry saw, and trailer is in for $600 to $700 before materials, and the base work still has to meet 95% Proctor density. Hire a contractor when the base, the edge restraint, or the grade toward the street is in play, because those are the tasks whose re-do costs more than the original install. Call (844) 761-8346 for a free estimate and a line-by-line comparison against any quote you’re holding.
Sometimes, and it depends on the condition of the concrete and the finish grade at the edges. A 1.5-inch-thick paver with the bedding layer adds roughly 2 inches to the driveway height, and that changes the connection at the curb and at the garage apron. Setting pavers over cracked or heaving concrete does not fix the underlying problem with Plano’s clay soil, so the base condition has to be assessed first. A written estimate will spell out whether the existing slab is sound enough to be the base.
Not exactly, but the two tasks that matter most are the ones a DIY homeowner most often gets wrong. Belgard and Techo-Bloc warranties require installation to the published spec, and base compaction and edge-restraint anchoring are on that spec. If you install to spec yourself, the warranty applies. If the base wasn’t compacted in lifts or the edge spikes didn’t reach sound material, the warranty doesn’t.
Typically more than the base work would have cost originally, because a failed inspection on a grade or right-of-way problem means the pavers come up, the base is re-graded, and the surface goes back down. You’ve paid for the pavers twice and the base twice, and if the base also failed on compaction, the second failure comes a season later. The permit process is built to catch water problems, not density problems, so a clean inspection doesn’t mean a strong base.
Ask for the lift count and the photo record, and watch the base go down in 2- to 3-inch layers. A crew that also checks the moisture content of the base before running the plate compactor is doing the job the way the spec calls for. Any contractor who won’t provide a photo record of the base and the edge restraint before the pavers went down is worth pausing on. Bring us their written quote and we’ll review it line by line at no charge.
A well-built paver driveway with a compacted base, a properly anchored edge restraint, and re-sanding on the maintenance schedule should last a few decades, while a DIY base that wasn’t compacted can open at the joints within a season or two. Plano’s clay soil and summer heat cycles are the variables, and they reward a good base. The visible pavers are the least of the durability question, which is why the base and edge work are worth the money. Call (844) 761-8346 to get a written scope that shows both.
The Bottom Line
The DIY-versus-professional question for a paver driveway comes down to the equipment list, not the skill. The tasks that need a plate compactor, a laser level, and a wet saw are the tasks that fail without them, and base compaction and edge-restraint anchoring are also the two tasks that void the manufacturer’s warranty when done wrong. Layout, straight cuts, and re-sanding are the parts a homeowner can genuinely take on. If you’re in Plano, the clay soil makes the compaction question more urgent than it is almost anywhere else, and a failed inspection costs more to fix than the base work would have cost originally. The safe answer is to hire the base and the edge, and keep the maintenance yourself.
If you’re ready to price the job, our flat written quote covers the base lifts, the edge restraint, and the pavers in line items you can compare against another contractor’s estimate. Call (844) 761-8346 for a free estimate, a free second opinion on any written quote you already have, and a documented photo record of what was found and what was done. Under the Haven Standard, the price is written before anyone starts, and the 365-Day Done Right Promise backs it up.
Written by the team at Rowan Construction Group Plano.