Last updated November 18, 2026


Free written scope consultation - allowances, timeline, and change-order rules on paper before a single trade is scheduled
Driveway & Pavers Maintenance Checklist for Plano Homeowners
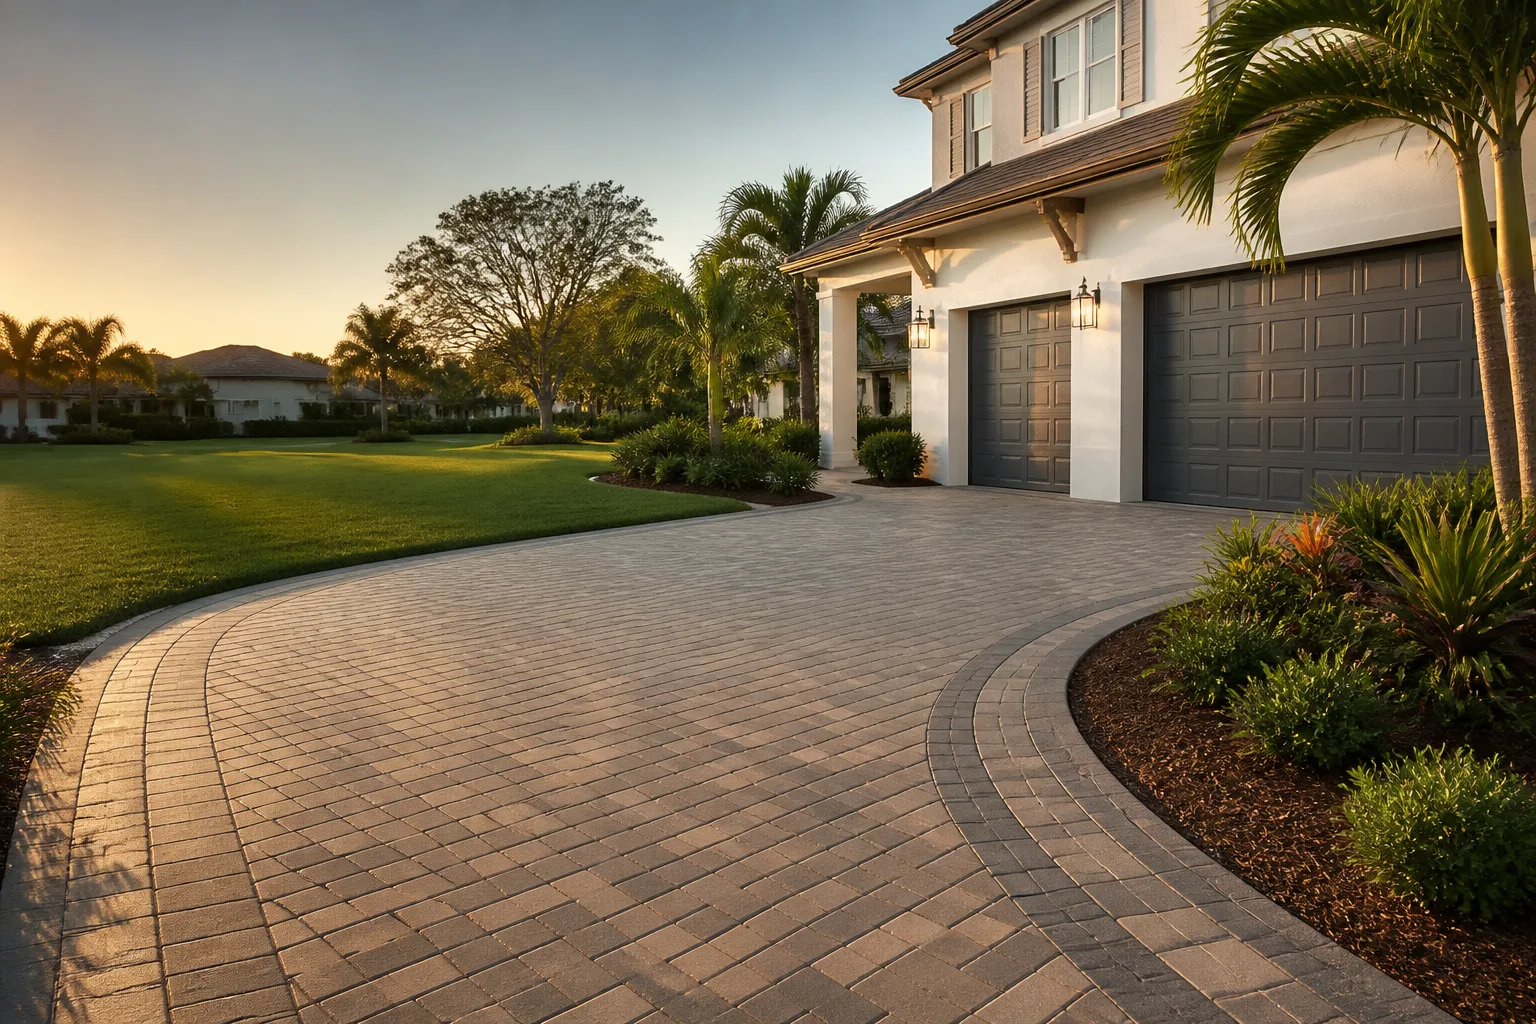
A paver driveway that looked perfect at installation can develop a 3/8-inch lip between units within two summers in Plano. That lip is rarely the installer’s fault. It’s what happens when bedding sand depth and edge restraint spacing were never set up for Blackland Prairie soil movement. Plano sits on expansive clay that swells and shrinks more than two inches seasonally, and that ground movement, not traffic or weather alone, decides whether your driveway lasts twenty years or cracks in five.
What follows is the maintenance checklist we work from in Plano: a season-by-season schedule, how to measure joint sand loss with a straightedge, the polymeric sand products that actually re-lock, and how to tell a bedding sand problem from a sub-base failure that needs excavation.
Quick Answer
Driveway and paver maintenance in Plano is mostly about managing clay soil movement, not just cleaning. Check joints and bedding sand every spring and fall, re-sand with a polymeric product such as Techniseal HP+ when you can drop a straightedge 1/8 inch or more into a joint, inspect edge restraints twice a year, and photograph the driveway from the same spot annually to build a record for warranty claims. Get the movement under control and a paver surface lasts decades; ignore it and the lips and cracks show up fast.
Styles & brands we work with
- Kitchen remodeling
- Bathroom remodeling
- Home additions & ADU
- Roofing
- Windows & doors
- Driveway & pavers
- Fence
Table of Contents
- Why Plano’s Clay Soil Changes Everything
- Spring: Heave Inspection After the Wet Season
- Summer: Heat, Joint Sand, and Polymeric Re-Lock
- Fall: Drainage Clearing Before the Rains
- Winter: Salt Avoidance and Freeze-Thaw Prep
- Edge Restraint Inspection: Failing Spike vs. Loose Restraint
- Sunken Pavers: Bedding Sand or Sub-Base Failure?
- The Documentation Habit That Supports Warranty Claims
Why Plano’s Clay Soil Changes Everything
Most paver maintenance advice online was written for sandy or gravelly ground. Plano is different. The Blackland Prairie clay under most Plano neighborhoods – Willow Bend, Deerfield, Russell Creek, Kings Ridge – holds water and expands when it’s wet, then contracts sharply in a dry spell. That cycle is measured in inches, not fractions, and it pushes and pulls on a driveway from underneath all year.
The practical effect is that a paver driveway or walkway built to a bare standard can perform flawlessly for a year and then start shifting. We’ve seen driveways in Plano where the base was compacted correctly and the pavers were quality, but the edge restraint spacing wasn’t tightened for clay movement, so the field crept outward and opened joints along one side. Once joints open, water gets into the bedding sand, the fine material washes or migrates, and a unit drops. That drop is the lip you feel with the car tire.
So the maintenance job here is managing ground movement. Three things do that: enough bedding sand to let the units settle evenly, edge restraint anchored deep enough to hold the field against lateral push, and joint sand that stays put to keep water out of the base. Our Driveway & Pavers in Plano work is built around those three because a clay-soil driveway in Plano will find any weak point and exploit it.
One more local factor: Plano’s flat lots drain slowly compared to hillside subdivisions. Water pooling along a driveway edge for a day after a storm is a warning that the restraint and joint sand on that side need attention.
Spring: Heave Inspection After the Wet Season
Spring is when the clay is at its wettest and most expanded, so it’s when new heaving, spreading, and joint growth show up. Walk the driveway before you drive on it first thing in the morning, while the surface is cool and dry enough to see gaps.
- Walk the perimeter first. Look at the line where the pavers meet the lawn, the garage apron, or a retaining edge. A straight edge that now curves outward is a sign the field is pushing.
- Check for vertical heave. Place a straightedge or a 4-foot level across several units. A rock or rocker means one unit is lifted, which in spring points to soil swelling under that spot.
- Feel for lips with a hand, not just eyes. Some Plano homeowners first notice a lip when the mower catches. A 3/8-inch lip matters. Get a number on it.
- Mark and photograph anything you find. Note the location with a reference (third row from the garage, near the walk intersection) and shoot a photo with your phone flat on the ground so the lip is visible.
- Log what the winter did. If a joint that was tight in October is now a pencil-width gap, that’s recordable movement worth re-sanding this season.
Spring is also the cheapest time to catch a drainage problem. If water is standing on the driveway for hours after rain, the joint sand has failed or the edge has settled. Fixing it in spring costs a bag of sand. Waiting until the base washes out costs excavation money, and you can read more about the warning signs in our guide to calling a Rowan Construction Group Plano home team for an honest second opinion.
Summer: Heat, Joint Sand, and Polymeric Re-Lock
North Texas summer does two things to a paver driveway: it bakes the joint sand dry, and it drives a clay-heavy subgrade to shrink. Both open the door to lost sand. This is the season to measure joint sand loss and re-lock.
Here’s the straightedge method we use to measure:
- Lay a straightedge (a 4-foot level works; a length of steel bar works better) across three or four joints, resting on the paver faces.
- Look at the gap between the straightedge and the sand in each joint. New, full joints sit within about 1/8 inch of the surface.
- If the straightedge drops 1/8 inch or more into any joint, the joint sand is low and water can reach the bedding layer.
- Check a second spot ten feet away. A single low joint is a spot fix; a dozen low joints along one side is an edge restraint issue.
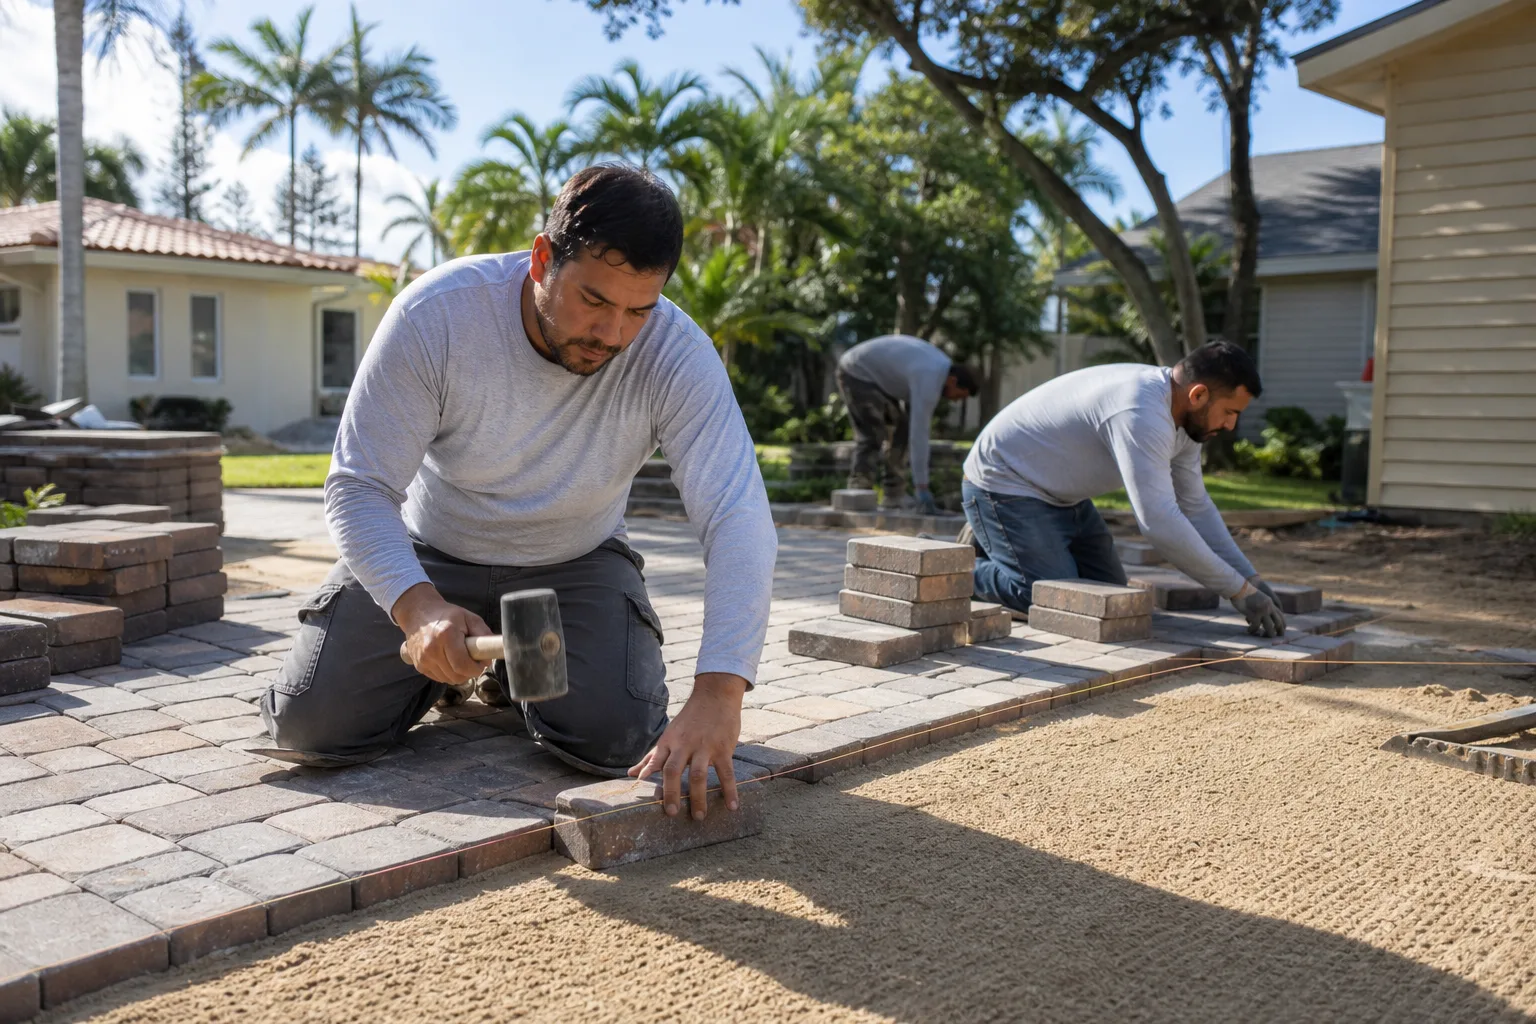
For re-sanding, a polymeric sand is the right choice in Plano because it binds in the joint and resists washing out through summer storms. Techniseal HP+ runs about $45-$55 per 50-lb bag at local suppliers, and coverage is roughly 60-80 square feet per bag depending on joint width and paver size. Apply it to a dry surface, sweep it in, compact by tapping with a hand tamper or a rubber mallet, top up any joints that settle, then activate with a light misting per the product label. Don’t flood it. Over-wetting is the most common reason polymeric sand fails, and in the Texas heat it can cure before it wets properly if the surface isn’t managed. Brand depth matters here and a product like Techniseal HP+ isn’t the only choice – there are other quality polymeric sands a contractor will know how to select for the job.
While the joints are open, this is the moment for the annual photograph (more on that below). Re-sand, then shoot the finished joint.
Fall: Drainage Clearing Before the Rains
Fall rains hit Plano’s clay hard, and drainage clearing is the highest-value task of the year because most paver damage starts with water that stayed too long. The goal is to move rainwater off the driveway fast, so it doesn’t sit on joints or soak the shoulder.
- Clear every drainage channel. If your driveway has a channel drain or a swale alongside, pull the leaves and silt out of it before the first fall storm. A clogged drain is the reason a low spot becomes a pond.
- Check the joint sand once more. Summer re-sand plus fall checks keeps the barrier intact through winter. Top off low joints with the same polymeric sand so the cure color matches.
- Make sure the lawn side drains away. Soil that’s been pushed against the driveway edge by mowing holds water against the restraint. Rake the soil back so runoff leaves the driveway, not soaks into it.
- Look for cracks at transitions. Where the driveway meets the garage slab or a walkway, a crack in the concrete or a failed joint in the pavers is water saying “here.” Seal or re-sand before winter.
- Inspect downspouts. A gutter downspout that dumps onto a corner of your driveway in Plano adds water to clay that already holds it. Redirect it.
Fall is also a good time for a second look at the edge restraint. Water running along a loose edge scours bedding sand fast, and that’s a small repair now and a larger one after a wet winter.
Winter: Salt Avoidance and Freeze-Thaw Prep
Plano winters are mild, but they still bring enough freezing nights to make freeze-thaw matter, and that’s where de-icing salt becomes a real risk to pavers. Rock salt and calcium chloride de-icers can pit the surface of concrete pavers and, worse, leave salt crystals in joints and bedding sand that expand and break the bond. The right move for a paver driveway in Plano is to avoid salt-based de-icers entirely.
Use sand, fine gravel, or a paver-safe de-icer if you must treat ice – and check the product’s label behind its “paver safe” claim. Cheap rock salt will damage a paver surface and speed up joint sand failure. If a vendor is selling you salt, ask for the product spec.
Before the first hard freeze:
- Confirm the joint sand is full. A full joint resists frost movement; a low joint gives it a path.
- Check the edge restraint is tight and any loose anchors are re-seated or replaced.
- Clear the drainage channel one last time so melting snow and ice can drain rather than re-freeze on the surface.
- Store the shovel where a hard freeze won’t have you driving over frozen edges to find it. Ice is an edge-loading problem for pavers, so avoid parking on the driveway during a freeze-thaw cycle if you can.
Edge Restraint Inspection: Failing Spike vs. Loose Restraint
Edge restraint holds the whole field in place. In a Plano driveway it’s the difference between units that stay tight for twenty years and a driveway that spreads one summer at a time. Inspect it twice a year, at spring and fall, because that’s when ground movement is most visible.
What to look for, and what each finding means:
- A failing spike anchor. The spike is the steel pin that fastens the restraint to the ground. A failed one is usually still there but pulled up or bent – sometimes lifted an inch or more out of the restraint, sometimes leaning. The restraint looks anchored but wiggles when you push it. This is a reseat job, and in Plano’s clay we recommend checking all the spikes along a run, not just the one that failed.
- A loose restraint. The restraint (aluminum, steel, or plastic edging) has pulled away from the pavers or the ground and can be moved by hand. This is the more urgent failure: the field has already begun to creep outward. A loose restraint on a driveway that carries a car means water is getting in along a joint faster than it can drain.
- The subtle signal. Even a restraint that feels solid but has a visible gap between it and the outer paver row is telling you the field has shifted. That gap is where the next problem starts.
When to fix it yourself and when to call: if one or two spikes are pulled and the restraint is otherwise seated, a homeowner can often reseat them with a hand driver and the matching anchor, following the manufacturer’s spacing. If the restraint has shifted along a run, if the spikes are rusted through, or if the field has visibly moved, that’s a contractor call. Our Fence Installation in Plano crews see the same clay-soil anchor failure in fence posts, and the diagnosis is the same – the ground moved, and the anchor needs to be set for it. Get the edge restraint right and the pavers stay tight.
Sunken Pavers: Bedding Sand or Sub-Base Failure?
A sunken section of pavers has two possible causes, and getting the diagnosis right saves real money. One is a bedding sand issue. The other is a sub-base failure, and they’re not the same repair.
How to tell them apart:
- Look at the pattern. One or two units sitting low, with surrounding units level and joints intact, usually means bedding sand loss under those units – a fixable reset. A whole area – three or more units across several square feet – sagging together points to a sub-base problem.
- Pull one unit, carefully. Lift a single paver at the deepest point and look at what’s below. Loose, dry bedding sand that’s still the right depth is good news: reset the unit and re-sand. If the sand is gone, or the base layer below it is soft, wet, or uneven, the base has failed.
- Check for water. If the sunken spot is also where water pools after a storm, the base has likely been saturated and washed out. That’s a sub-base issue.
- Get a written price for each repair. A reset of a small area is a modest repair. A sub-base failure under a Plano driveway, where the base and possibly the clay itself have to be addressed, is a different job and should be priced in writing before anyone starts.
In our experience across Plano, a localized sunken section that gets reset over the same undersized base will sink again. The honest question a contractor should answer for you is whether the base under that section was compacted to the depth the rest of the driveway needed – which is where a written scope with the numbers on it matters. We quote a flat written price with a written scope before work starts, so you can see exactly what’s being reset and what base depth is being restored. Small reset jobs we see in the $800-$2,000 range for larger areas; the exact number depends on square footage and how much excavation the base needs.
The Documentation Habit That Supports Warranty Claims
Photograph your driveway annually, from the same position, on the same day each year. That’s the habit that turns a warranty claim from a “he said, she said” conversation into a documented record. It’s the same principle behind the photo record we include on every Rowan Construction Group Plano visit as a standard deliverable – evidence of what was found and what was done, so the customer isn’t relying on memory.
Set it up once and repeat it:
- Pick your fixed positions. One shot standing at the garage door looking down the driveway, one at the street looking back, and one flat-on-the-ground shot at any joint or edge that’s been a concern. Same spots every year.
- Include a reference object. A coin or a tape measure in the frame makes a 1/8-inch joint gap readable. Without a reference, a photo proves nothing in a claim.
- Name the files by year. Use a simple pattern like driveway-2026-joint-01. In five years, the sequence becomes a timeline of movement.
- Keep the sand receipts. Polymeric sand receipts, the product name and the amount used per year are useful if a material manufacturer ever questions a failure. A photo plus a receipt is a stronger claim than either alone.
This record matters because both material manufacturers and contractors write their warranties around “normal maintenance” and “installer fault” clauses. A dated photo sequence showing the driveway in good condition in year one and a failing joint in year three is far more persuasive than a complaint that the driveway “started shifting last month.” It also supports a claim against a settling problem the installer should have prevented, and it’s the file we ask to see when a Plano homeowner brings us a fence or driveway dispute. The same discipline applies to Home Additions & ADU in Plano projects, where a photo log from foundation to finish is standard practice.
Common Mistakes to Avoid
- Re-sanding with regular masonry sand instead of polymeric. Plain sand washes out in one Plano storm season. Use a polymeric product like Techniseal HP+ and follow the cure directions.
- Flooding polymeric sand during activation. Over-wetting prevents the binder from setting and causes a weak, sandy joint that fails by fall. Light misting per the label, no puddles.
- Parking on the driveway during a freeze-thaw cycle. Ice and a heavy vehicle at a joint is an edge-loading test the pavers lose. Use the street or wait for the thaw.
- Using rock salt on a paver driveway. Salt crystals in joints and bedding sand expand and break the bond. Use sand or a paver-safe de-icer and check the spec.
- Resetting a sunken paver over a wet, uncompacted base. It will sink again within a season. Diagnose the cause before you reset.
- Skipping the edge restraint inspection. A loose restraint lets the whole field creep, and a shifting field is far more expensive than the reseat that would have prevented it.
- Not photographing anything. Without a dated record, a warranty claim rests on a verbal timeline. The photo file is the claim.
See the difference
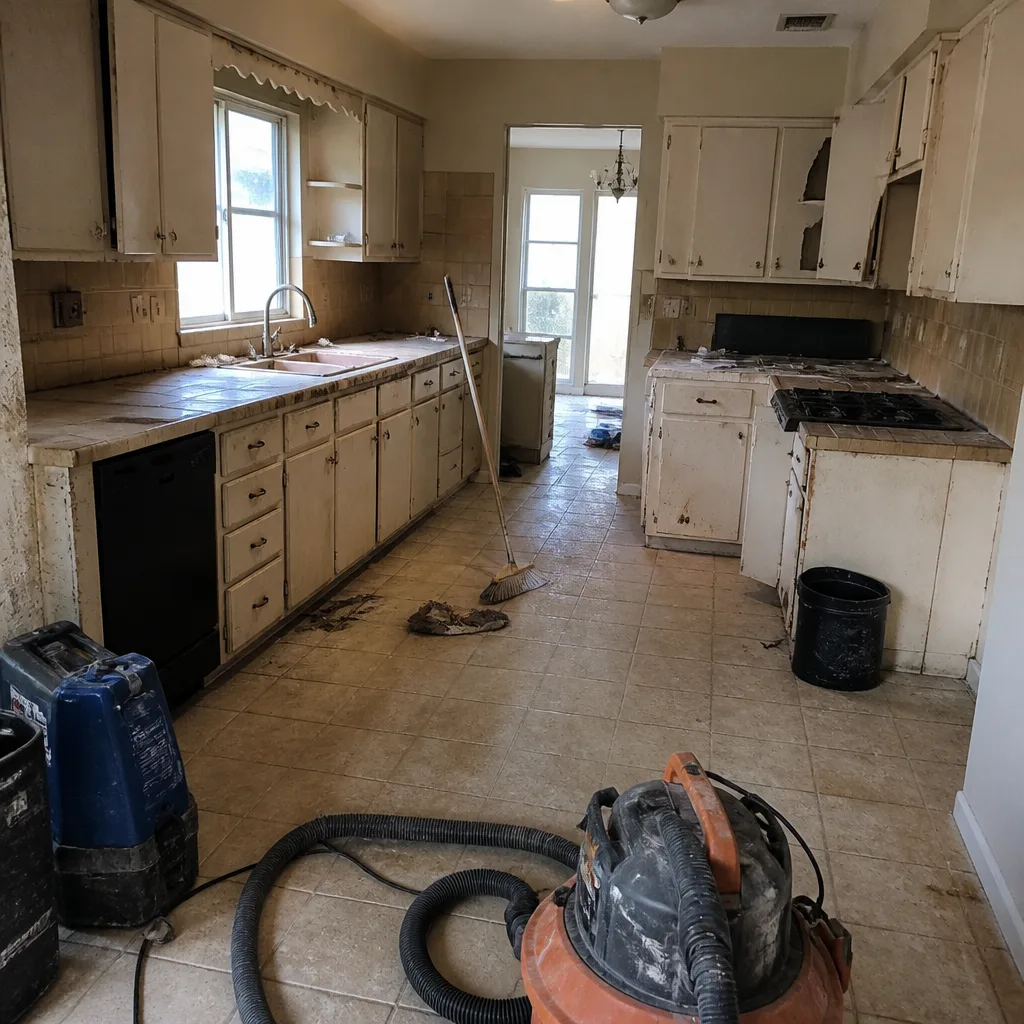 Before
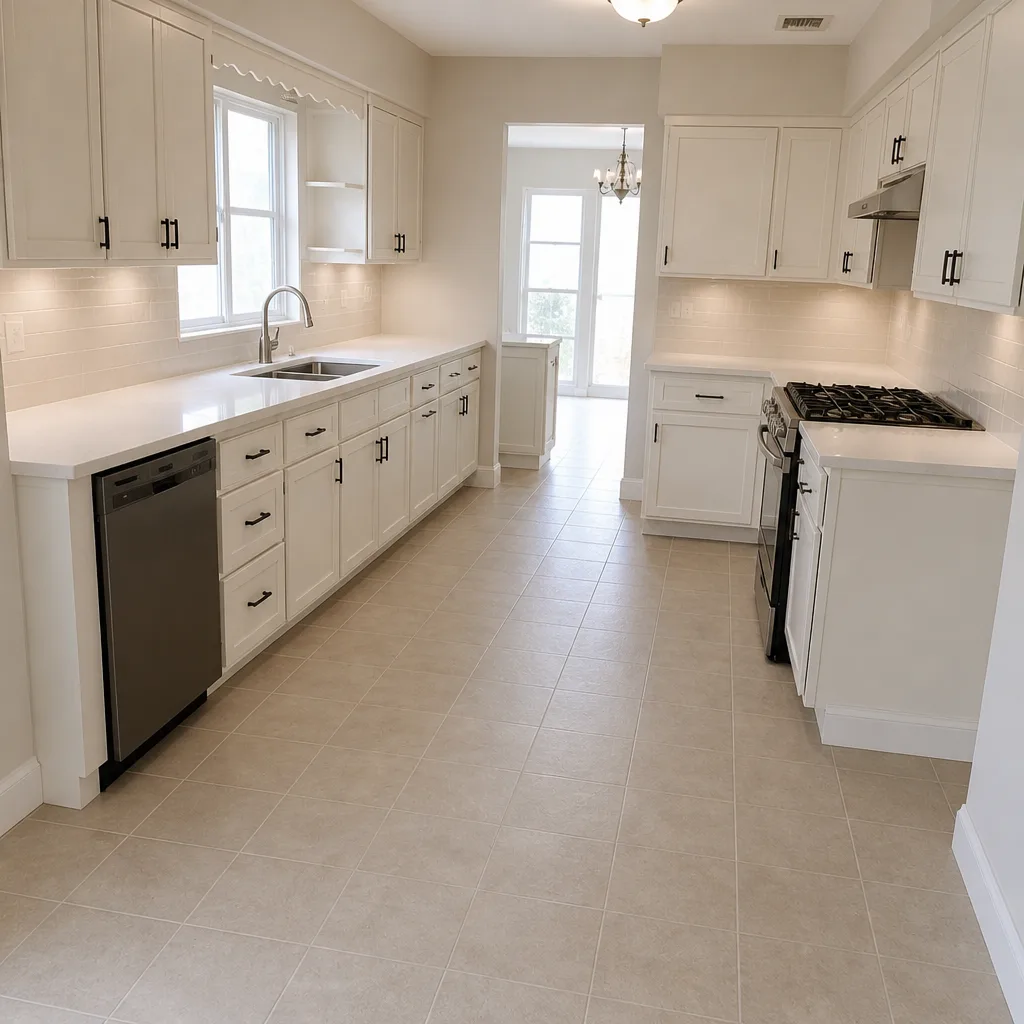 After
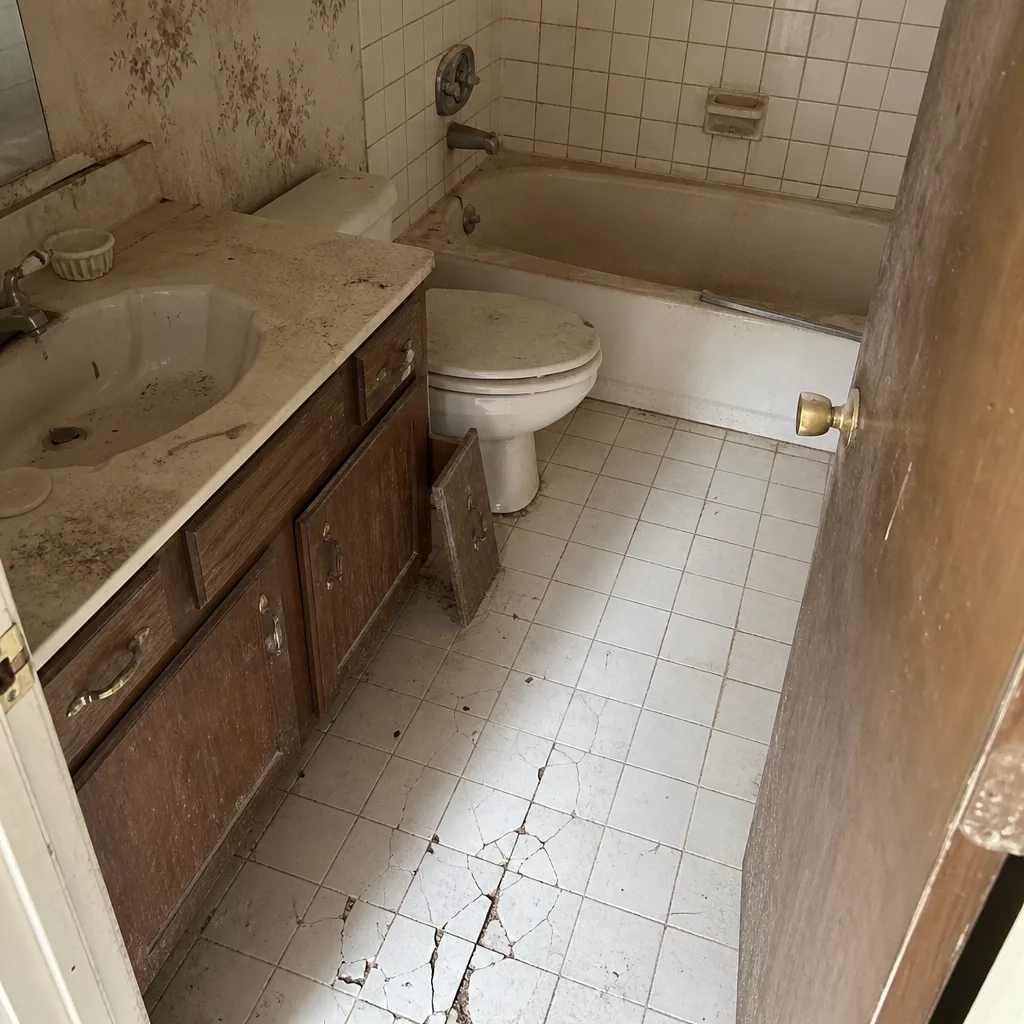 Before
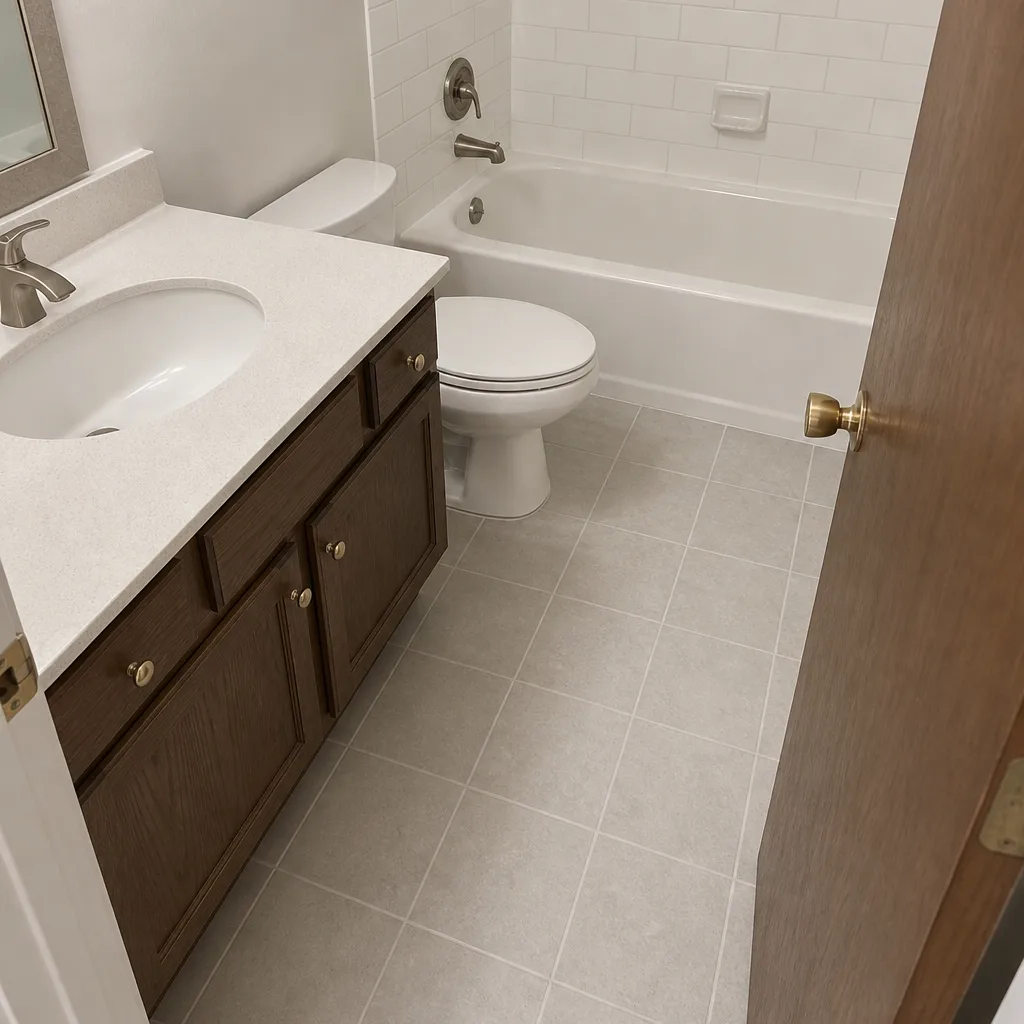 After
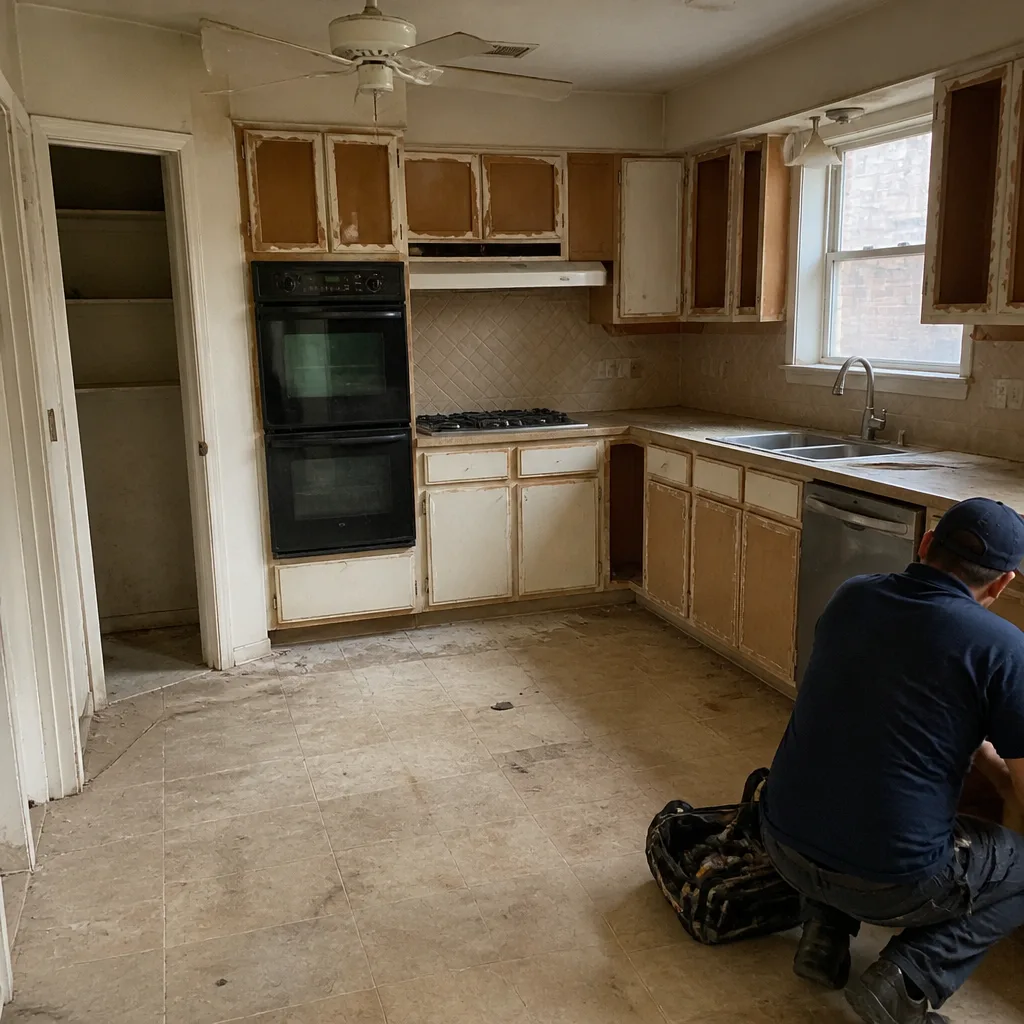 Before
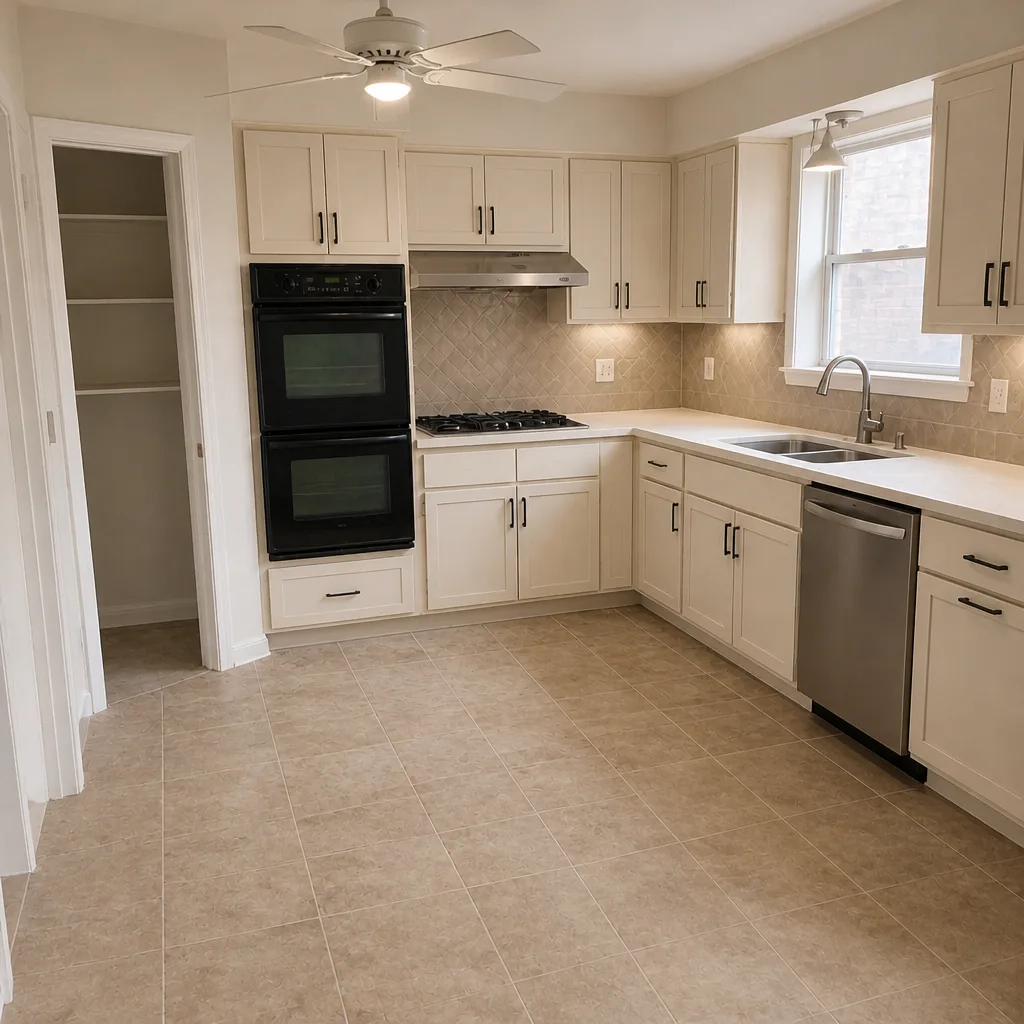 After
When to Call a Professional
Call a professional when the problem is structural, not cosmetic. That means a sunken section larger than a few square feet, a sub-base that’s soft or wet under the pavers, an edge restraint that has shifted along a run or has rusted-through spikes, or a driveway that’s visibly pushing outward at the perimeter. A straightedge dropping more than 1/8 inch across many joints means the sand has failed systematically, which is usually a sign of an edge or base issue, not just dry weather. Any work involving excavation, base repair, or a large re-sand should be quoted in writing before anyone starts. If you’re not sure whether your issue is cosmetic or structural, we’ll tell you. Rowan Construction Group Plano offers free estimates in Plano – call (844) 761-8346.
Frequently Asked Questions
Expect to check joints twice a year – spring and fall – and re-sand when the straightedge drops 1/8 inch or more into a joint. In Plano’s clay-soil climate, a full re-sand with a polymeric product like Techniseal HP+ typically lasts two to four years depending on drainage and traffic, with spot touch-ups in between. Call (844) 761-8346 for a walkthrough and an exact plan – estimates are free.
A lip of about 3/8 inch after one summer usually means the bedding sand under a unit has shifted or washed out, or the edge restraint alongside it has crept. Plano’s clay expands and contracts across the seasons, and a joint that opens lets water reach the bedding layer. Identifying the cause before resetting the unit is what keeps it from coming back. A written estimate will tell you exactly what the repair involves.
No. Rock salt and calcium chloride de-icers can pit paver surfaces and leave salt crystals in joints and bedding sand that expand and break the bond during freeze-thaw. Use sand, fine gravel, or a genuinely paver-safe de-icer – and check the label’s spec behind the claim. If you’re unsure, call (844) 761-8346.
A small reset of a few units is a modest repair priced in a written quote. A sub-base failure under a larger area, where excavation and base reconstruction are needed, typically runs $800-$2,000 depending on square footage. A full re-sand is a smaller line item – roughly one bag of Techniseal HP+ per 60-80 square feet at $45-$55 per 50-lb bag plus labor. Call (844) 761-8346 for an exact written price.
A failing edge restraint either pulls up or shifts away from the pavers. A failed spike still in place but bent or lifted an inch is one pattern; a restraint that moves by hand or shows a gap along the outer paver row is the more urgent one, because the field has already begun to creep. If the restraint has shifted along a run, call a contractor rather than reseating it yourself.
Sealing is optional for most paver driveways in Plano. A joint sand that’s full and locked with a polymeric product does most of the work of keeping water out, and a sealer can help a surface resist staining, but it doesn’t fix a base or edge problem that’s already moving. Get the movement and joint sand right first, then decide whether a sealer is worth it. Call (844) 761-8346 for a free second opinion on any written estimate.
The Bottom Line
Plano’s clay soil expands and contracts more than two inches seasonally, and that ground movement is the real maintenance task for any driveway or paver surface here. A spring heave inspection, a summer joint-sand check measured with a straightedge, fall drainage clearing, and winter salt avoidance cover the year. Re-lock joints with a polymeric sand like Techniseal HP+ at $45-$55 a bag when the straightedge drops 1/8 inch. Inspect edge restraint twice a year. Diagnose sunken pavers before you reset them – bedding sand is a small fix, sub-base failure runs $800-$2,000 and up. Photograph the driveway annually from the same positions to build the record that supports a warranty claim. Every Rowan Construction Group Plano crew is background-checked, provides a documented photo record on every visit, and quotes a flat written price with a written scope before work starts – backed by the 365-Day Done Right Promise.
Ready to get a number on paper? Call (844) 761-8346 to schedule your free estimate. A written price before any work starts is the point – not a process step.
Written by the team at Rowan Construction Group Plano.