Last updated November 18, 2026



Free written scope consultation - allowances, timeline, and change-order rules on paper before a single trade is scheduled
Home Additions & ADU Maintenance Schedule: What to Do and When
Here’s the thing nobody tells you when the addition is finished and the crew drives away: the seams are the story now. The flashing joint where your new addition roof meets the original exterior wall is the highest-probability water-entry point in the entire structure, and it should be inspected every fall before North Texas’ heaviest rain season. It appears on almost no standard maintenance checklist, because those lists were written for original construction. We’ve walked additions in Plano three years old with rot already started behind a caulk joint that was never re-sealed. This guide gives you the schedule those checklists miss: what to look at in year one, what’s normal versus alarming while new framing dries, and the five-year checks specific to additions and accessory dwelling units.
Quick Answer
A home addition or ADU needs its own maintenance schedule because the junctions where new construction meets existing structure move, dry, and weather differently than the rest of the house. Plan on caulk and sealant renewal at roof-wall and trim seams every 12 to 18 months, an HVAC balancing check twice a year, and a five-year inspection of structural connectors, foundation connection joints, and shared-wall insulation. In Plano, the fall window (September through October) matters most, because that flashing joint faces the same north Texas storms that roll through Collin County every spring.
Styles & brands we work with
- Kitchen remodeling
- Bathroom remodeling
- Home additions & ADU
- Roofing
- Windows & doors
- Driveway & pavers
- Fence
Table of Contents
- The First-Year Schedule: Seams, Caulk, and Expansion Gaps
- Why New Framing Dries for 12 – 18 Months (and What’s Normal)
- HVAC Maintenance Specific to Additions and ADUs
- Five-Year Checks That Are Addition-Specific
- Your One-Page Annual Checklist
- The Materials That Actually Hold Up in Plano
- Common Mistakes to Avoid
- When to Call a Professional
The First-Year Schedule: Seams, Caulk, and Expansion Gaps
Year one is when an addition tells you where it’s going to move. New lumber arrives at a moisture content high enough to be workable, and it dries in place after the walls close up. As it dries, every junction between new and old shifts a little. The schedule below is written specifically for those junctions, not the rest of the house.
Month 3: Walk the exterior and check every bead of caulk at roof-wall intersections and trim seams. New caulk should still be intact, but the frame behind it has already moved. Look for hairline separations no wider than a credit card. Those are normal. Anything you can slide a pencil into is a call.
Month 6: Check interior corners where new drywall meets old. Hairline cracks at the corner are common and cosmetic; diagonal cracks running from a door or window corner are not. Re-check the expansion gap at the slab connection if the addition sits on a separate slab; the gap should remain consistent, not pinched shut on one end.
Month 12, then annually: Re-seal exterior caulk joints at roof-wall intersections and trim seams. In Plano’s summer heat, polyurethane caulk on a south-facing wall can weather noticeably in a single season. This is the single most important task on the entire addition maintenance list, and it takes an afternoon.
We’ve seen Plano additions where the roof-wall flashing joint was caulked once at construction and never revisited. By year three the caulk had cracked, water had found the sheathing, and the repair ran into four figures. The maintenance itself costs the price of a tube of sealant.
Why New Framing Dries for 12 – 18 Months (and What’s Normal)
New dimension lumber is typically milled and shipped at 19% moisture content or higher. It reaches equilibrium with Plano’s indoor humidity over roughly 12 to 18 months after the house is closed in. As it dries, it shrinks across the grain. A 2×10 header can lose an eighth of an inch in width. Multiply that by every stud in a wall and the cumulative movement is enough to shift door alignment, open trim gaps, and crack drywall at corners. Here’s how to tell normal settling from a problem:
- Normal: Hairline drywall cracks at inside corners, under a foot long, appearing in the first year. Fill and paint once; if they return, investigate.
- Normal: A door that sticks slightly in summer and swings free in winter. Wait through a full seasonal cycle before adjusting the strike plate.
- Normal: A trim gap at the ceiling or floor under 1/8 inch that appeared in the first 18 months. Caulk and move on.
- Not normal: A door that won’t latch at all, or a gap that grows month over month. That points to framing movement, not drying.
- Not normal: Diagonal cracks from door or window corners, or any crack wider than 1/8 inch. Call a contractor or engineer.
- Not normal: Drywall cracks that keep reopening after repair in the same spot. Something is moving that shouldn’t be.
Measure the width of any crack with a feeler gauge or a set of drill bits. Under 1/8 inch is cosmetic. Over 1/8 inch, or growing, is a conversation. New framing is supposed to dry; it isn’t supposed to keep moving after the first 18 months.
HVAC Maintenance Specific to Additions and ADUs
An addition changes the load on your HVAC system. Whether it shares the existing air handler or got its own, the maintenance schedule shifts. A few things we consistently see missed in Plano homes with additions:
Filter sizing. If the addition added a second air handler, it has its own filter. Track the size on both and keep spares. A mismatched filter (a 20x25x1 crammed into a 20×24 slot) lets air bypass around the edges, so the filter stops filtering. Write the size in marker on the unit door.
Balancing dampers. If the addition runs on the existing system, there are balancing dampers in the ductwork near the takeoff. In Plano, you’ll want to adjust them seasonally: more air to the addition in summer (it often faces the sun), less in winter. A room that’s 4 degrees off the rest of the house is usually a damper half-closed, not a failing system.
Duct sealing at the connection. The joint where new ductwork ties into the existing trunk is a classic leak point. Once a year, check for separated tape or mastic that has cracked. Supply air leaking into an attic in August is money out the window and a hot addition.
Twice a year, before summer and before winter, do this:
- Replace both filters if there are two systems; note the size and date.
- Check the duct connection at the trunk for tape or mastic gaps.
- Adjust balancing dampers based on room temperatures taken at midday.
- Inspect the condensate line at any new air handler, especially one in a closet or attic.
Five-Year Checks That Are Addition-Specific
At the five-year mark, additions hit a set of checks that original-construction homes usually don’t. This is also the point where you’ve had enough seasons in Plano to see what the junctions are doing. Book a professional inspection or walk it yourself with a flashlight and a notebook.
Structural connector hardware. If you can safely look into a crawl space or reach attic tie-ins, check that the structural connectors (hurricane ties, joist hangers, straps) are still tight. New lumber shrinks, and hardware installed on green lumber can loosen. Do not climb into an attic unaccompanied or on damaged decking; if access isn’t safe, hire it out.
Foundation connection joint. If the addition sits on its own slab or a separate foundation, the joint between new and old should be re-examined. Re-seal with a flexible polyurethane sealant if the joint has opened. In Plano’s clay soils, slab movement is real, and a joint that was tight at year one may have opened by year five.
Shared-wall insulation continuity. Where the addition shares a wall with the original house, check that insulation hasn’t sagged or settled. This matters most for an ADU or garage conversion where the shared wall was once exterior. If a room feels cold in winter or the utility bill crept up, insulation continuity is the first suspect.
Also on the five-year list: re-inspect roof flashing at the roof-wall junction, and if the addition was built with a Boral or similar manufactured trim, check paint adhesion and re-coat as needed.
Your One-Page Annual Checklist
Print this. Do it in fall, before the North Texas rain season. It’s written for the addition and ADU junctions; the rest of the house has its own schedule.
- Inspect the roof-wall flashing joint. Clear debris, check that flashings are intact, and caulk where the joint meets the wall.
- Re-seal exterior caulk at trim seams and windows. Look for cracked or lifted bead and remove it before re-caulking.
- Check the slab expansion gap. Confirm it’s still consistent along the joint, not pinching at one end.
- Inspecting the door and window alignment. Note any stick or gap; set a reminder to re-check after one season.
- Check interior drywall corners for new cracks. Measure any crack wider than 1/8 inch.
- Replace HVAC filters and check duct connections at the trunk. Note sizes for both systems.
- Adjust balancing dampers based on room temperature. Measure at midday, not first thing in the morning.
- Look at attic or crawl-space hardware if safely accessible. Check connectors and insulation, and photograph what you find.
The whole list runs under two hours if you’re handy, or a service call if you’re not. The point is to do it every year, not every few years when something fails.
The Materials That Actually Hold Up in Plano
Product names matter here, because the wrong sealant is the same as no sealant. Plano’s summer heat bakes a south wall, and cheap caulk fails inside a season. What we reach for on addition junctions:
For expansion joints and slab connections, a flexible polyurethane sealant such as Sikaflex holds up far better than silicone, which doesn’t flex with slab movement. For roof-wall flashing, we use a self-adhering flashing tape rated for high heat; synthetic rubber and butyl-based tapes hold in Texas sun where standard asphalt tape can dry and crack. For exterior trim seams, a high-grade polyurethane caulk lasts through Plano’s freeze-thaw swings; the “painter’s caulk” sold for interior work isn’t meant for what a north-facing wall sees in February.
Trim and siding materials matter too. Boral manufactured siding and similar engineered products resist moisture better than standard wood in our climate, and PGT windows are commonly specified on additions here for their energy performance. If you’re pairing an addition with other projects, the same durability logic applies to your exterior work; we cover the material choices in our guide to Driveway & Pavers in Plano and to Fence Installation in Plano. The right product in the right climate is the whole game.
Common Mistakes to Avoid
- Re-caulking over failed caulk. Cleaning out the old bead is half the job; caulk laid over a cracked bead fails again in a season. We see this most on Plano additions with a sun-baked south wall.
- Treating the addition like original construction. Standard checklists don’t mention roof-wall flashing joints or shared-wall insulation. If your maintenance plan came from a generic home guide, it’s missing the junctions.
- Adjusting doors too early. New framing dries for 12 to 18 months. Adjusting a door at month three means adjusting it again at month twelve; wait a full cycle.
- Ignoring the expansion gap. If the slab joint pinches shut, movement has nowhere to go. It’s a small thing to fix early and a foundation issue later.
- Filter size mismatches. A filter that doesn’t fit the slot lets air bypass the media. Check the number on the unit door, not the one you guessed at the store.
- Assuming a new addition’s HVAC is “done.” A new system still needs seasonal damper adjustment, especially in a sunny addition that runs hot in July.
- Skipping the five-year inspection. Four to six years after construction is when a loose connector or an opening joint becomes visible. Catching it early is the difference between a tune-up and a repair.
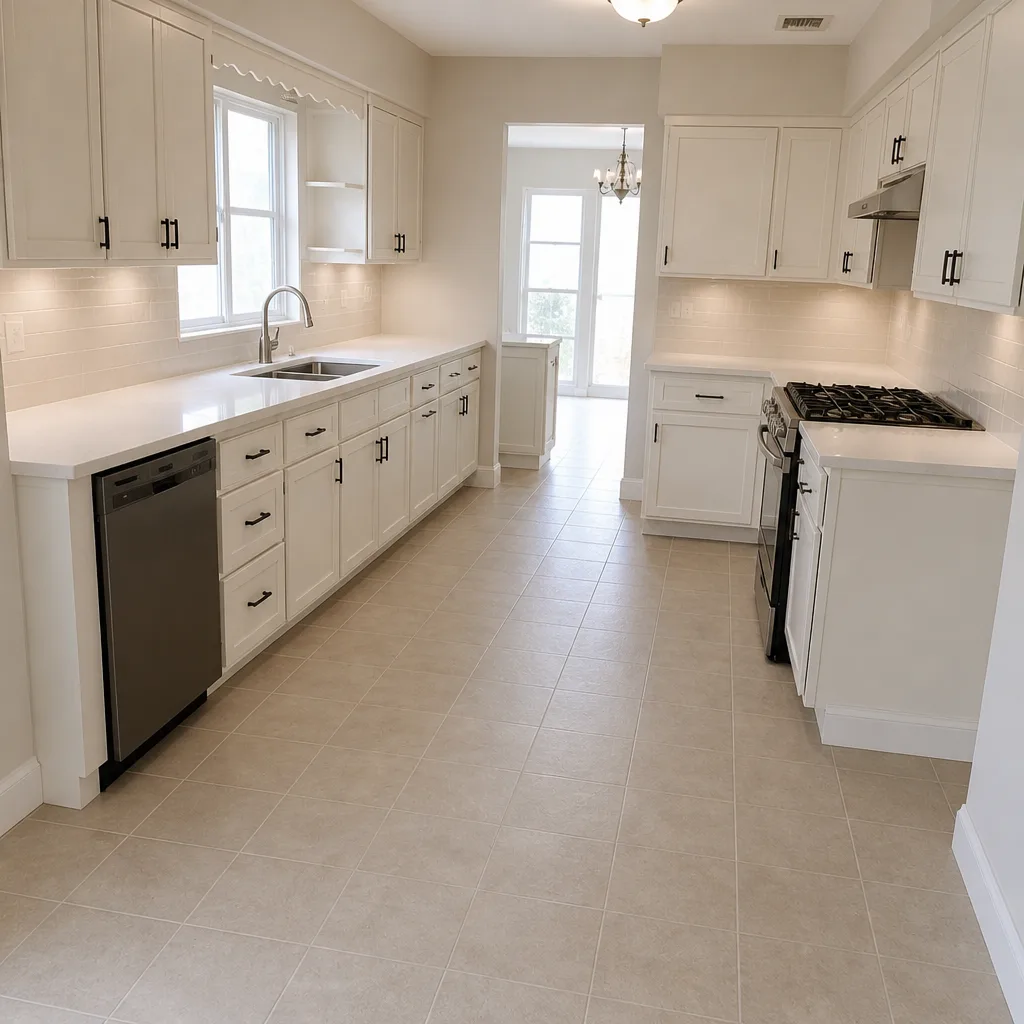
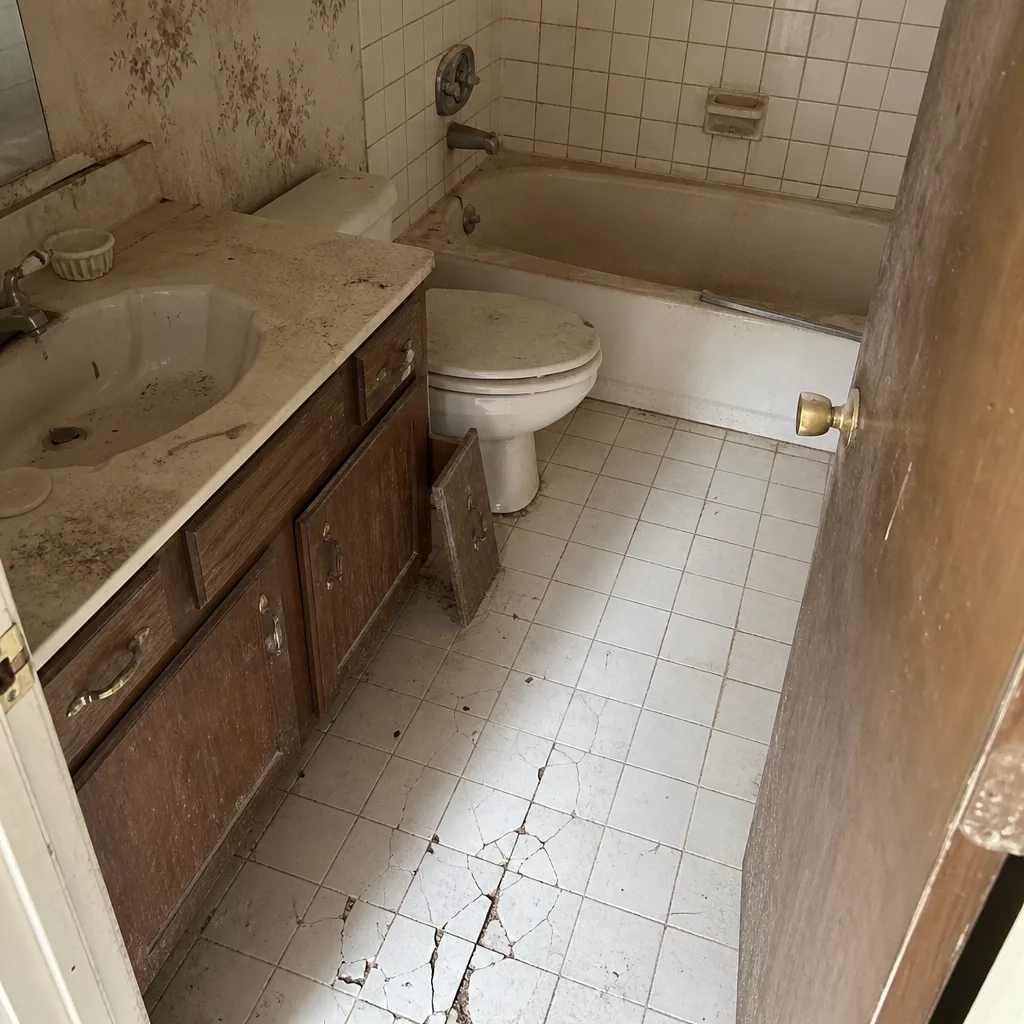
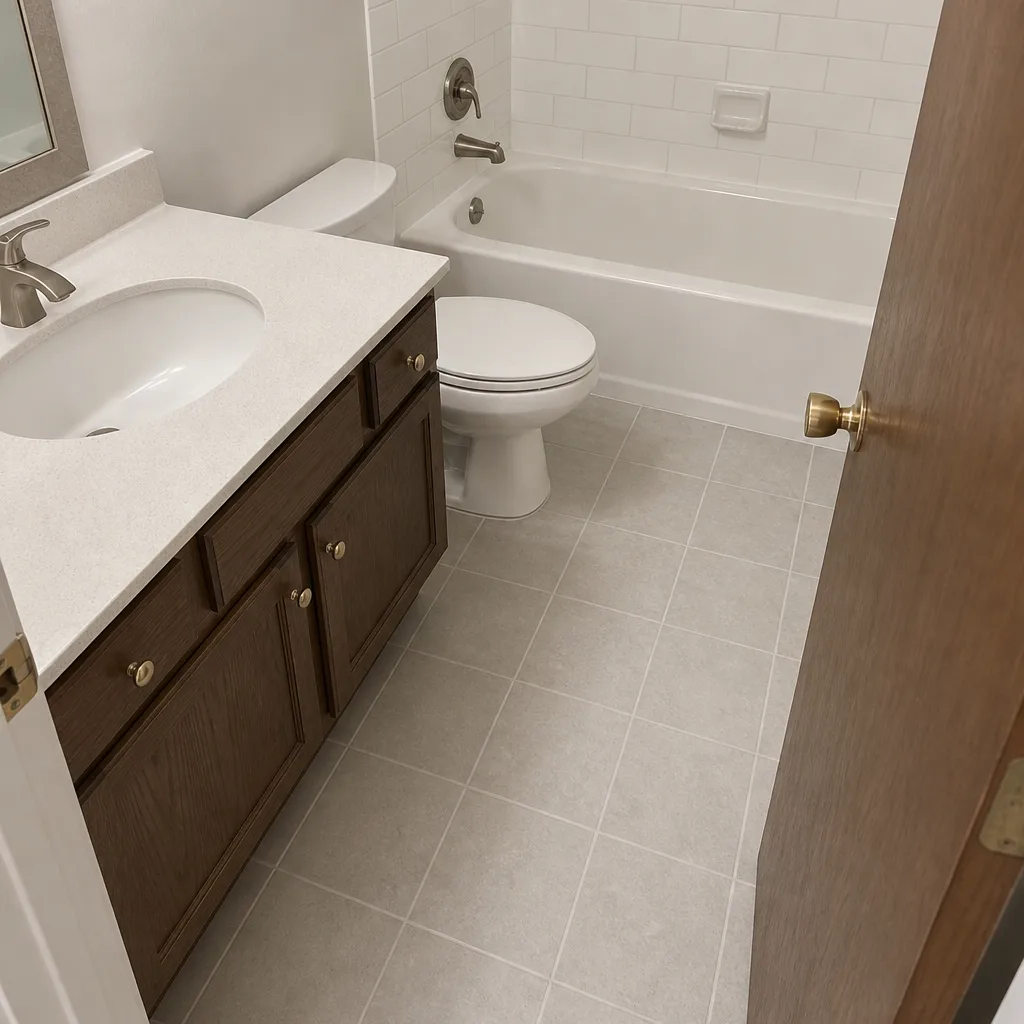
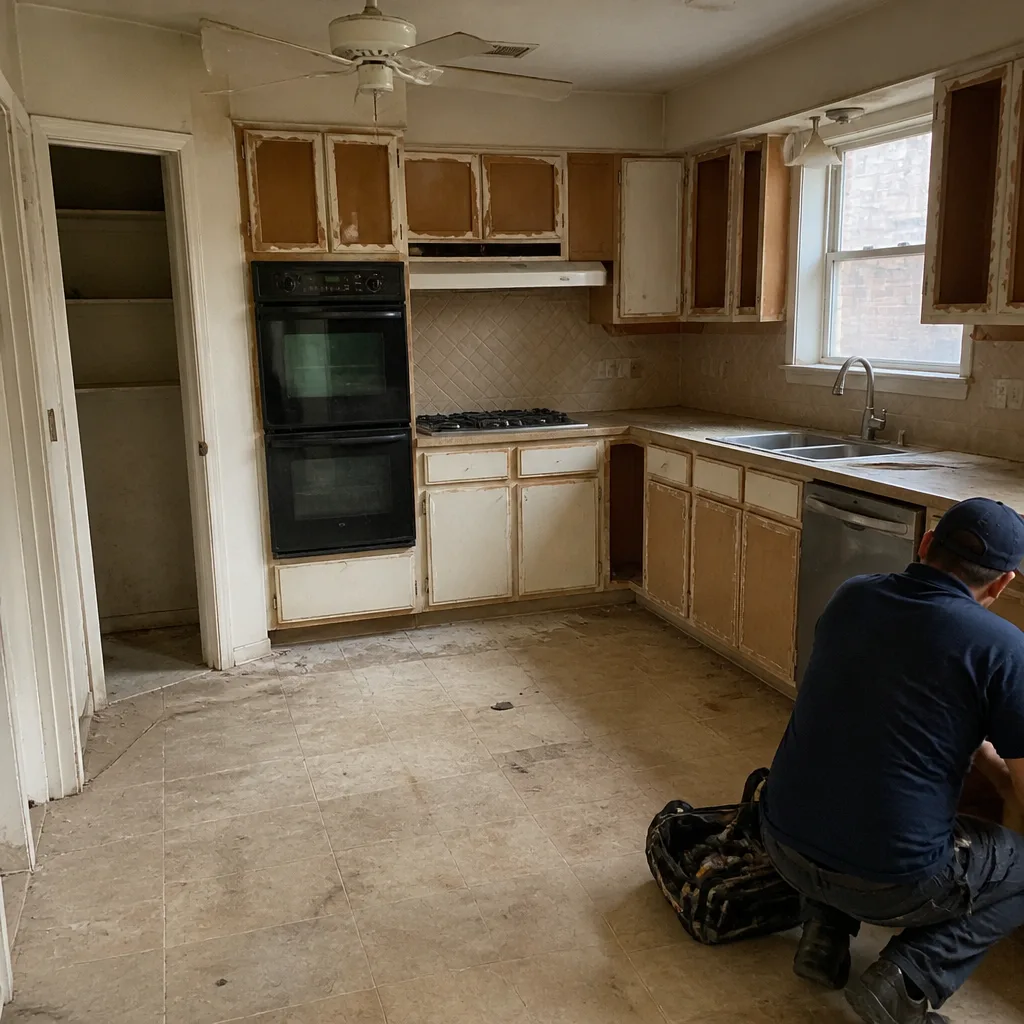
See the difference
 Before
 After
 Before
 After
 Before
 After
When to Call a Professional
Do it yourself for the annual walk and the caulk. Call in a professional when you see any of these: a diagonal crack running from a door or window corner, or any crack wider than 1/8 inch; a door that won’t latch or a gap that keeps growing after 18 months; water staining on the underside of the roof-wall flashing or on sheathing near it; a slab joint that’s pinched shut or visibly out of alignment; a shared wall with the original house that feels cold in winter and was filled with ducts or conduit; or any structural connector you can’t safely inspect yourself. Attic and crawl-space work is also where a fall or a bad call on damaged decking is more expensive than the inspection. Rowan Construction Group Plano offers free estimates in Plano. Call (844) 761-8346 to schedule yours.
Frequently Asked Questions

Every fall, before North Texas’ heaviest rain season, plus a quick visual after any major storm. It’s the highest-probability water-entry point on an addition, so it earns a spot on your annual checklist even though it won’t appear on generic home maintenance lists. Call (844) 761-8346 if you see staining or lifting flashing.
Hairline cracks at inside corners in the first 12 to 18 months are normal, because new framing is drying and shrinking. Diagonal cracks from door or window corners, cracks wider than 1/8 inch, or cracks that keep reopening after repair are not normal and warrant an inspection. Call (844) 761-8346 for a free estimate if you see one.
It’s close, with one addition: an ADU converted from a garage or built as a separate structure has more exterior wall and roof junction to watch, and if it uses its own HVAC system, the filter and condensate checks are separate from the main house. The junction checks are the same. Call (844) 761-8346 for a Plano-specific walkthrough.
About 12 to 18 months, depending on how much lumber was installed green and how the addition was dried in. After that, the structure should be stable. Seasonal movement (doors that stick in humid Plano summers) can continue, but it should return to its winter position year after year.
An annual walk-and-caulk DIY job costs under $50 in materials for most additions. A professional multi-point inspection, including roof-wall flashing review and HVAC balancing, typically runs a few hundred dollars. Either way, the real number to compare against is the cost of a flashing repair, which is several times higher. Call (844) 761-8346 for a free written estimate.
Policies vary, but insurers generally look at whether damage resulted from a maintenance failure you should have caught. That’s exactly why the annual seam inspection matters: documentation that the joint was inspected and sealed protects you. Our inspections include a documented photo record at every visit, which is evidence you did the maintenance. Call (844) 761-8346 to learn more.
The Bottom Line
An addition or ADU isn’t fully maintained by a generic home checklist, because the junctions between new and old construction need their own attention. Put the annual fall walk on your calendar: check the roof-wall flashing joint, re-seal exterior caulk, check the slab expansion gap, and look at the HVAC duct connections and dampers. Expect normal settling cracks and door alignment shifts for the first 12 to 18 months. At year five, re-inspect structural connectors, the foundation connection, and shared-wall insulation. Do the annual walk yourself and call a professional when cracks grow, joints open, or water shows up. Rowan Construction Group Plano delivers a written price before work starts and a documented photo record when the crew leaves, on every job. Call (844) 761-8346 to schedule your free estimate, or start with our Rowan Construction Group Plano home page and our dedicated Home Additions & ADU in Plano guide for the project side of the work.
Written by the team at Rowan Construction Group Plano.