Last updated November 18, 2026

Free written scope consultation - allowances, timeline, and change-order rules on paper before a single trade is scheduled
DIY vs Professional Windows & Doors: What’s Safe to Do Yourself
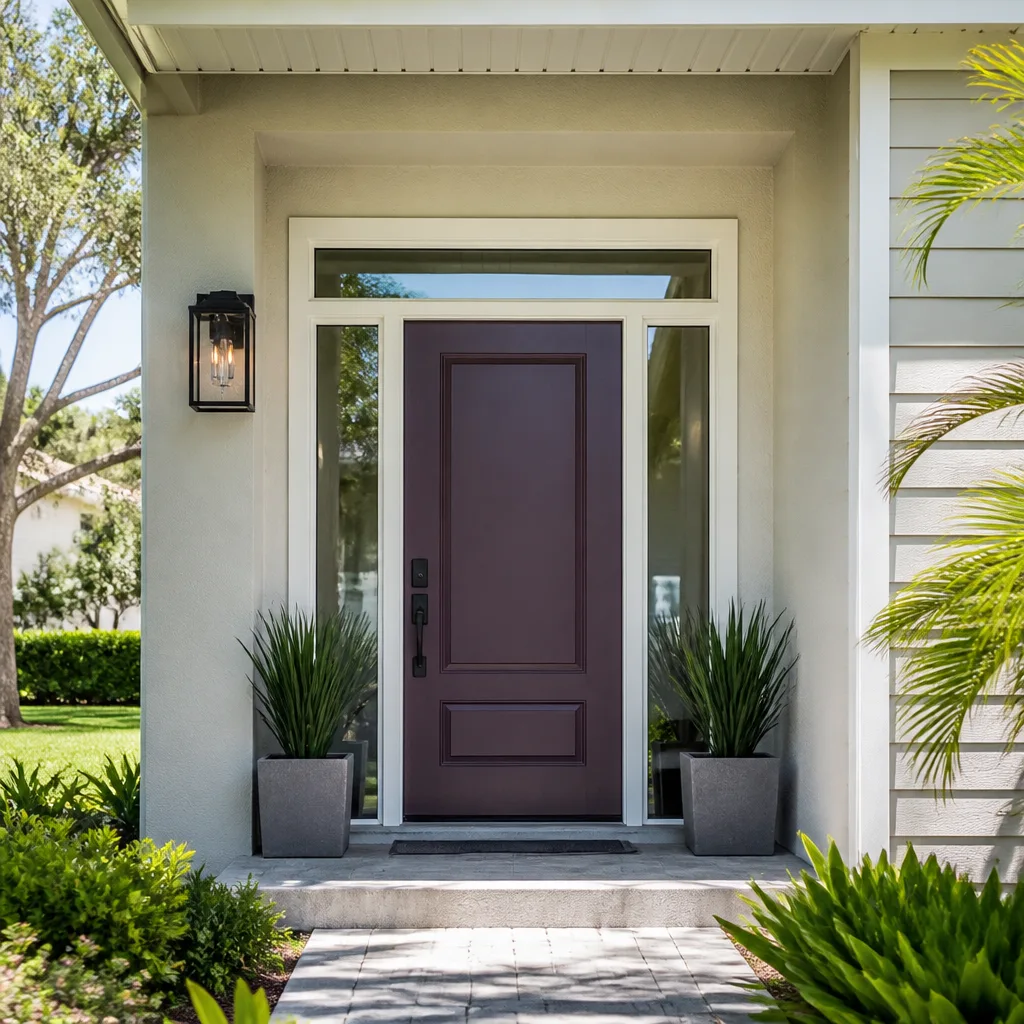
Installing a pre-hung exterior door is a legitimate DIY project. Installing it without the correct flashing sequence – sill pan, face seal, head flashing – creates a water intrusion path that won’t show as visible damage for two to four years, and by then you’re looking at $3,000 to $8,000 in wall cavity remediation. That gap between “this is doable” and “this is expensive” is what this guide maps. Window and door work has a wider DIY-safe range than most homeowners in Plano realize, and the line is drawn by rough opening dimensions, flashing sequence, and whether a permit creates a future disclosure obligation. We’ll walk through exactly where that line sits.
Quick Answer
Replacing a window or door into an existing frame without touching the rough opening is DIY-viable for a careful homeowner. Enlarging an opening, reframing, or installing any exterior opening without a documented flashing sequence requires a licensed contractor and a permit in Plano. The work that saves money safely is weatherstrip, threshold, hardware, and interior casing – none of which breach the building envelope.
Styles & brands we work with
- Kitchen remodeling
- Bathroom remodeling
- Home additions & ADU
- Roofing
- Windows & doors
- Driveway & pavers
- Fence
Table of Contents
- The Insert vs. Full-Frame Distinction That Decides Everything
- The Flashing Sequence: What Separates Watertight from Silent Failure
- Where DIY Legitimately Saves $150-$400 Per Opening
- Weight and Size Thresholds: When DIY Becomes a Safety Problem
- Texas Energy Code, Permits, and Your Future Disclosure
- Plano Climate and What It Does to Bad Installations
- Common Mistakes to Avoid
- When to Call a Professional
The Insert vs. Full-Frame Distinction That Decides Everything
The single question that determines whether a window replacement is DIY-viable is this: are you touching the rough opening? A pocket or insert replacement slides a new window into the existing frame without disturbing the framing, siding, or drywall around it. The rough opening – the framed hole in the wall that the window sits inside – stays exactly as it was. That’s a weekend project with a helper, a level, and a tube of sealant.
A full-frame replacement removes the entire window unit down to the studs. The rough opening is exposed, and it has to be rebuilt correctly: new sill, new flashing, new trim, new sealant in the right sequence. The moment you reframe or enlarge an opening, you’re in permit territory in Plano. Collin County requires a building permit for any change to the structural opening, and windows and doors are load-bearing elements of the wall assembly. Removing a header to widen a window without an engineered solution is how walls sag.
The distinction matters because homeowners often conflate the two. “Window replacement” sounds like one job. It’s two very different jobs with different risk profiles and different permit requirements. Here’s how to tell them apart:
- Insert/pocket replacement: New sash and frame slide into the existing opening. Siding and drywall stay intact. No structural change. DIY-viable for a homeowner comfortable with a level and basic carpentry.
- Full-frame replacement: The entire unit comes out. Rough opening is exposed and reframed. Siding and interior trim are disturbed. Permit required in Plano. Not DIY.
- Enlarging or relocating an opening: Structural header work, new framing, new flashing across a larger span. Engineered drawings likely needed. Definitely not DIY.
If you’re weighing a full-frame project – say, replacing every window in a 1990s Plano build where the original units are failing – that’s a conversation worth having with a contractor who puts a written price in front of you before any work starts.
The Flashing Sequence: What Separates Watertight from Silent Failure
This is the part most DIY guides skip, and it’s the part that costs the most money to get wrong. Flashing is the system of membranes and tapes that directs water out of the wall assembly. Exterior doors and windows need it installed in a specific order, and getting the order wrong means water finds a path into the wall cavity. It won’t show up immediately. The drywall stays dry for a season or two, then the trim starts to swell, then the framing behind it is soft.
The correct sequence for an exterior door installation, from the bottom up:
- Sill pan membrane. A flexible membrane covers the rough sill and turns up the jambs at least six inches. This is the pan that catches any water that gets past the door and directs it back outside. Skip it and water sits on the sill plate, which is the bottom of your wall.
- Jamb flashing tape. Flexible flashing tape runs up each jamb, overlapping the sill pan. It’s applied shingle-style – bottom piece first, upper pieces overlap the lower ones – so water always flows down and out, never behind.
- Door unit set and shimmed. The door goes in plumb, level, and square, shimmed at the hinges and lock side. Nothing sealed yet until the unit is mechanically fastened.
- Head flashing above the unit. A metal or membrane head flashing goes over the top of the door and behind the siding or casing above. This is the piece that sheds water coming down the wall before it can reach the top corners of the door.
- Sealant at the interior and exterior perimeter. A continuous bead of exterior-grade sealant at the frame-to-wall joint, plus backer rod where the gap is deep. Not a thin smear over a wide opening – that cracks and fails.
Every Plano contractor who installs exterior doors is working against the same climate: heavy spring storms that drive rain sideways against doors and windows, followed by months of heat that expands and contracts every joint. A door that’s flash-wrong fails faster here than it would in a milder climate. In our experience, the doors that leak in Plano are almost never the ones where the door failed – they’re the ones where the flashing sequence was skipped or done in the wrong order.
Where DIY Legitimately Saves $150-$400 Per Opening
There’s a category of window and door work that doesn’t touch the building envelope seal, doesn’t require a permit, and saves real money. This is the work we’d tell any Plano homeowner to do themselves. It’s straightforward, it’s low-risk, and the parts are available at any hardware store or big-box store.
- Weatherstrip replacement ($15-$60 in materials). Worn weatherstrip lets air and water in at the perimeter. Replacing it takes an hour with a utility knife and new stripping. It doesn’t require removing the window or door from the opening.
- Threshold replacement ($40-$150 in materials). A worn or damaged door threshold can be swapped without removing the door. This is a common fix on older Plano homes where the original threshold has compressed or corroded.
- Hardware swap ($50-$200 in materials). Handles, locks, hinges, and deadbolts are all DIY-viable. The door stays in the frame. No flashing sequence involved.
- Interior casing replacement ($100-$300 in materials). Replacing interior trim around a window or door is finish carpentry, not envelope work. It’s how you dress up an older opening without touching the installation.
Add those up across a house with six or eight openings and you’re looking at $150 to $400 saved per opening compared to hiring the work out – without any of the risk that comes with breaching the envelope. That’s genuine savings, not a consolation prize.
What’s not in that category: anything that requires removing the window or door unit from its opening, anything that touches the rough opening, and anything that involves new flashing. Those are the jobs where the cost of a mistake – a failed seal, water intrusion, a wall cavity that needs to be opened and dried – outweighs the money saved by a wide margin.
Weight and Size Thresholds: When DIY Becomes a Safety Problem
Window weight and size are the physics that end the DIY conversation. A window unit over 50 pounds, or wider than 48 inches, requires a second person at minimum to install safely. Larger units require a third person or a temporary support system. A modern double-pane window in a 36-by-60-inch opening runs roughly 40 to 55 pounds. Go up to a picture window or a wide slider and you’re looking at 80 to 120 pounds, sometimes more.
The accuracy problem is as real as the safety problem. A window has to sit plumb, level, and square in the opening, with consistent shim spacing and a gap that’s sealed consistently around the whole perimeter. Two hands on a heavy unit trying to hold it in place while you check the level doesn’t work. One person holding while one person shims and checks level is how the job actually gets done. A temporary support – a ledger screwed to the wall, a brace under the sill – lets a two-person crew handle larger units safely.
For door installations, the size table is simpler. A standard 36-inch exterior door slab weighs 50 to 80 pounds depending on material – steel skins are heavier than fiberglass or wood. A pre-hung unit with the frame is heavier still. At those weights, one person can technically lift the unit, but can’t hold it in the opening, shim it, check the reveal gaps on all four sides, and fasten it. The install demands at least two people, and we’d tell any homeowner in Plano working on a second-floor opening to think hard about the risk of dropping a 120-pound unit off a ladder.
Texas Energy Code, Permits, and Your Future Disclosure
Here’s the hidden cost of a self-installed window that most homeowners don’t consider: the disclosure obligation. When you sell a house in Texas, you complete a seller’s disclosure that includes unpermitted work. If you replaced windows or doors without pulling a permit where one was required, that’s a defect you have to disclose. A buyer’s inspector who sees new windows and no permit record will ask questions, and an unpermitted installation becomes a negotiating chip against you at closing.
Plano follows the International Residential Code and the Texas adopted energy code. A window replacement that’s a like-for-like swap of a single unit generally doesn’t trigger a permit. But a full-frame replacement, a multi-window project that touches the envelope, or anything that changes the rough opening does require a permit and inspection. The inspection often includes energy code compliance – U-factor and solar heat gain coefficient ratings that the new units have to meet. If you self-install without pulling a permit, you’ve skipped the inspection that would confirm compliance, and you can’t produce the documentation later when a buyer or their inspector asks.
That’s a five-minute permit application that protects a five-figure sale down the line. It’s worth being clear-eyed about it.
Plano Climate and What It Does to Bad Installations
Plano sits in the DFW metro with a climate that’s hard on exterior openings. Summer highs regularly top 100 degrees, and the thermal cycling between a 100-degree afternoon and a 75-degree night expands and contracts every joint in the envelope. Winter brings the opposite – occasional hard freezes, sometimes prolonged, that stress the same joints in the other direction. Add the severe spring storms that drive wind-driven rain against doors and windows and you have a climate that finds every flaw in an installation within a few years.
In Plano neighborhoods with older housing stock – the 1980s and 1990s builds that are now coming up on their second replacement cycle – we more often see failures that trace back to the original install rather than the unit. The flashing sequence wasn’t followed, the sill pan wasn’t installed, or the sealant was applied over a gap too wide to hold. A new window installed into a bad opening inherits the problem. That’s why a full-frame replacement in a Plano home often costs more than the window list price – the opening itself needs to be repaired before a new unit goes in.
The climate also affects the timeline. A door installed in October has a different set of conditions than one installed in July, when sealant cures faster and shims expand. A contractor who works in Plano year-round knows how the temperature affects the install and accounts for it.
Common Mistakes to Avoid
- Skipping the sill pan. The sill is where water collects first. A membrane turns up the jambs six inches and covers the sill plate entirely – skipping it means the first water intrusion sits against the framing. In Plano’s spring storms, that intrusion shows up fast.
- Applying flashing in the wrong order. Flashing goes shingle-style: bottom pieces first, upper pieces overlap the lower ones. Reversed, water flows behind the tape and into the wall. The failure won’t be visible for two to four years.
- Sealing the exterior before the interior cures. A caulk bead over a wide, deep gap that isn’t backed with backer rod cracks as it cures. Water finds the crack. Most door leaks we see aren’t the door – they’re the uncured or underfilled sealant at the perimeter.
- Enlarging an opening without a permit. Any change to the rough opening is structural work in Plano and requires a permit and often an engineered solution. Framing a wider opening by eye is how headers fail.
- Self-installing a multi-window project and skipping the energy code inspection. The inspection documents U-factor and solar heat gain compliance. Skip it and the disclosure obligation follows you to closing.
- Underestimating weight. A 90-pound window is not a one-person lift. Plan for a helper and a temporary support on any opening above 50 pounds or wider than 48 inches.
- Assuming new windows fix a wet wall. If there’s existing water damage from a previous install, a new unit goes into a compromised opening. The wall has to be repaired first, or the new install inherits the old problem.
When to Call a Professional
Call a professional for any full-frame replacement, any change to the rough opening, any project that requires a permit and energy code inspection, and any installation where the flashing sequence needs to be documented. Call for openings above second-floor height, for units over 50 pounds or wider than 48 inches that you can’t handle with a trained helper, and for any project where the existing wall shows water damage or rot. Call if you’re selling within a few years and can’t afford a disclosure problem.
Rowan Construction Group Plano offers free estimates in Plano – call (844) 761-8346. We bring a written price before any work starts, a documented photo record of what we find, and the flashing sequence done right the first time.
See the difference
 Before
 After
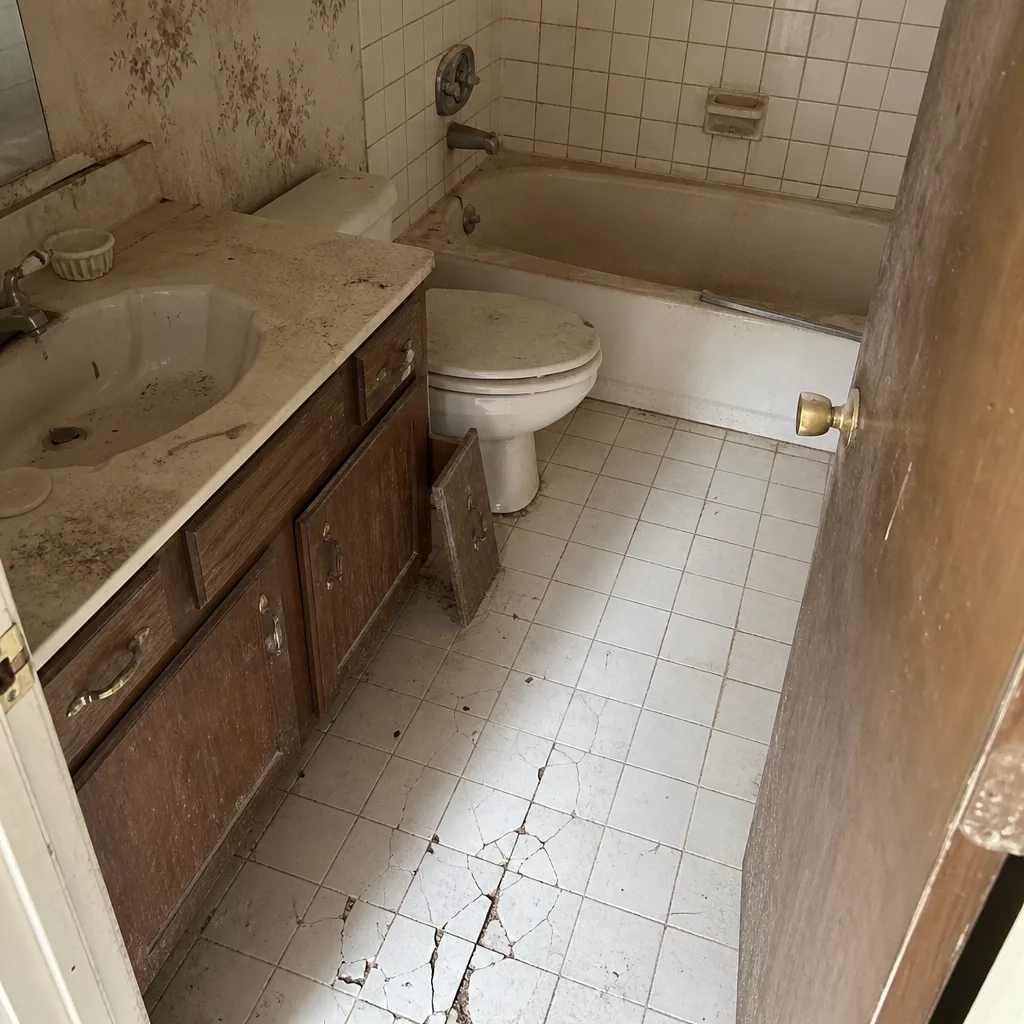 Before
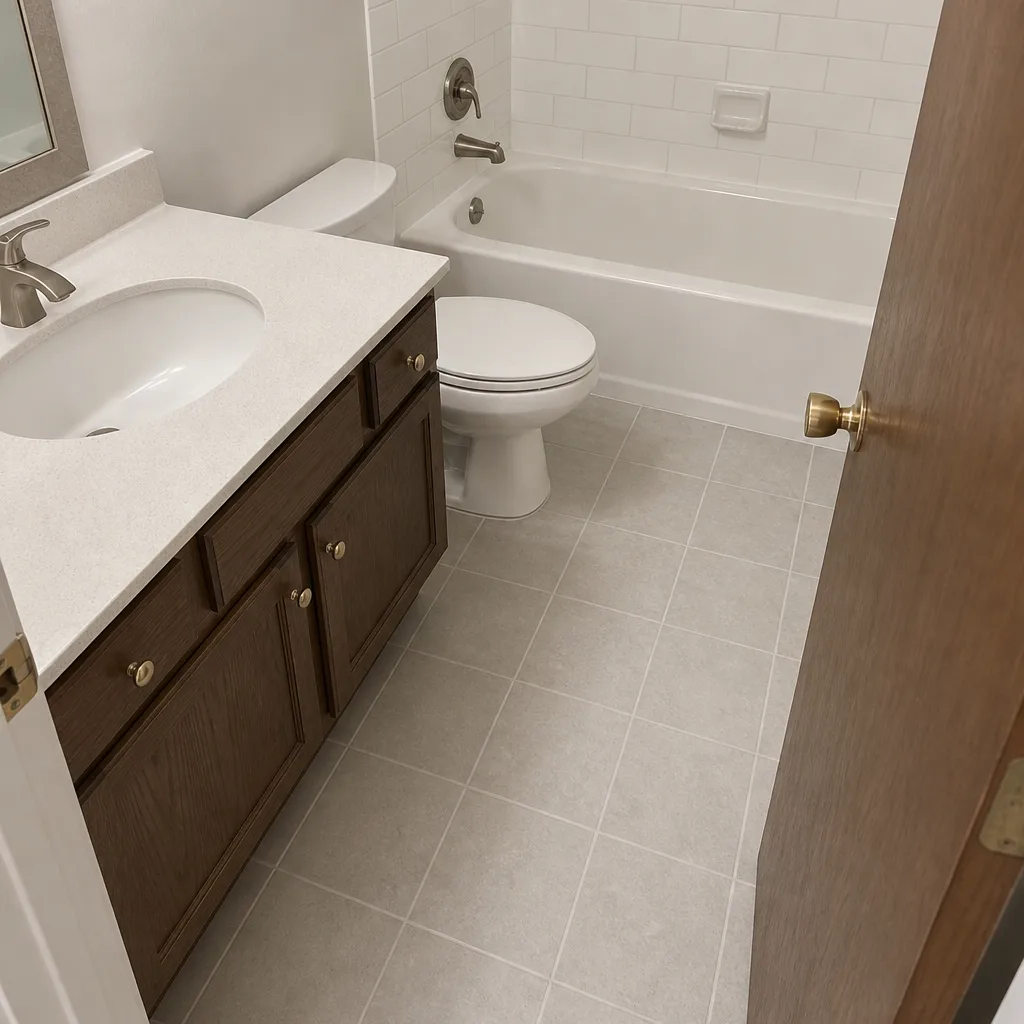 After
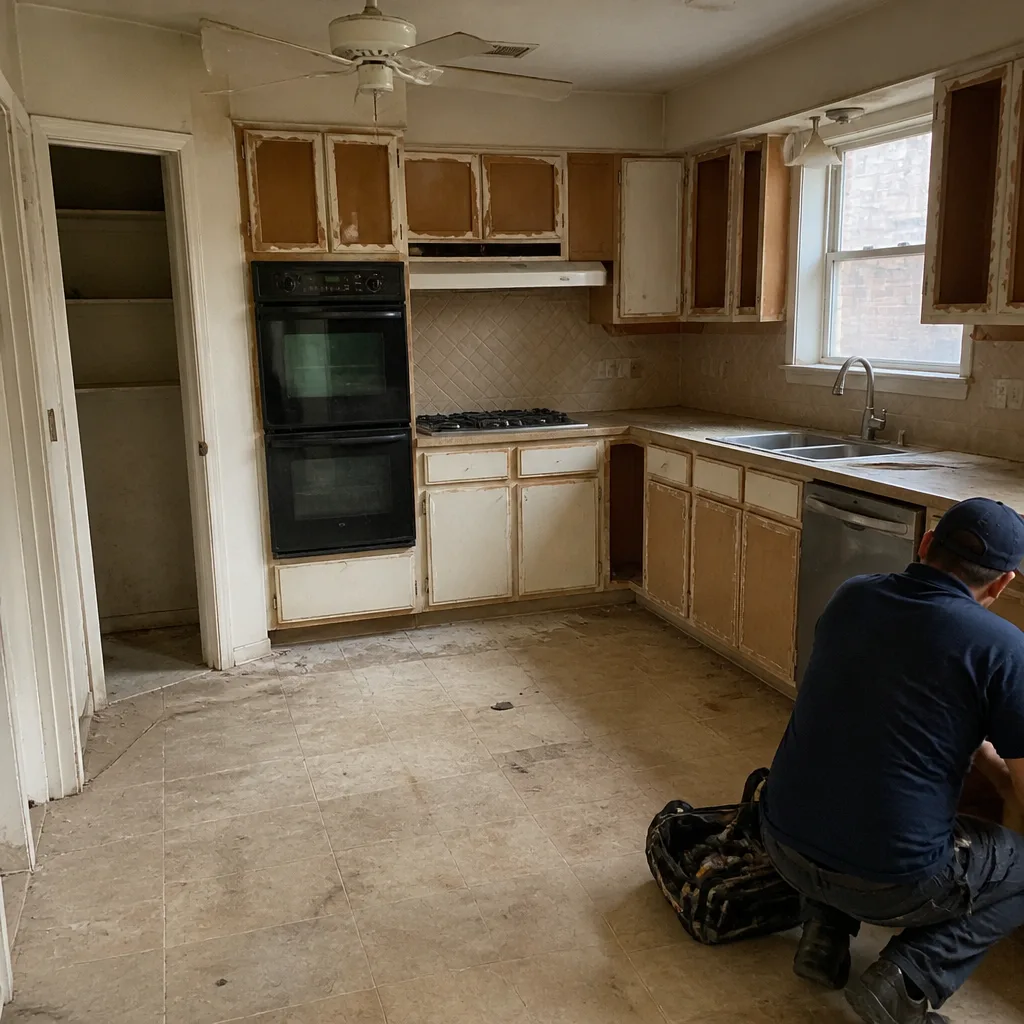 Before
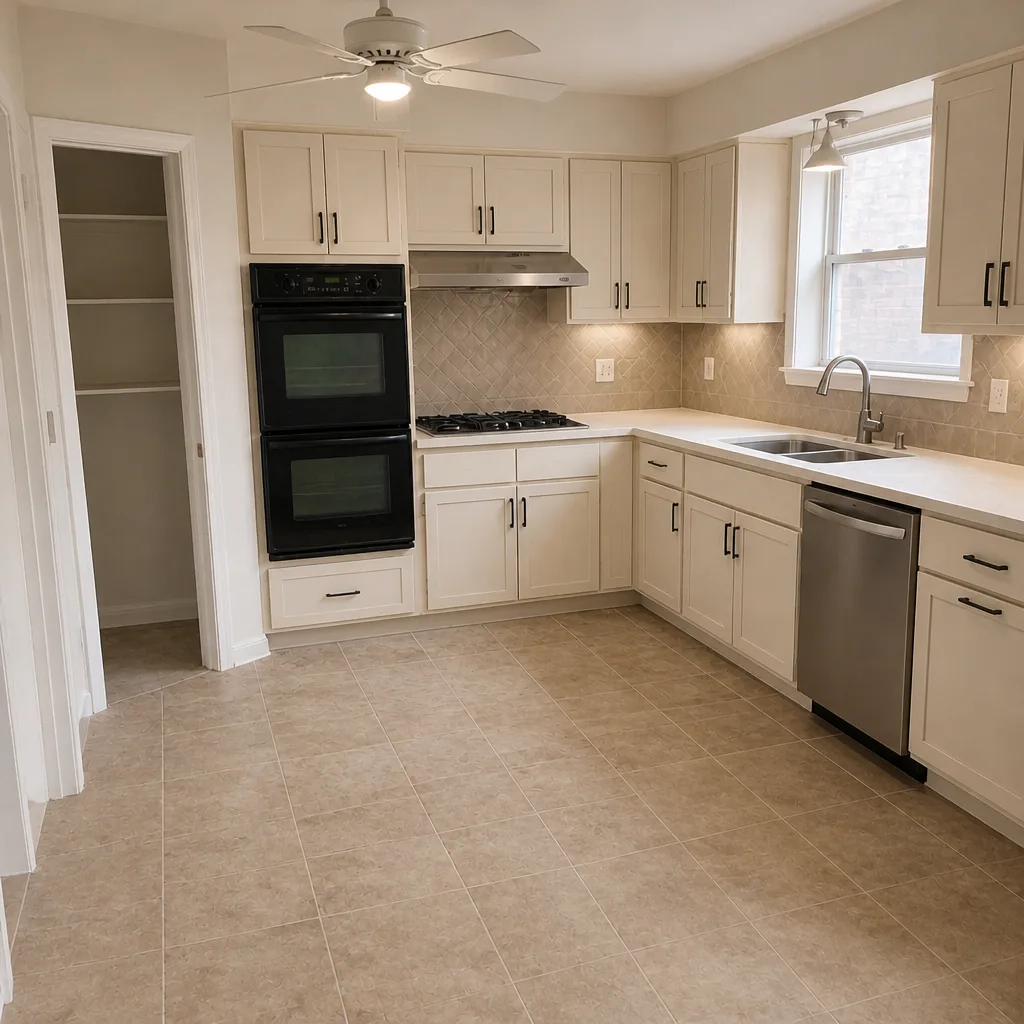 After
Frequently Asked Questions
Yes, if it’s an insert or pocket replacement into the existing frame without touching the rough opening. Enlarging an opening or reframing requires a permit and a licensed contractor in Plano. If you’re not sure which category your project falls into, that’s the moment to call (844) 761-8346 for a free estimate.
Insert replacement typically runs $450 to $850 per window installed, and full-frame replacement runs $850 to $1,600 per window depending on size and opening condition. Energy code upgrades and flashing repair can add $150 to $400 per opening. Call (844) 761-8346 for a written line-item quote with no change orders.
No. Under Clause 1 of the Haven Standard, the price is written before anyone picks up a tool, and no change proceeds without a signed change order. That’s the discipline behind projects finishing within a few percent of the agreed cost. Call (844) 761-8346 for a free second opinion on any written estimate you have.
Installing flashing in the wrong order – upper pieces applied before lower pieces – so water flows behind the tape instead of over it. The failure doesn’t show as visible damage for two to four years, then requires $3,000 to $8,000 in wall cavity remediation. If you’re not confident in the sequence, don’t install the door yourself.
A like-for-like single-unit replacement generally doesn’t need one, but full-frame replacement, multi-window projects, or any change to the rough opening does. The permit inspection often confirms energy code compliance, and skipping it creates a disclosure obligation when you sell. Call (844) 761-8346 if you’re unsure whether your project triggers a permit.
Weatherstrip replacement, threshold replacement, hardware swaps, and interior casing replacement are all DIY-viable and save $150 to $400 per opening. None of them touch the building envelope seal, and none require a permit. For any work that removes the unit from its opening, call (844) 761-8346 for a free estimate first.
The Bottom Line
The DIY-safe line for window and door work is precise: insert replacements without rough opening changes are doable; full-frame work, reframing, and anything requiring a flashing sequence needs a licensed contractor and a permit in Plano. Weatherstrip, threshold, hardware, and interior casing are the four tasks that save real money without breaching the envelope. Weight and size thresholds – 50 pounds, 48 inches – are the physical line where a second person becomes mandatory. And the permit question is really a disclosure question: unpermitted work follows you to closing. Map where your project sits on that line before you order materials. When you’re ready for a written price on the professional side, Rowan Construction Group Plano is the call.
Related reading: Driveway & Pavers in Plano · Fence Installation in Plano · Home Additions & ADU in Plano. Our technicians have up to 19 years of experience with exterior envelope work, and every opening we install comes with a documented photo record of the flashing sequence.
Call (844) 761-8346 for a free estimate. A written price before any work starts – always.
Written by the team at Rowan Construction Group Plano.